How to maintain your bike on a budget: 11 low-cost essentials for worry free miles
Keeping your bike running smoothly doesn't have to be expensive or time consuming – here's our tips on how to maintain your bike on a budget
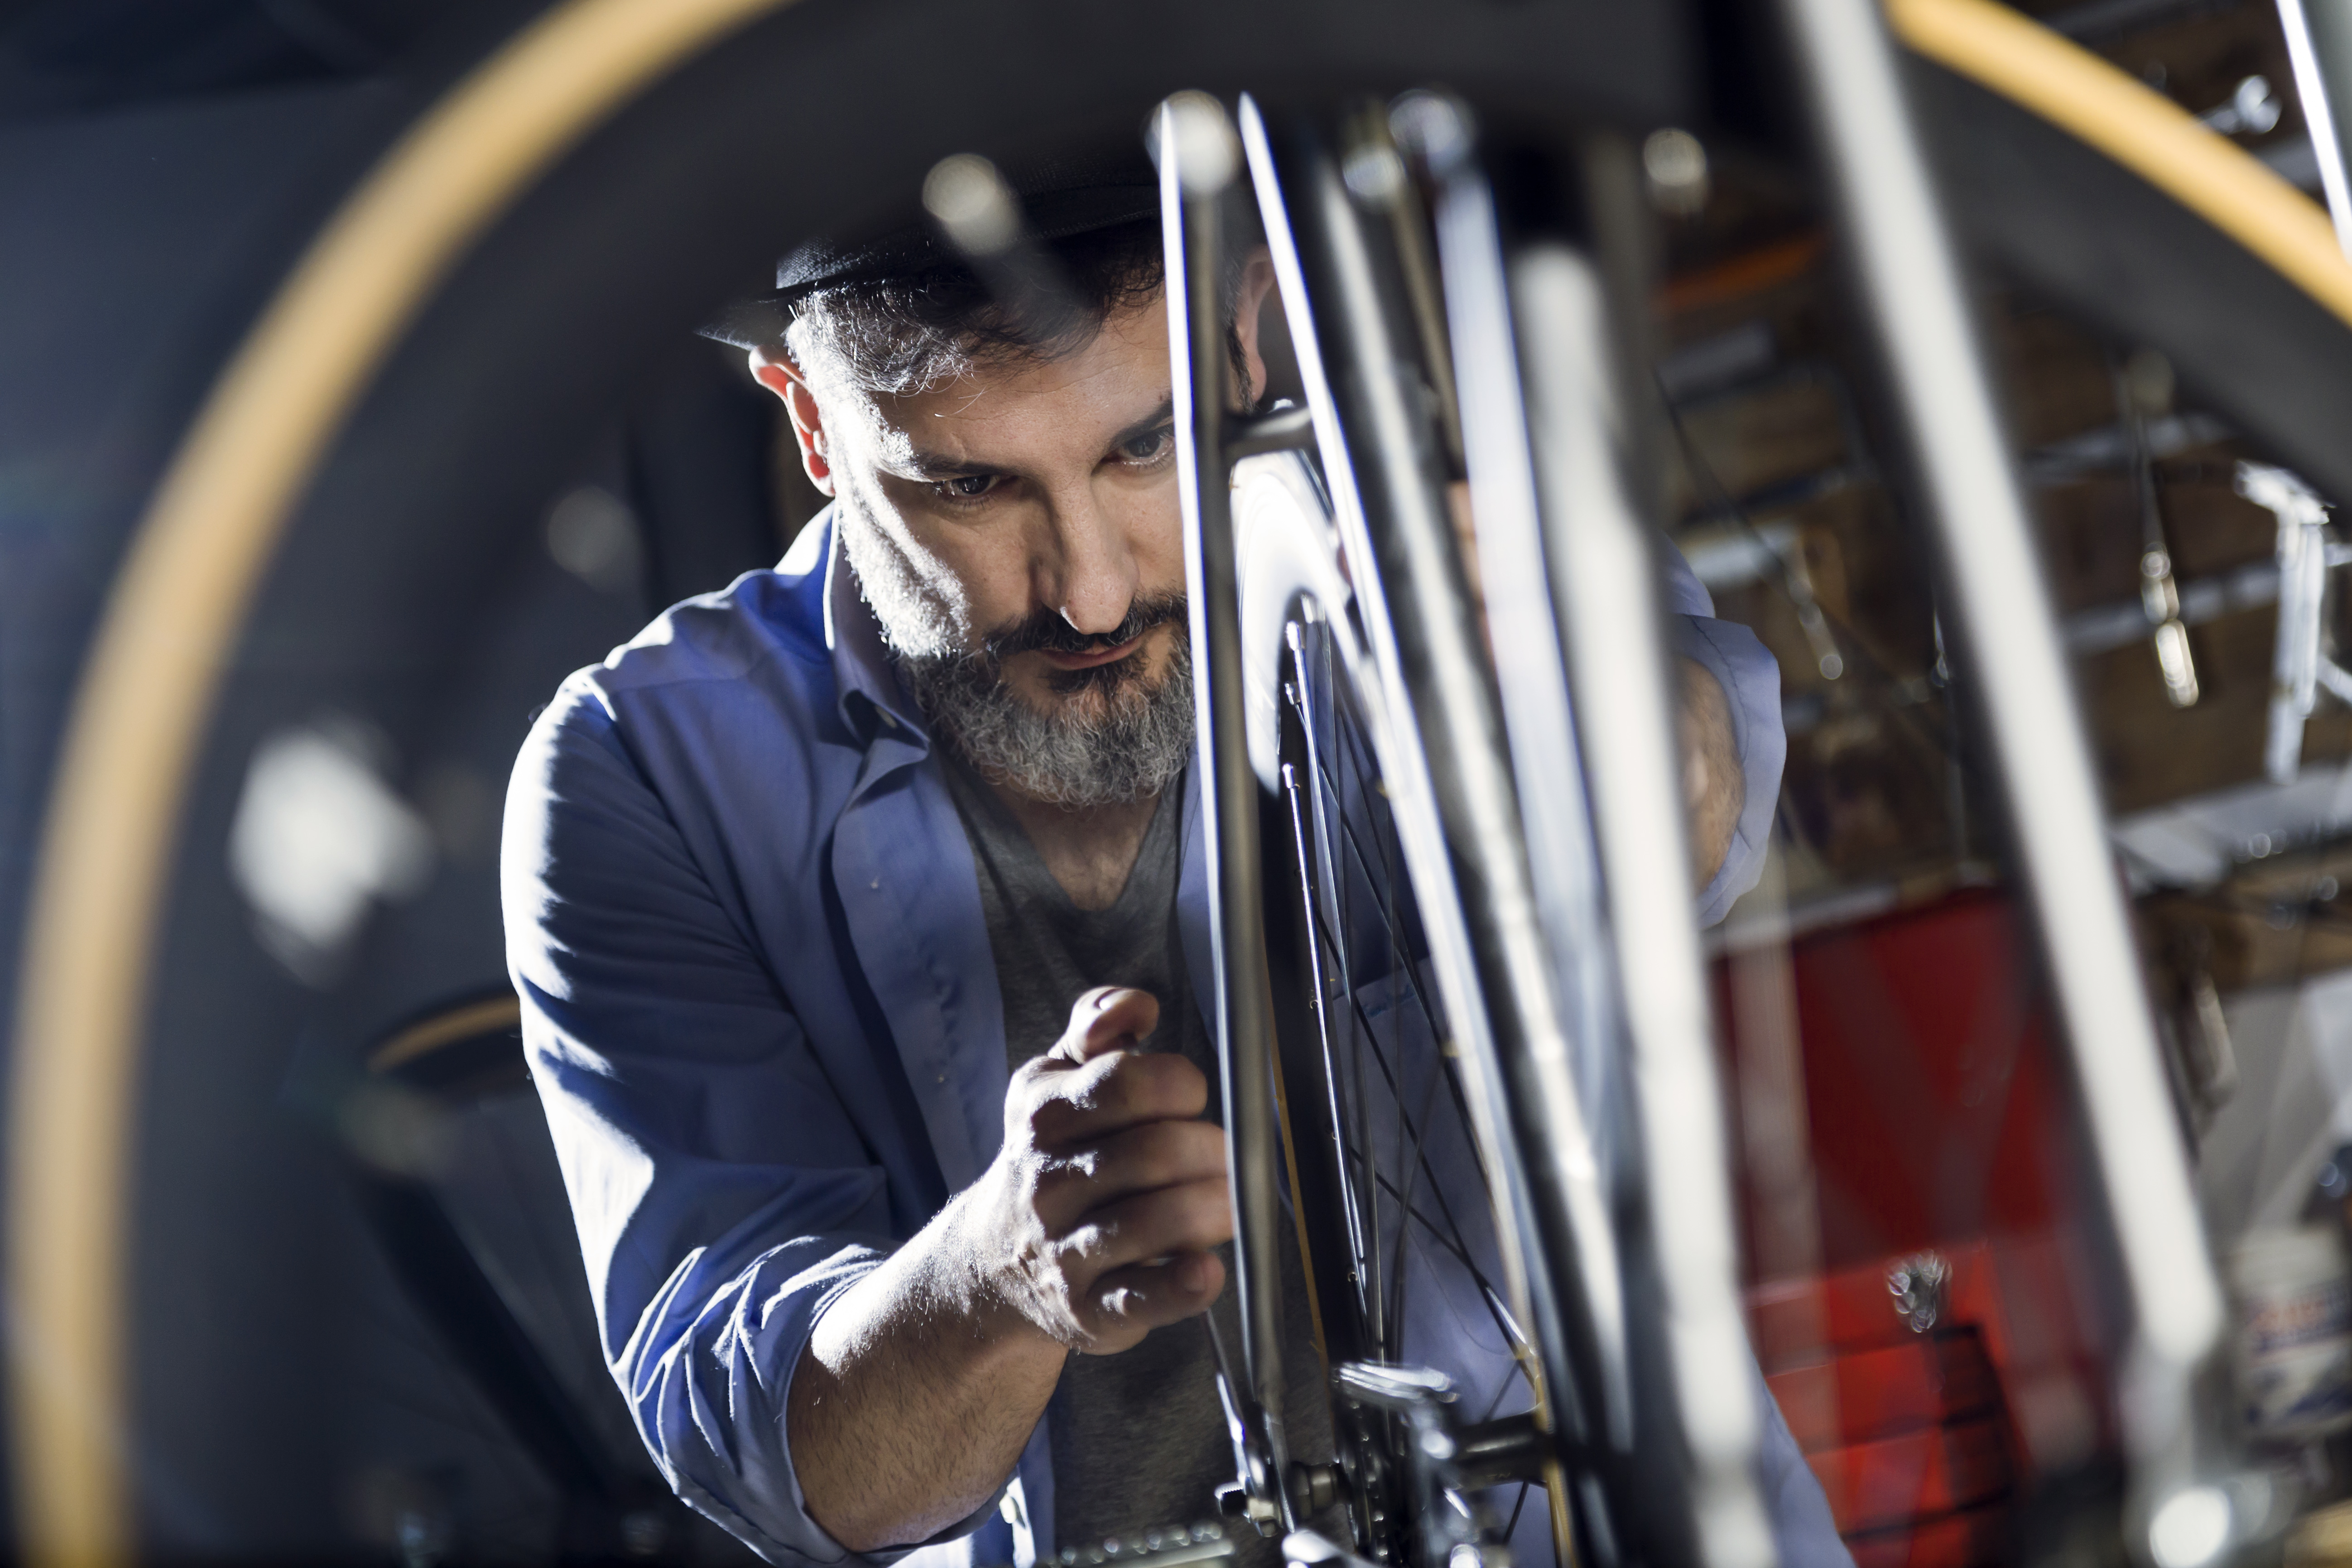
Learning how to maintain your bike is time well spent. The rewards are two-fold. Not only will your bicycle run smoothly but you’re likely to save money too. Even just keeping it clean can extend the life of the parts, such as the chain, cassette and tyre, by months.
How involved you get is up to you. Completing overhauling your bike will require specialised tools and plenty of practise too. A job like installing a new press fit bottom bracket is probably best left to a professional, as there’s potential to damage the frame in the process. Given that you’re unlikely to be swapping out bottom brackets on a regular basis also means the cost of the tools might seem like an unnecessary outlay.
However, there are a number of bike maintenance tasks that you can learn to do yourself and don’t require a host of expensive tools. A bucket, a sponge and some old rags are a must-have. But there are few other dedicated bike tools that every home mechanic should have.
Here’s our list of recommended purchases, all which should pay for themselves many times over by extending the life-span of your bike and its components.
1. Brush set
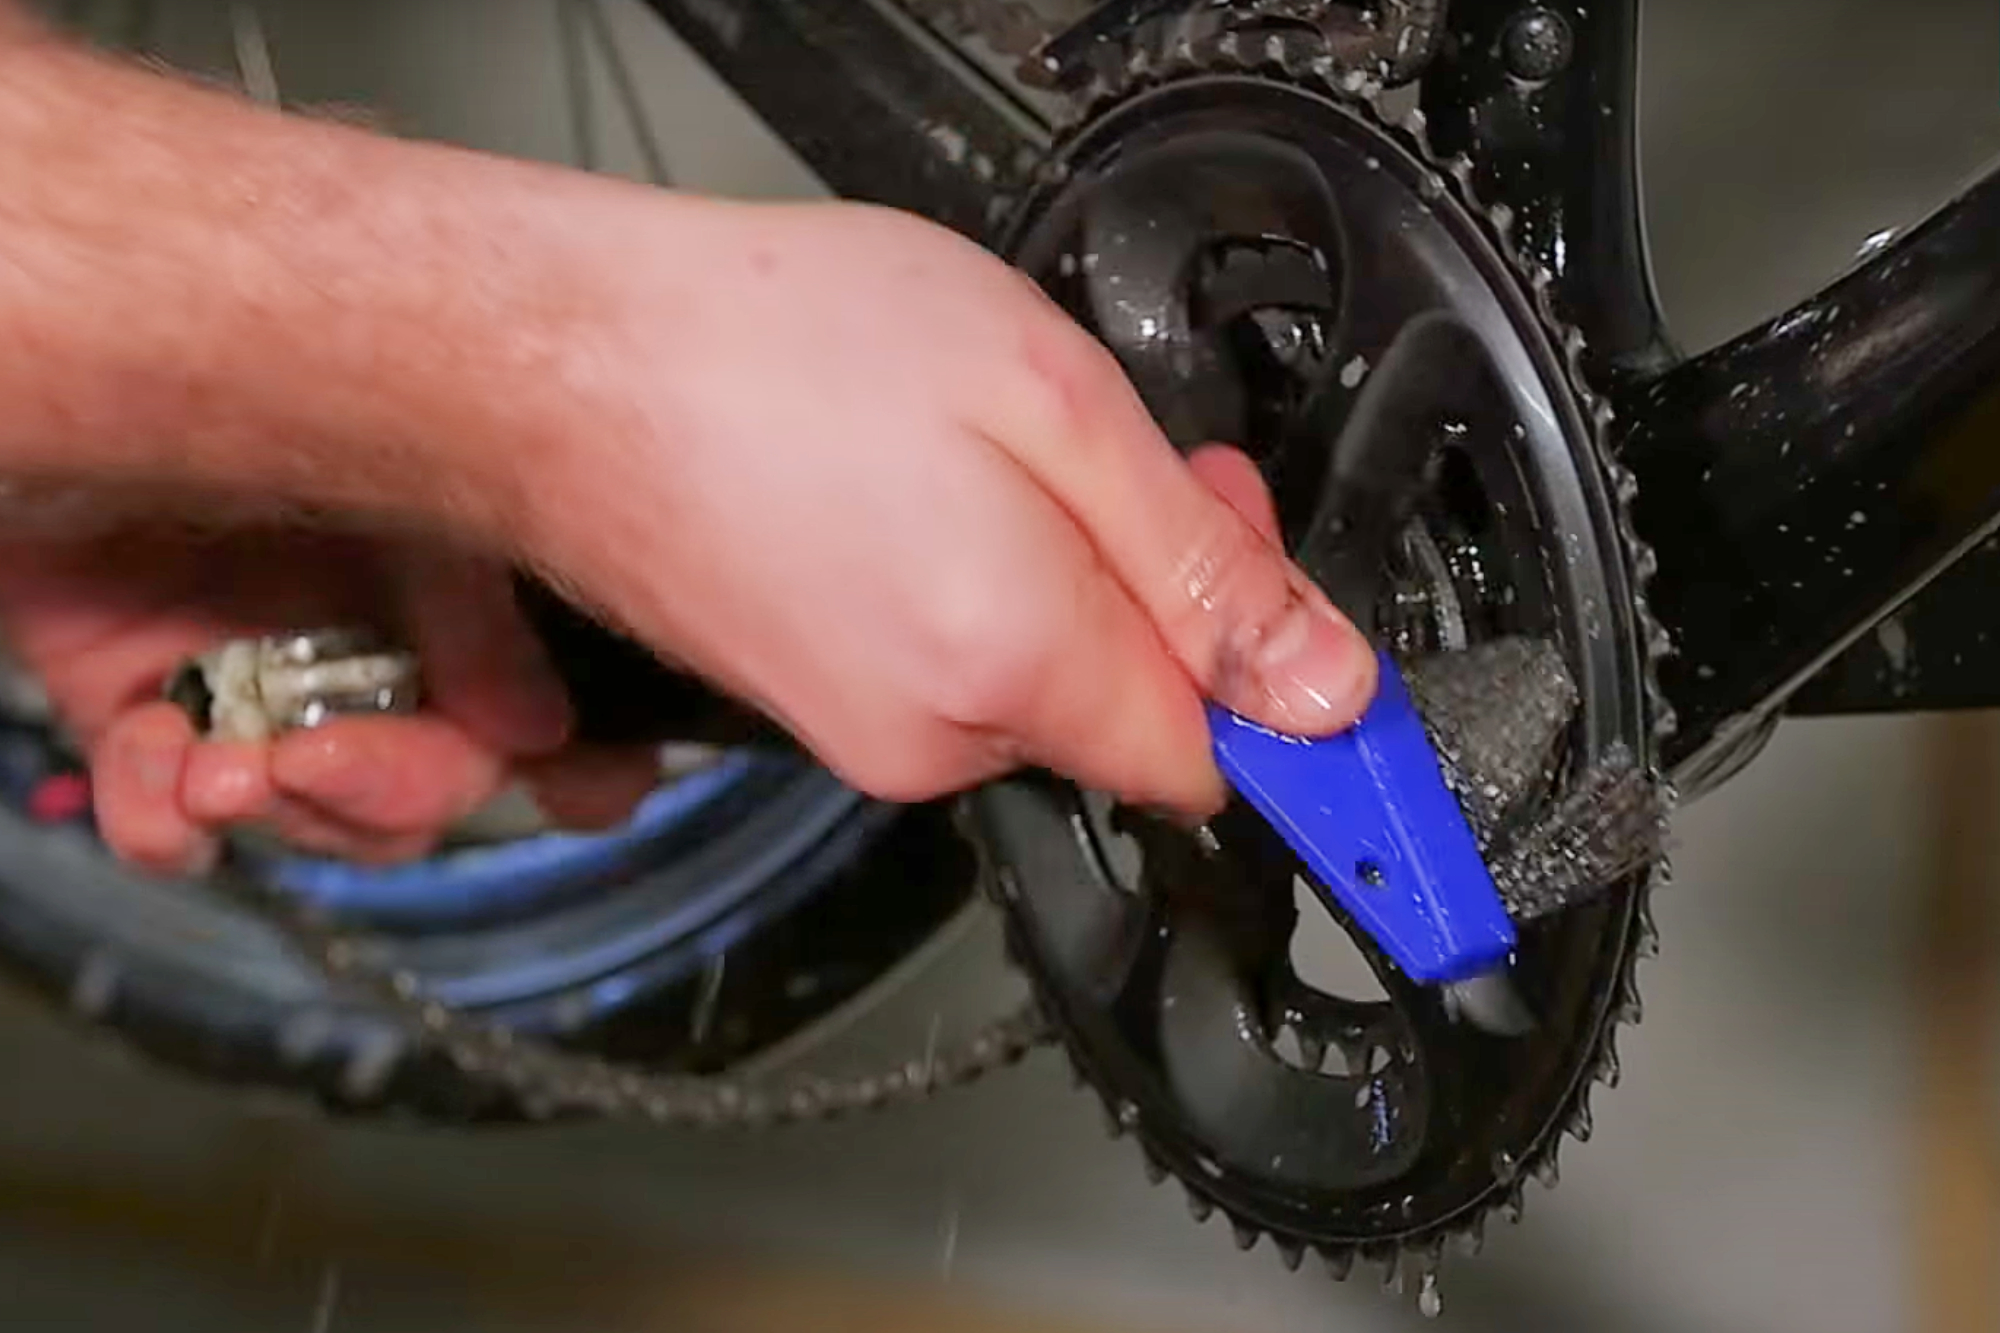
A clean bike works better, especially when it comes to the moving parts. Imagine how many thousands of times your chain comes in to contact with the cassette during a two hour ride.
Now chuck a bit of grit in there and think how quickly that can wear those parts out. The rising cost of today's 10, 11 and 12-speed chains and cassettes should be all the incentive you need to try and keep your drivetrain clean to help prolong its life.
A rub with a rag and some WD40/GT85 will get a lot of muck off the chain and disperse water, but it won't clean between the links where the grit can gather. A dedicated brush will. The bigger brushes are also perfect for getting in between the brake callipers, behind the front mech, and in to the jockey wheel cages.
Get The Leadout Newsletter
The latest race content, interviews, features, reviews and expert buying guides, direct to your inbox!
If you're looking to keep your spending down, an old toothbrush (as long as the bristles aren't too worn) can work well on those dirty jockey wheels.
Why? - Extends life of chain, cassette and other moving parts. Gets to places that a sponge doesn't.
Don't - Use them in front of a nice white wall. They will flick mud a grease around
2. Cleaning products
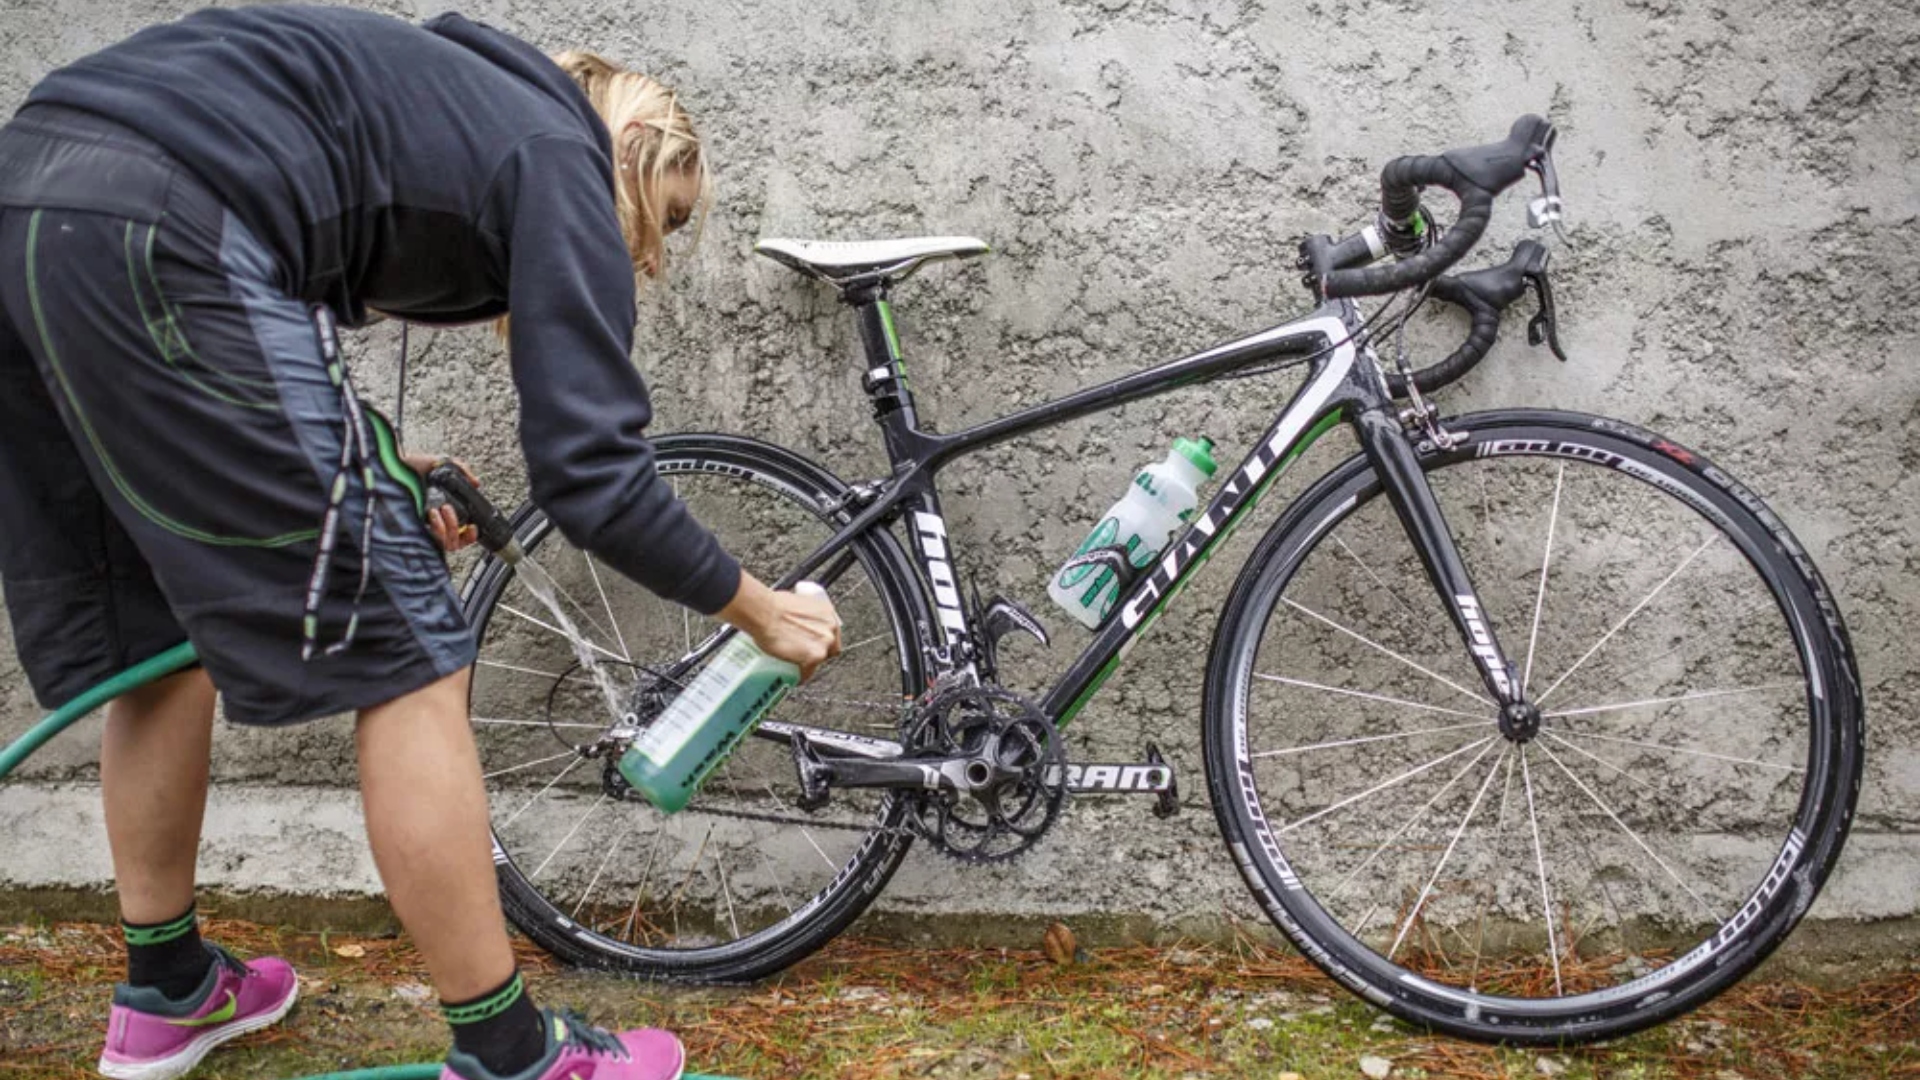
Cleaning your bike regularly can save you money in the long run, and it will also be safer to ride. There are various cleaning products on the market many of which will work perfectly with a sponge and old rag. Degreasers, water repellents, silicon sprays and more are available but not all are needed.
You can do a lot with water and a sponge, especially if you clean your bike immediately after a ride, but these products will do a more thorough job and sometimes make cleaning your bike a bit quicker. Perhaps the two most important item are a water repellent type spray (like WD40 or GT85) and a chain lube.
The former is used to spray on your chain, cassette and derailleurs after cleaning. This will stop rust forming on those parts. Be sure to take off any excess before applying your chosen lube.
We've got an explainer on how to clean your bike here.
Why? - A clean bike rides better and lasts longer.
Don't - Let your bike (especially the chain and cassette) sit around unloved after a wet, dirty ride. It will massively reduce the lifespan of some parts. Don't use a pressure hose either, it can damage bearings by thinning out the grease.
3. Chain checker
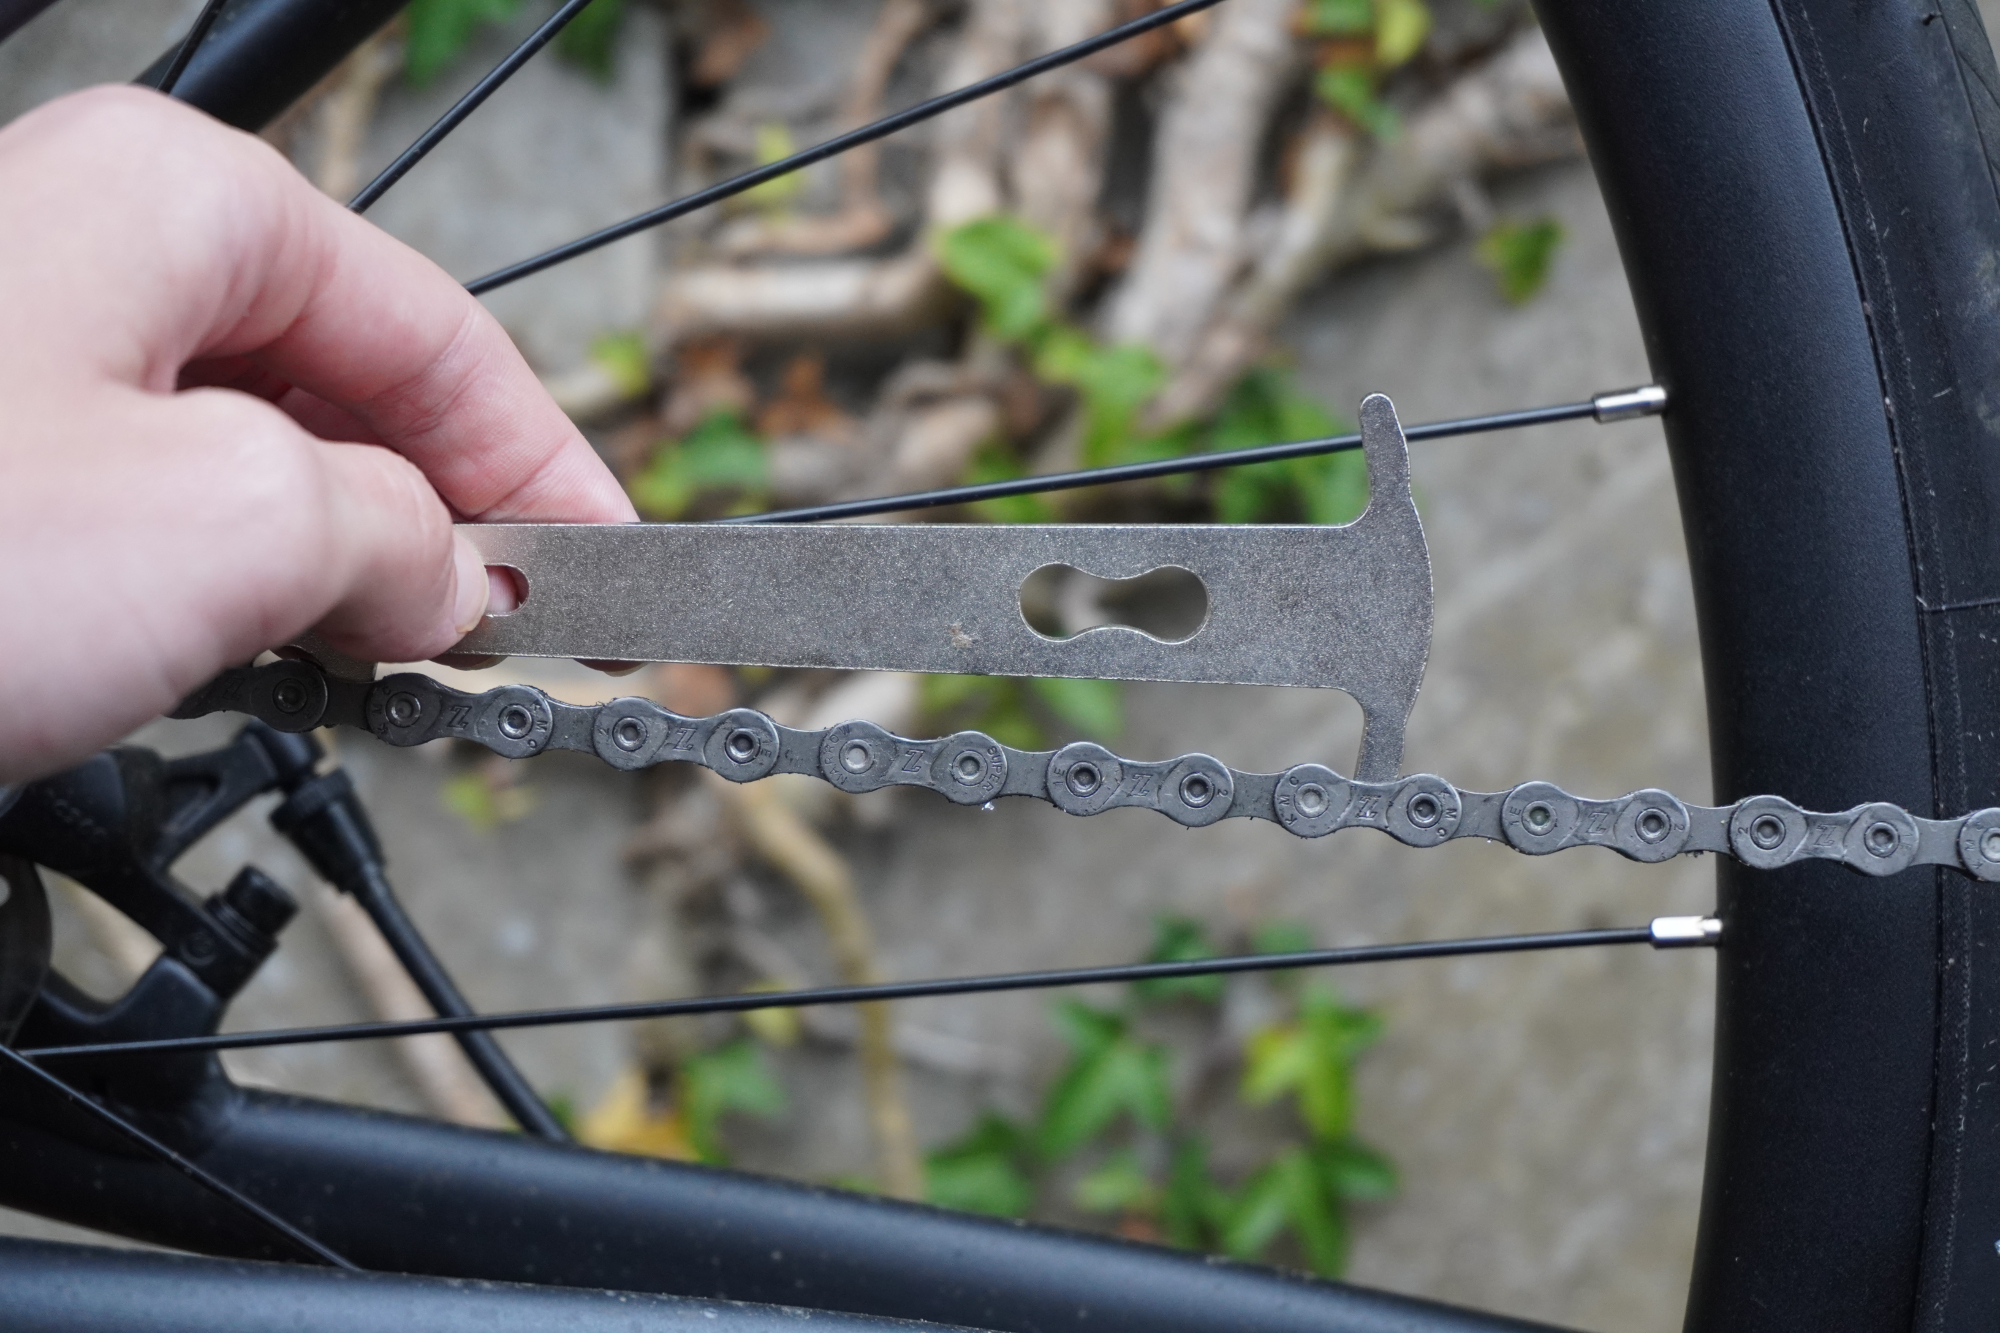
A worn chain is often referred to as having 'stretched'. This is because a worn chain will get longer as a result of the bushings wearing with the chain pins. The chain's pitch - the spacing between the pins - increases as result.
Because there is no standard for how a chain will wear, there are no exact guidelines for when to check or change it. You can check if a chain is worn by putting it on the big ring, and then pulling it directly away from the teeth. A general rule of thumb is if you can see daylight between the chain and the teeth of the chainring it's time to replace.
However, a chain checker is a simple and affordable tool that will take the guess work away from the process. If you replace your chain before it gets too worn you might get away with running the new chain on the old cassette. Let it get too worn and you'll have to replace both (see numbers 6, 7 and 8).
Why? - A worn chain will wear a cassette down quicker and gear changes won't be as slick
Don't - Ride on an overly worn chain, it can be dangerous if it jumps or slips when you put pressure on the pedals.
4. Allen key set
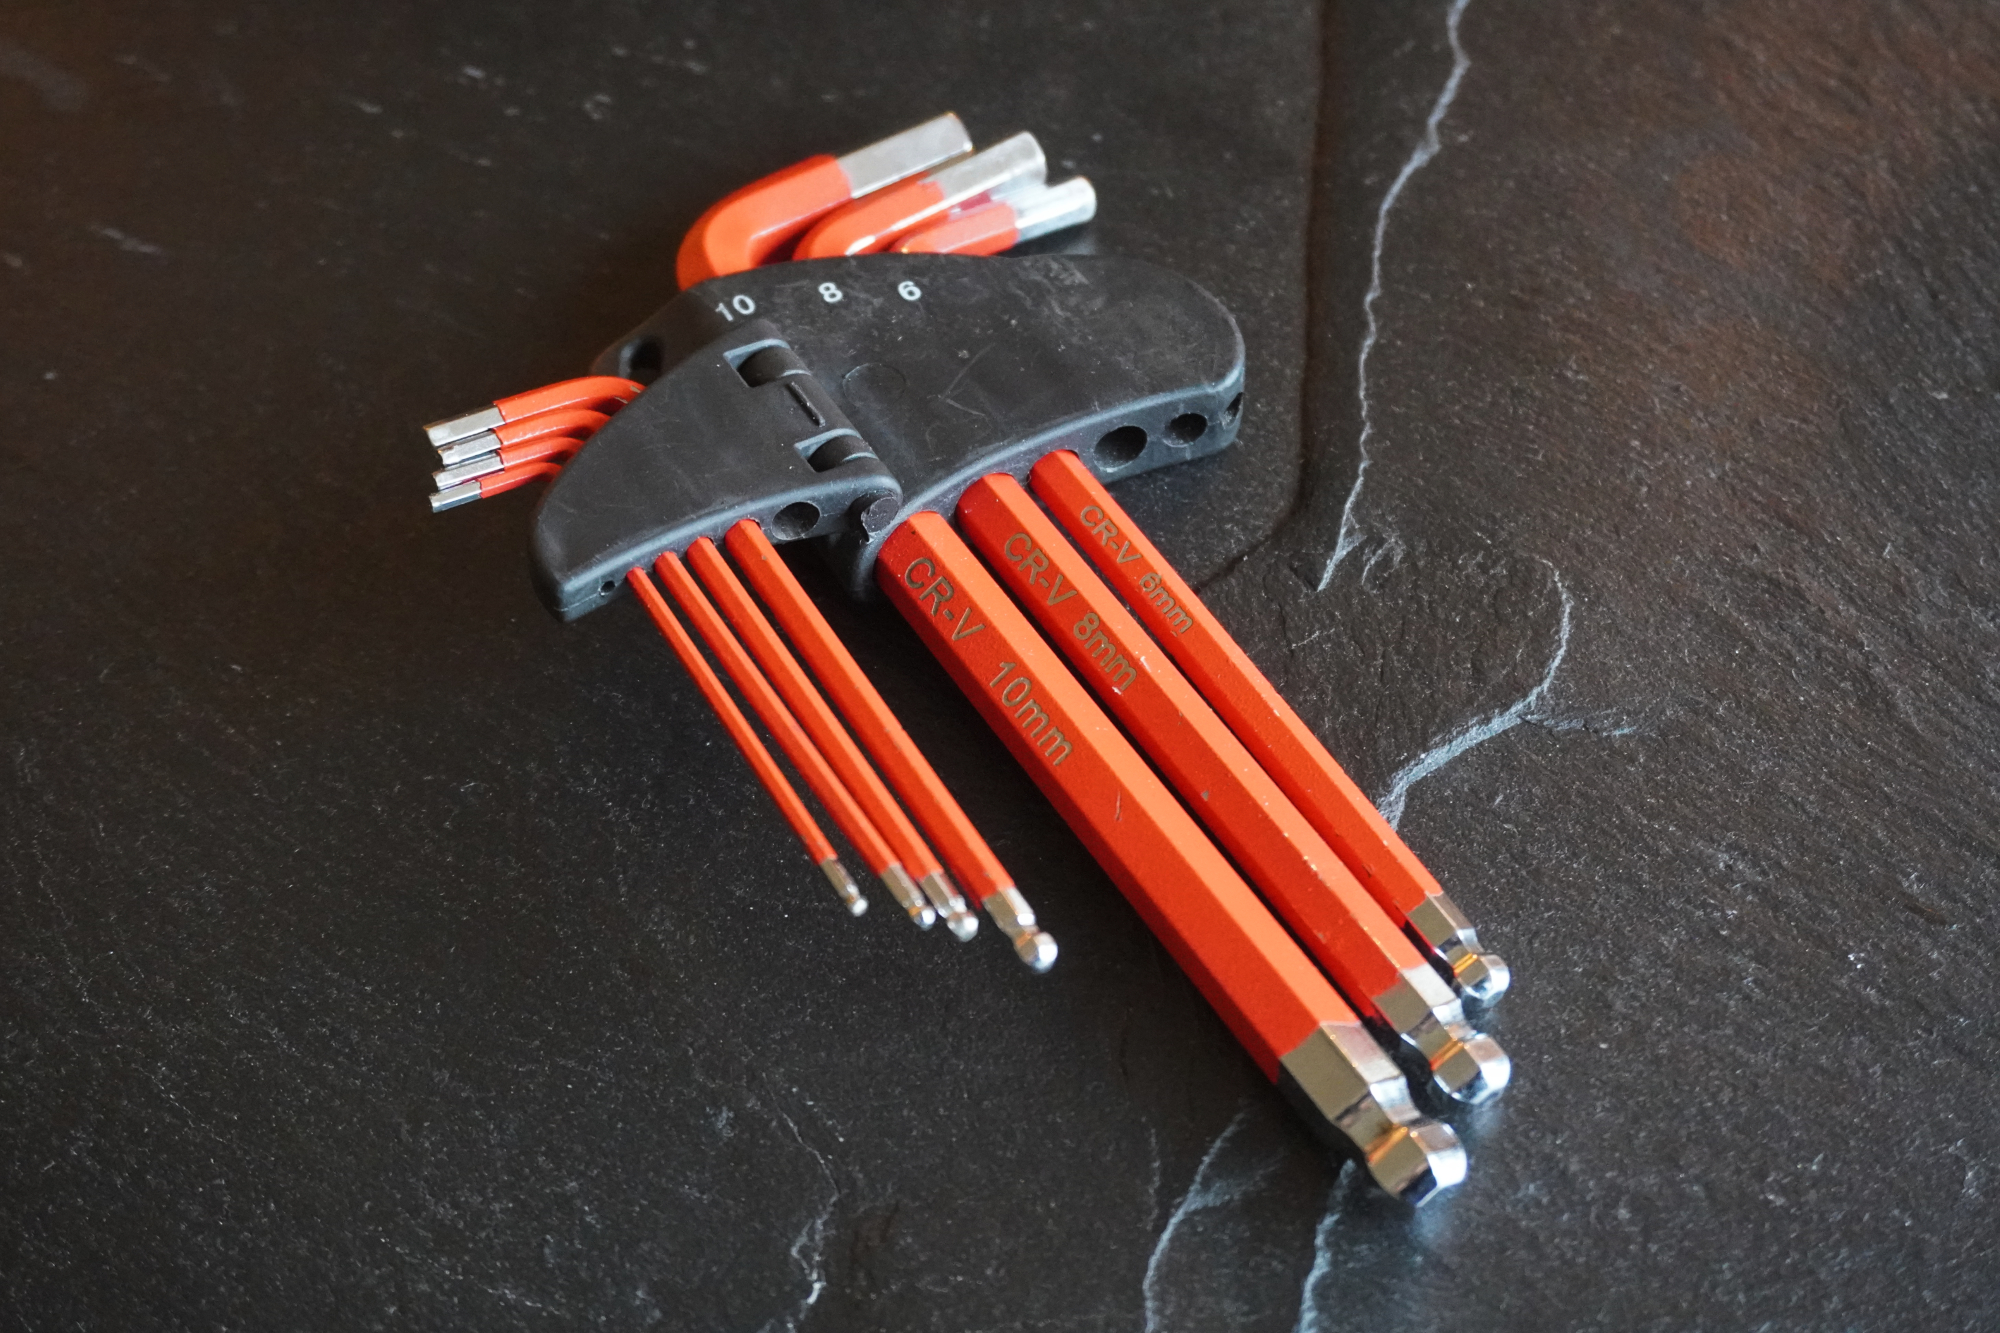
A quick look over your bike will reveal a number of bolts that require an Allen, or hex, key to adjust them. Stem, thru-axles, seat post collar, disc brake caliper. The list goes on. Which means a good set of Allen keys is a must have. Traditionally a 5mm and 4mm where the most common sizes, and while this is still largely the case, you likely to need a few smaller ones, for bottle cages bosses for example, and larger ones, perhaps for those thru-axles or crank bolt.
It's best to invest two sets. One for home use and one to carry in jersey for mid-ride adjustments and mechanicals. Because you're not carrying them on your bike, the set you'll use at home can be longer in length for improved leverage; look for 'L' shaped keys, with the shorter end applying more torque and the long end offering improved reach.
They can even have a plastic handle for better grip and ergonomics. It's advisable to spend as much you can afford on a set, they'll last far longer than a cheap set and, due to the quality of the steel used, shouldn't round off any bolts if used correctly.
It's also worth seeing if your bike uses any Torx head bolts. If it does, you'll need the matching Torx keys. A contemporary multi-tool is likely to have one or two T-keys.
Why? - A bike is built with bolts that have Allen key heads. You WILL need Allen keys at some point.
Don't - Round off bolt heads. Always ensure an Allen key is properly inserted in to the bolt head. Keep it perpendicular to the bolt when turning and apply a little downward (on to the bolt) pressure when turning.
5. Chain tool, 6. chain whip and 7. cassette tool
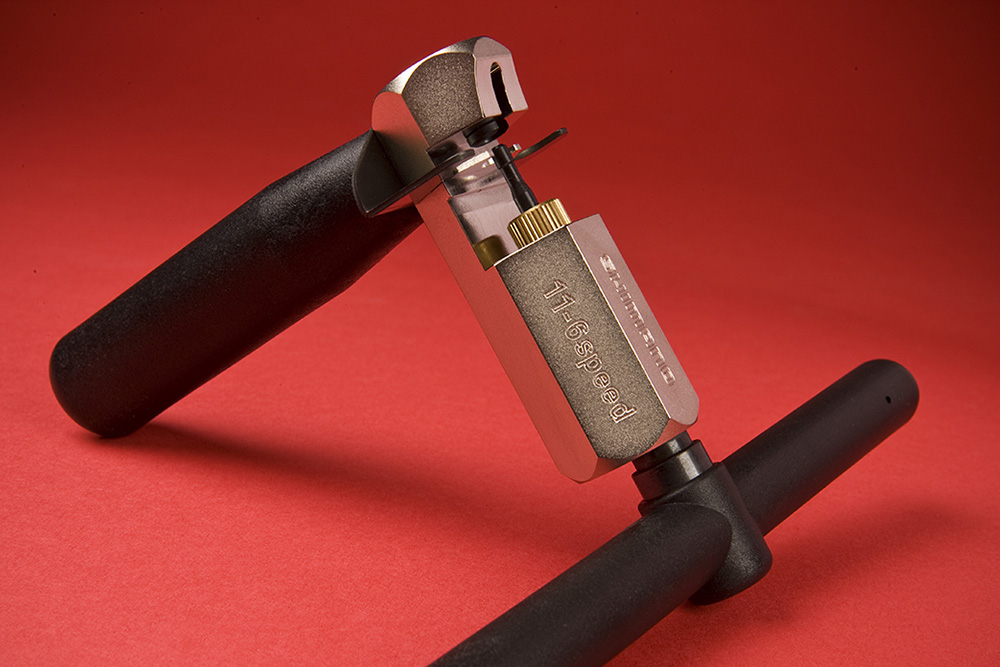
Other than tyres and inner tubes, the chain and cassette are the parts likely to need changing with most frequency. You've checked the chain and found it to be worn, therefore you need to replace it. Chances are you'll need to replace the cassette too. These two parts wear together.
As the chain 'stretches' it wears down the teeth on the cassette so the two continue to mesh together. Just putting a new chain on doesn't work as it won't now mesh with the old cassette. As well as performing poorly it will also wear down your cassette at an alarming rate.
Chances are you'll need to replace both. For that you'll need these three tools. the chain tool breaks the chain, and then puts the new one on (you could also use super links that come with SRAM chains). The chain whip holds the cassette in place while the cassette tool (held by an adjustable spanner) undoes the lock ring. The lock ring unscrews in the same direction the freewheel rotates, which is why you need the chain whip to hold the cassette and stop it from turning.
When buying these tools, you need to make sure they'll work with your chosen components. If you're using one of the latest 12-speed groupsets you'll need to make sure that both the chain tool and the chain whip work with these narrow chains.
As for the cassette tool, you'll need to buy one that matches your groupset, and thus your cassette lock ring - Campagnolo and Shimano have different spline patterns and won't work with on each other's lock ring.
Why? - It's a simple job that you don't need to pay a mechanic to do.
Don't - Destroy the lock ring. Make sure the cassette tool is fully inserted so it doesn't slip out and churn up the slots in the locking.
8. Torque wrench
If you've splashed out on a bike with lots of carbon parts (stem, handlebars, saddle rails etc.) you need to protect them. One of the easiest ways to damage these parts is to over-tighten a bolt that clamps another part to them. Most parts will come with recommended maximum tightening levels (in Newton metres) and the only way to stick to them is with one of the best torque wrenches for bikes. Using this will prevent you from giving a bolt 'just one more turn' that might end up crushing your carbon.
You can buy preset torque wrenches, usually for 4 and 5Nm, which covers the recommended values of most stem and seat collar bolts or example. However, an adjustable wrench is more practical, allowing you to work across the bike with confidence.
Why? - It will protect your expensive carbon parts
Don't - Take it out and put an Allen key in to give it 'one more turn'.
9. Pedal spanner
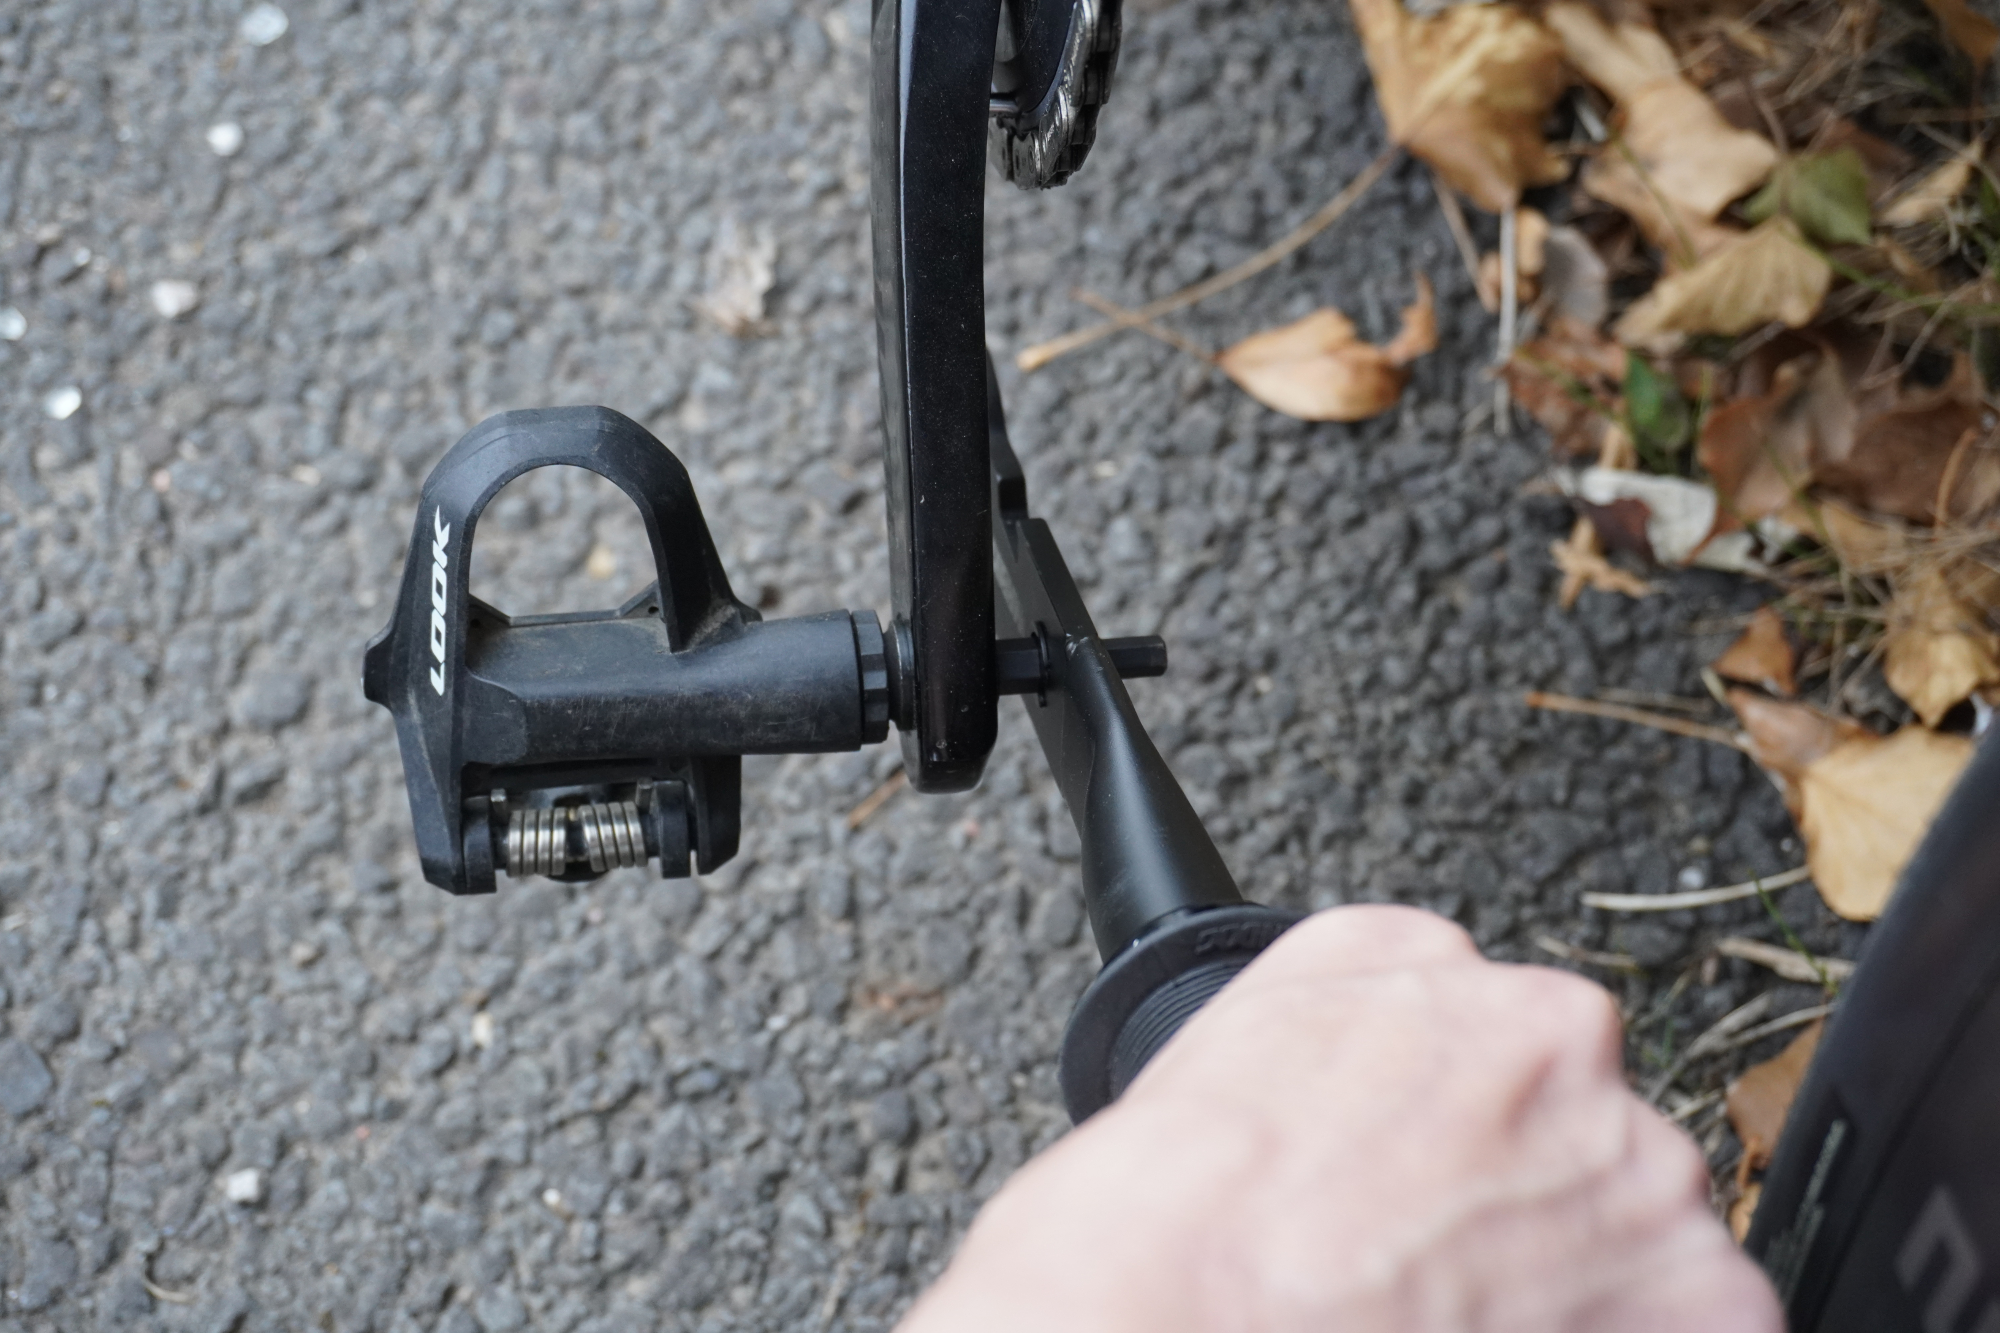
Often you can use a six or eight mm Allen key to remove your pedals. However, A dedicated, long handled 15mm pedal spanner really does make the job far easier, especially if the pedals are proving a stubborn to move. When attaching pedals to the crank be sure not to over-tighten them.
There's no need. It's also worth checking the thread is clean of grit. Remember the threads are different too. The right hand thread will be standard (tightens by turning clockwise), the left-hand pedal will tighten the opposite way (untightens by turning clockwise).
Why? - Because pedals have a habit of getting stuck firmly in the crank.
Don't - Turn the wrong way and accidentally tighten the pedal further.
10. Cable cutters
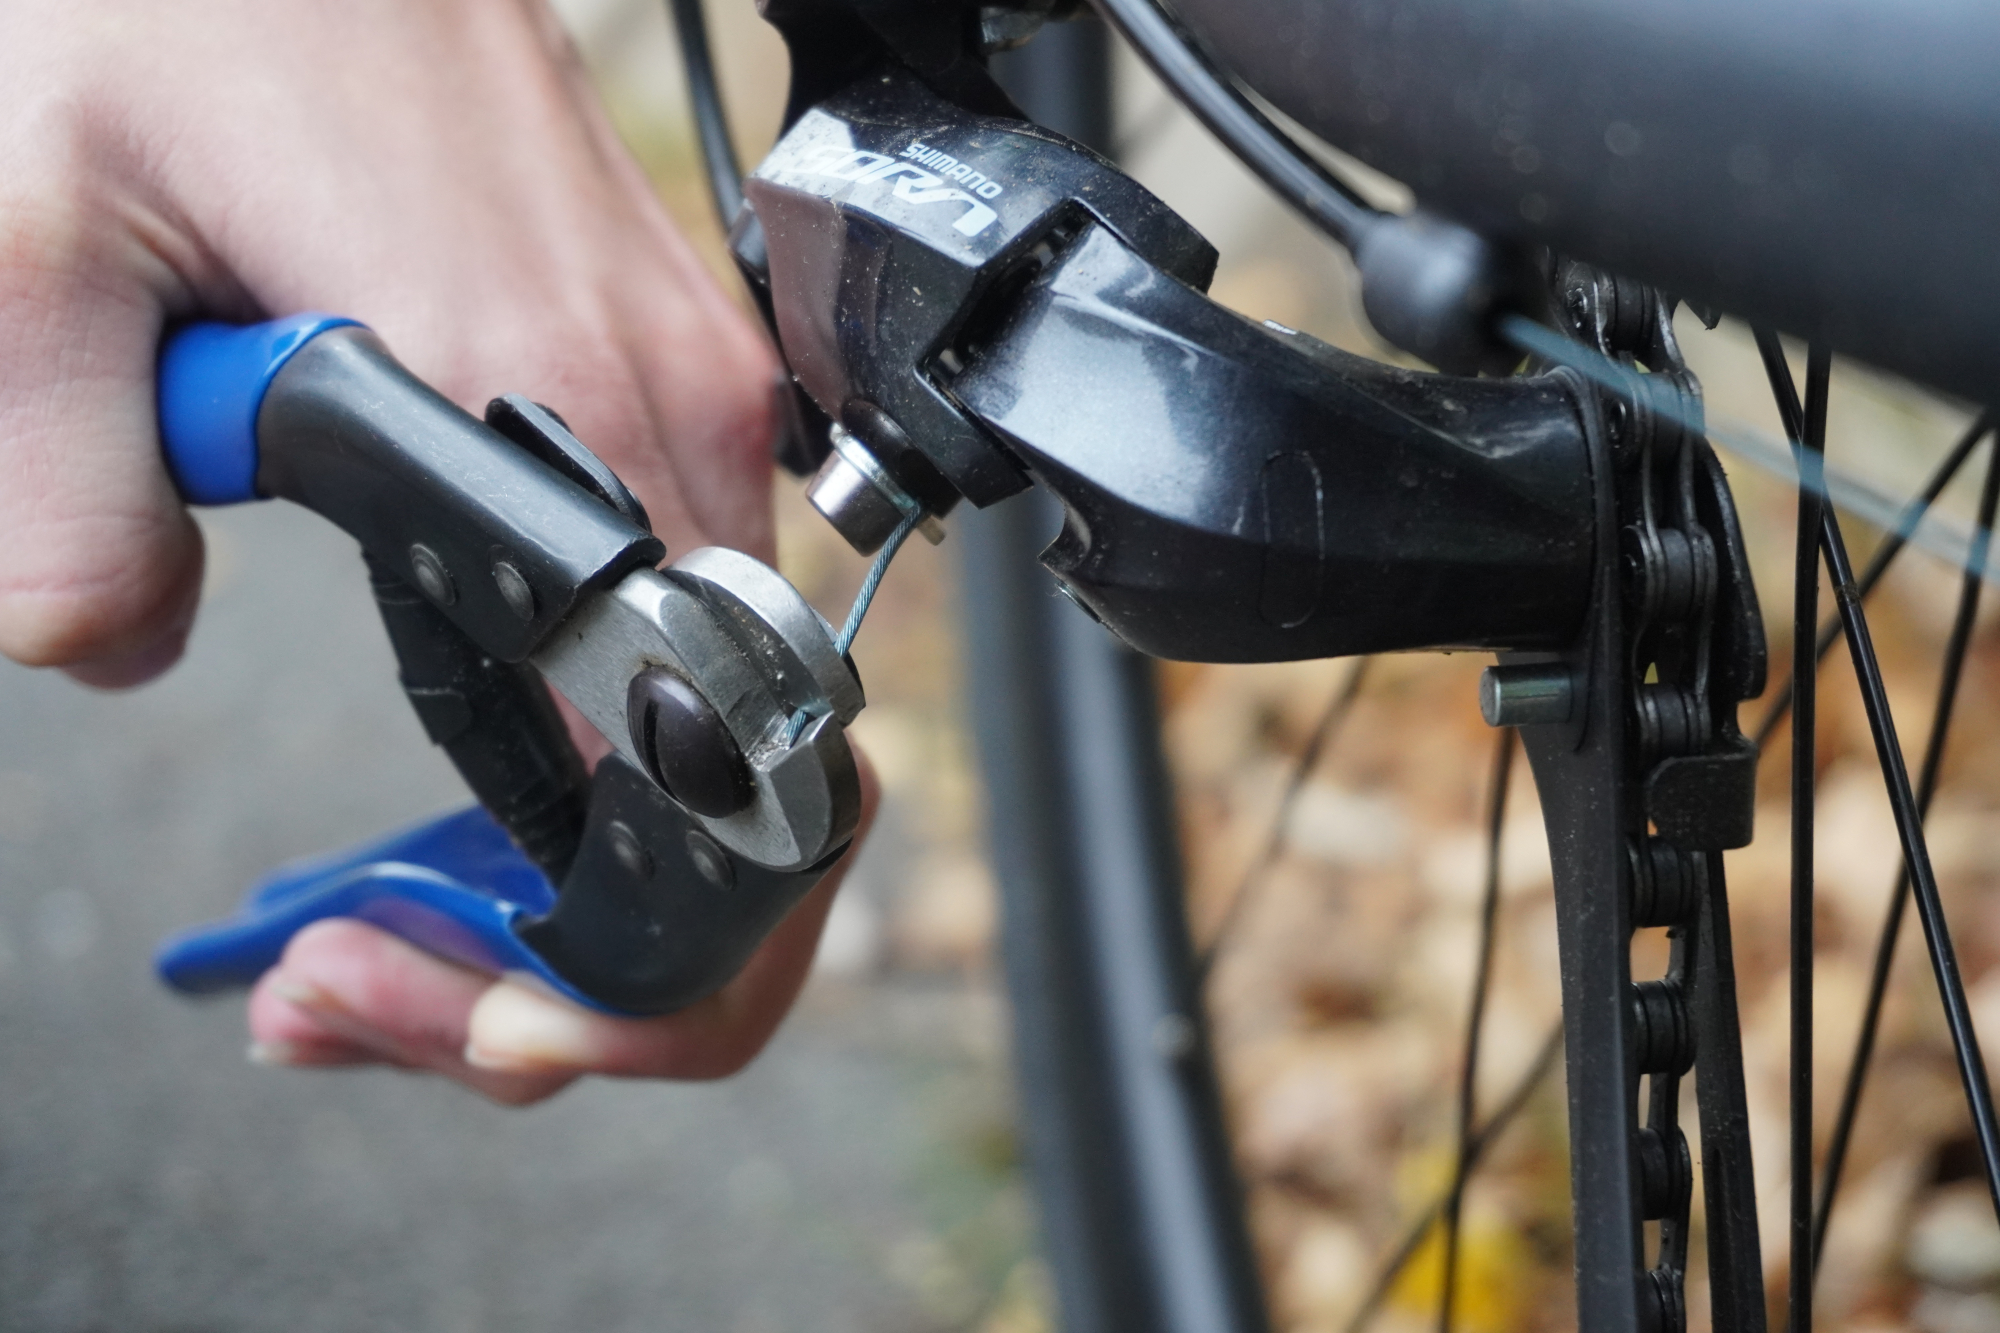
Learning to replace your brake and gear cables is not only satisfying but a great way to save money too. It's fairly labour intensive, which can mean that's its pretty expensive if you're paying a bike shop to do it.
If your bike has internally routed cables you may still wish to get your local bike shop to do the job. Depending on the bike it can be fiddly, as you're essentially having to route the cables 'blind'. However, if you have externally routed cables it's a far easy task and one that can drastically improve the performance of your brakes and gears.
A stretched cable, maybe with some grit in between that and the protective outer cable, can make brakes feel spongy and gears miss-fire. Cables should last several thousand miles, but this does depend on the conditions. Long wet rides will see them wear out more quickly.
Fitting cables is worthy of a whole new article (at least for those not familiar with the process), but whatever you do, don't try and cut them with a blade on an old set of pliers, it will fray the cable. One clean cut with these will keep the cable end neat so a cable stop can be slotted on before being squeezed on to the cable. Sharp, powerful cable cutters will also cut through an outer cable without compromising it.
Why? - A frayed cable will have to be replaced, if left, you're bound to stab your hand with it at some point. Like a paper cut, this is disproportionately painful.
Don't - Try and make do with an old set of pliers
11. Track pump
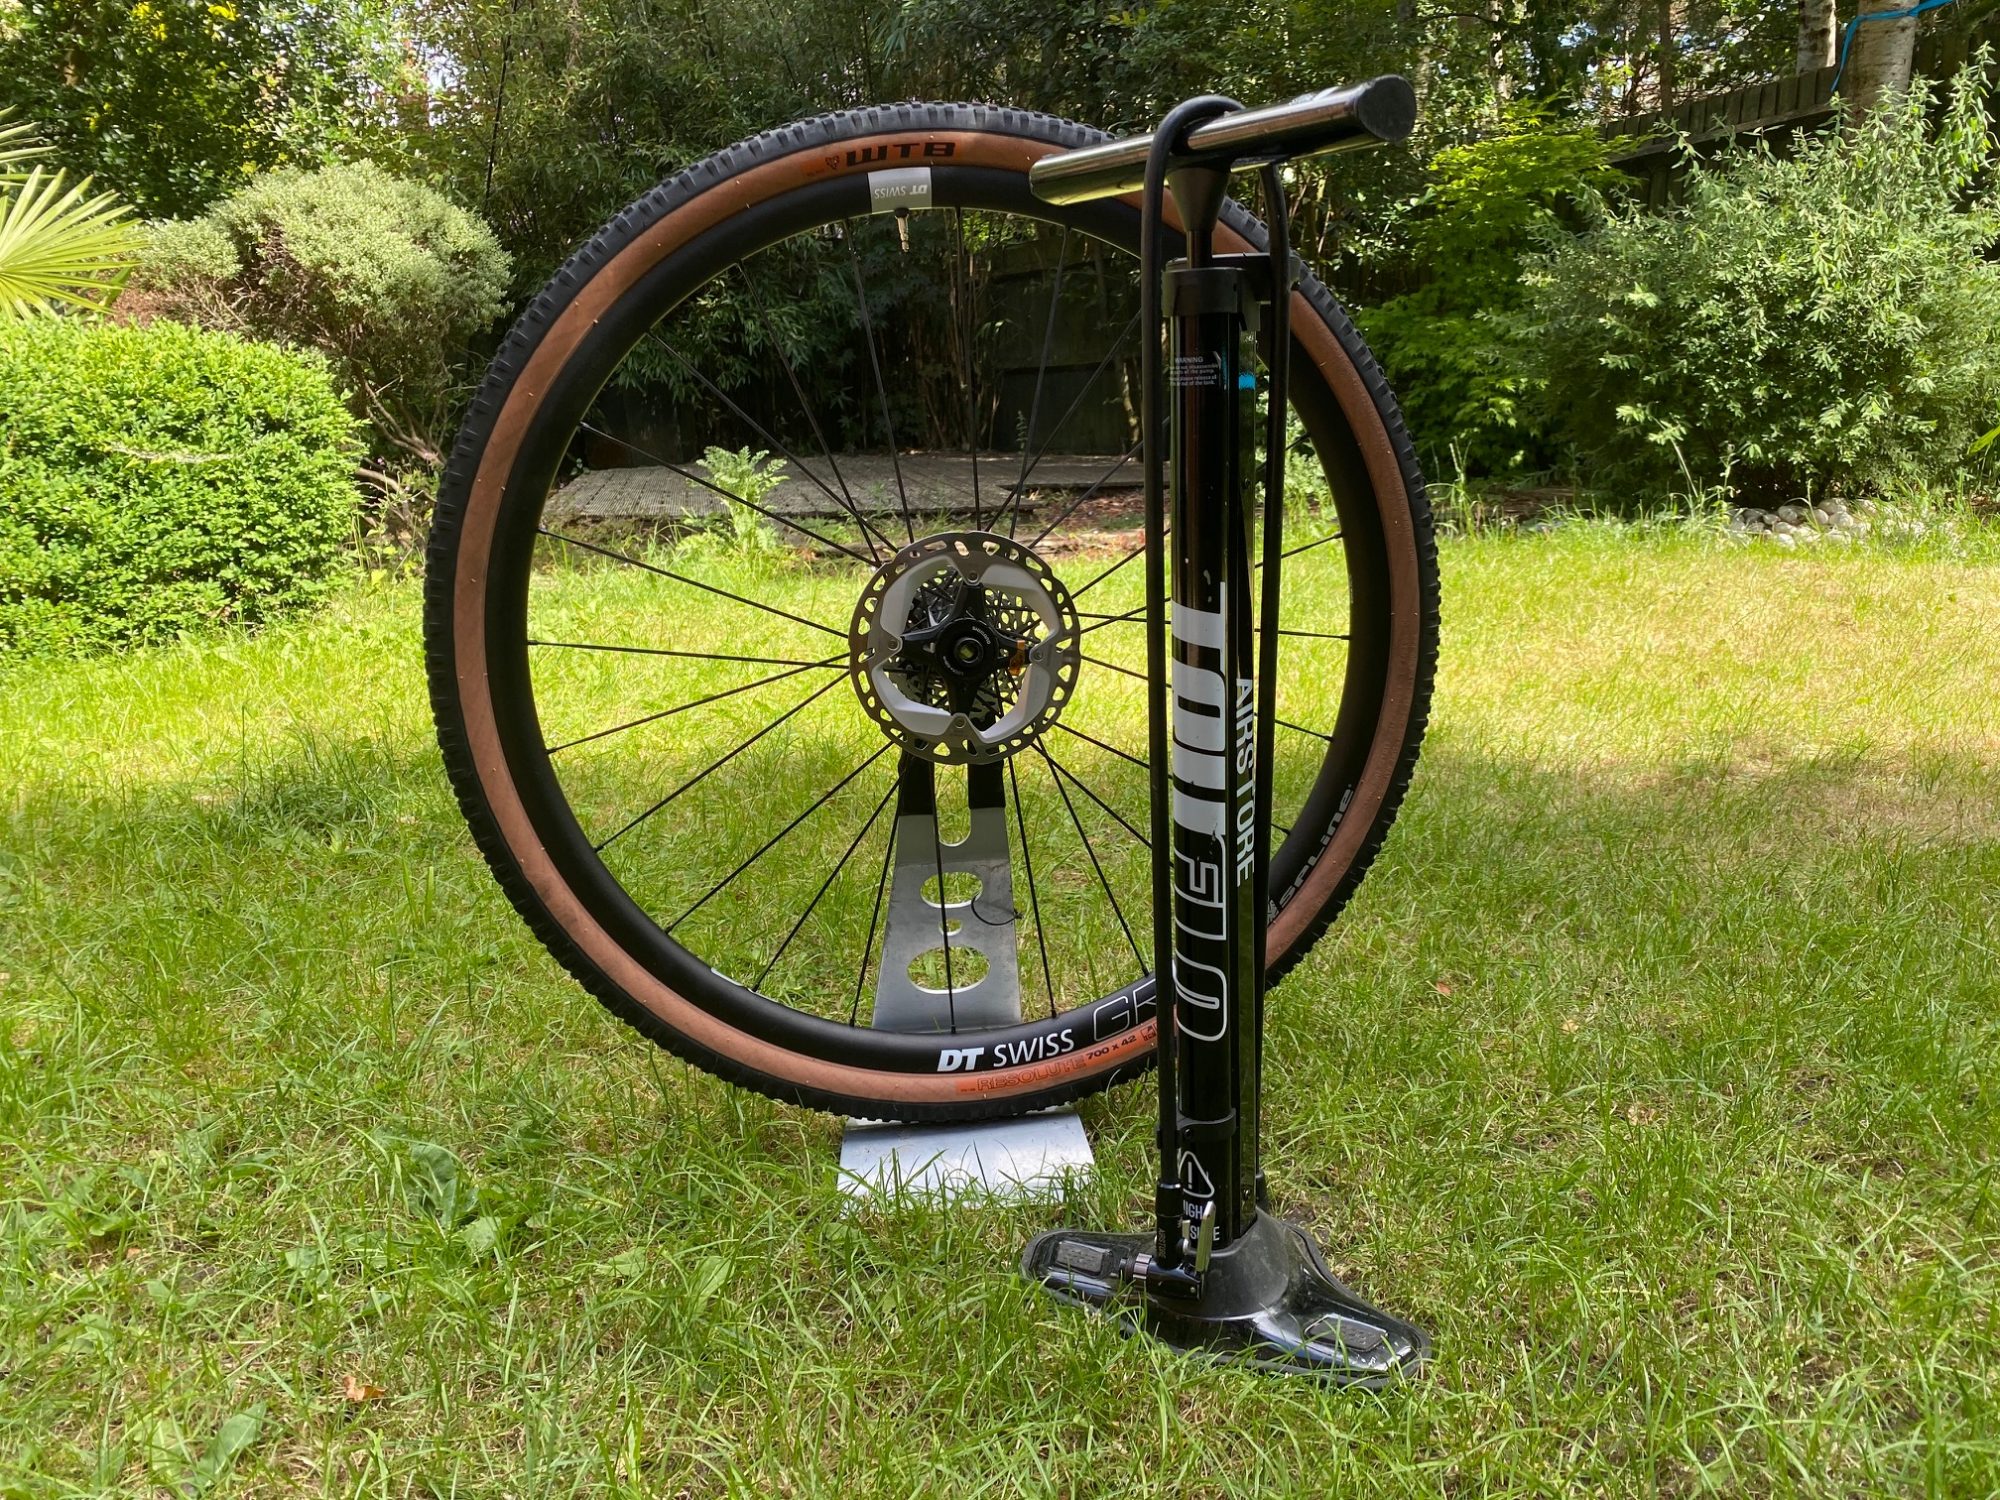
Okay, this isn't really about maintaining your bike, but it will make your ride safer and more enjoyable. You'd be amazed how quickly your inner-tube valves leak air. We're willing to bet that if you went and checked your tyre pressure right now it would be considerably lower than you think.
Tyres work best when inflated to the recommended levels shown on the side wall. However, you'll want to experiment and adjust based on your weight and your riding conditions. Properly inflated tyres will ride better, corner with more assurance and help - in a little way - to prevent punctures. Get in to the habit of pumping up your tyres every time before heading out on a long ride.
If you're running tubeless tyres you'll still need to pay attention to the pressure and ensure its dialled in for your ride.
Why? - Improves ride quality and performance of tyres.
Don't - Let your tyres go more than a week without pumping them up.
Luke Friend has worked as a writer, editor and copywriter for twenty five years. Across books, magazines and websites, he's covered a broad range of topics for a range of clients including Major League Baseball, the National Trust and the NHS. He has an MA in Professional Writing from Falmouth University and is a qualified bicycle mechanic. He has been a cycling enthusiast from an early age, partly due to watching the Tour de France on TV. He's a keen follower of bike racing to this day as well as a regular road and gravel rider.
-
 A bike rack with an app? Wahoo’s latest, and a hub silencer – Sea Otter Classic tech highlights, Part 2
A few standout pieces of gear from North America's biggest bike gathering
By Anne-Marije Rook
-
 Cycling's riders need more protection from mindless 'fans' at races to avoid another Mathieu van der Poel Paris-Roubaix bottle incident
Cycling's authorities must do everything within their power to prevent spectators from assaulting riders
By Tom Thewlis
