Are DIY bike fits any good? How to set yourself up for comfort on the bike
Getting professionally fitted to your bike can be a costly business. Is it really worth it — or can you sort your own set-up quite adequately for free?
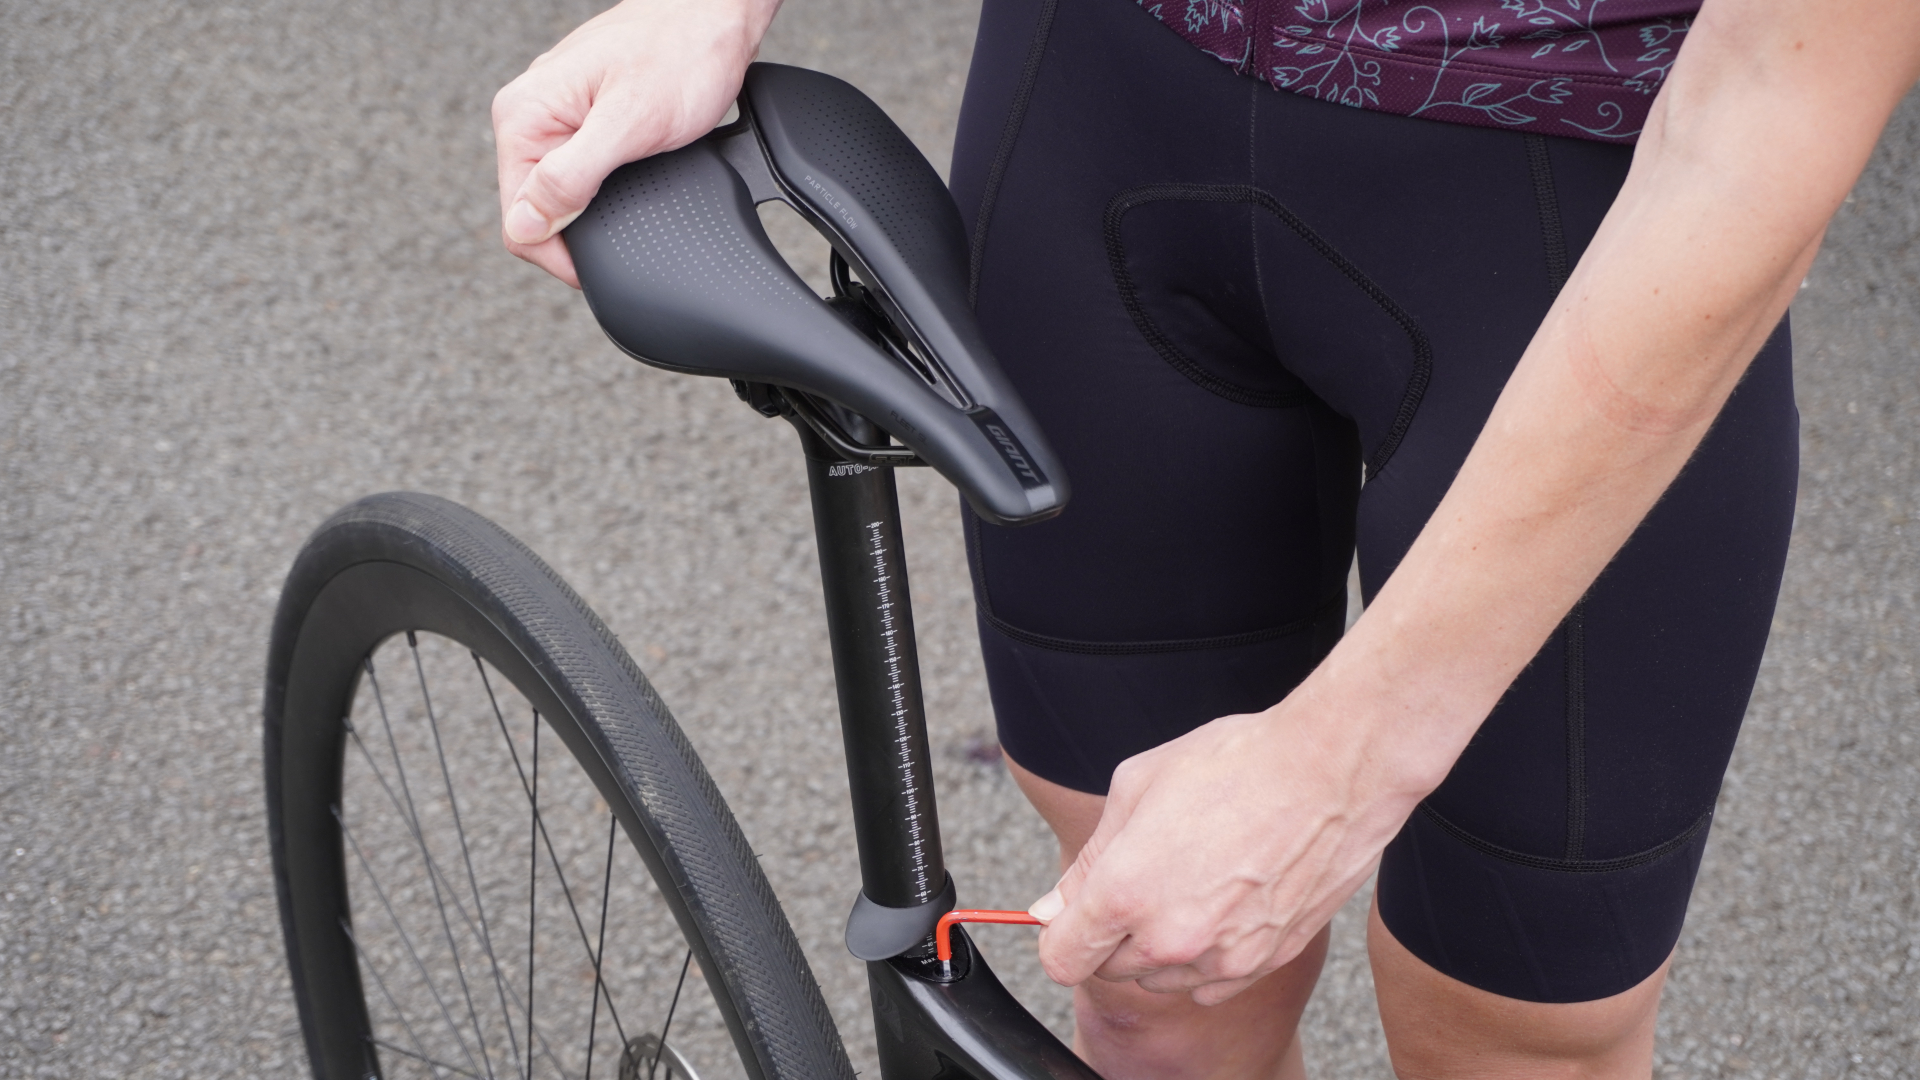
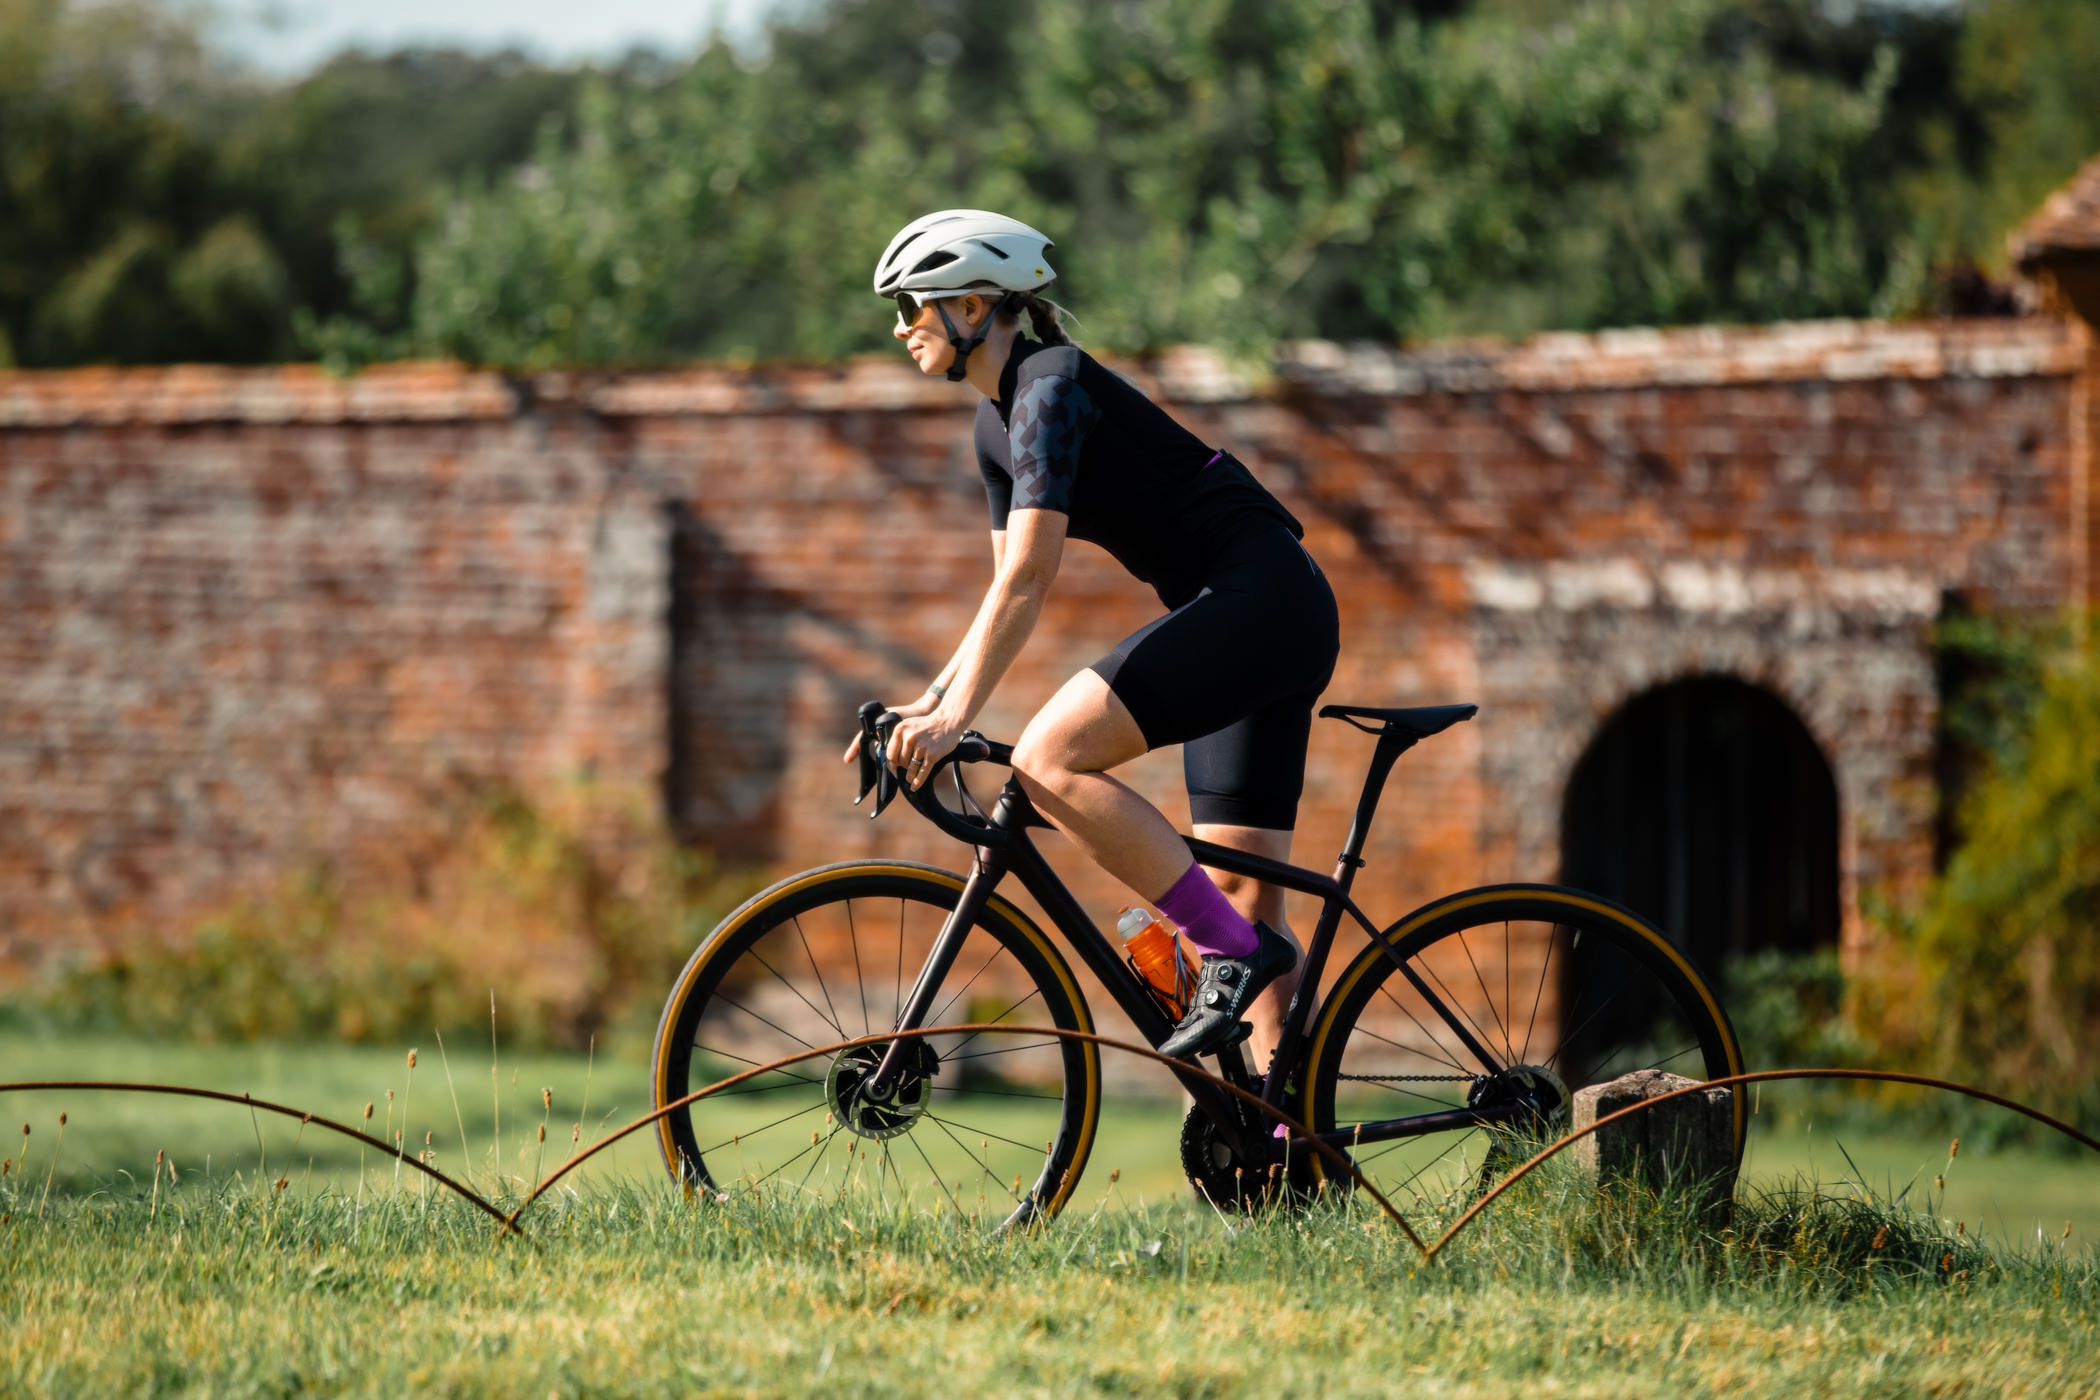
Cyclists have been self-fitting for decades, of course, often with the help of a friend, a mirror, and a trusty plumb line. Is paying someone else to set you up on your bike like buying a dog and barking yourself? Or, a sensible decision, guranteed to avoid injuries?
We'll run you through a detailed how-to on how to get your bike fit dialled at home, as well as taking a look at both sides of the argument as to whether you are best served fitting yourself or whether it's worth getting professional help.
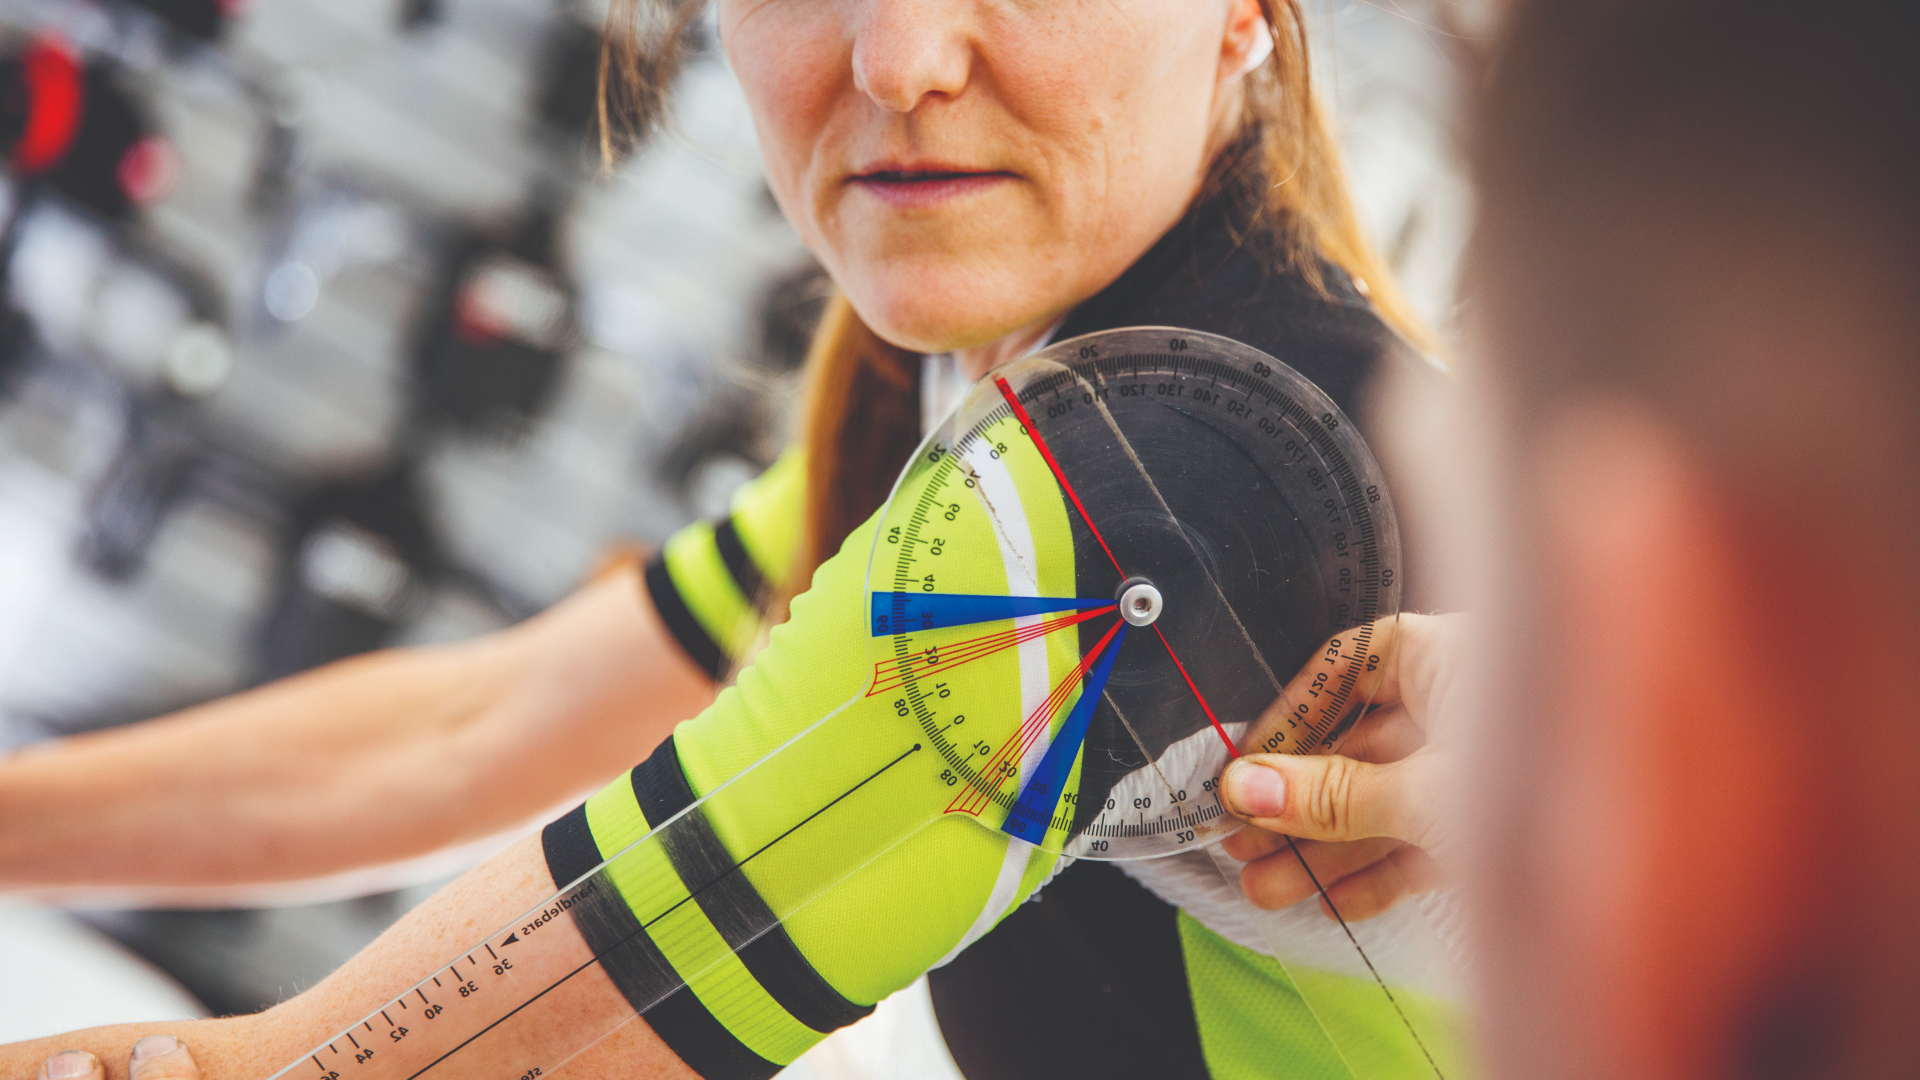
It’s a question on which former British Cycling physiotherapist Phil Burt is surprisingly candid: “I once stood up at a bike-fit conference and said a pretty controversial thing: not everyone needs a bike-fit.
"Some people — who I call micro-adjusters — are more vulnerable to changes in their environment and contact points. Others, who I call macroabsorbers, tend to be able to absorb small changes — their set-up may not be optimal, but it won’t hurt them.”
Few people understand the importance of correct position better than Burt, and yet: “Not everyone can afford a bike-fit, and you might be able to use rules of thumb to sort yourself out.”
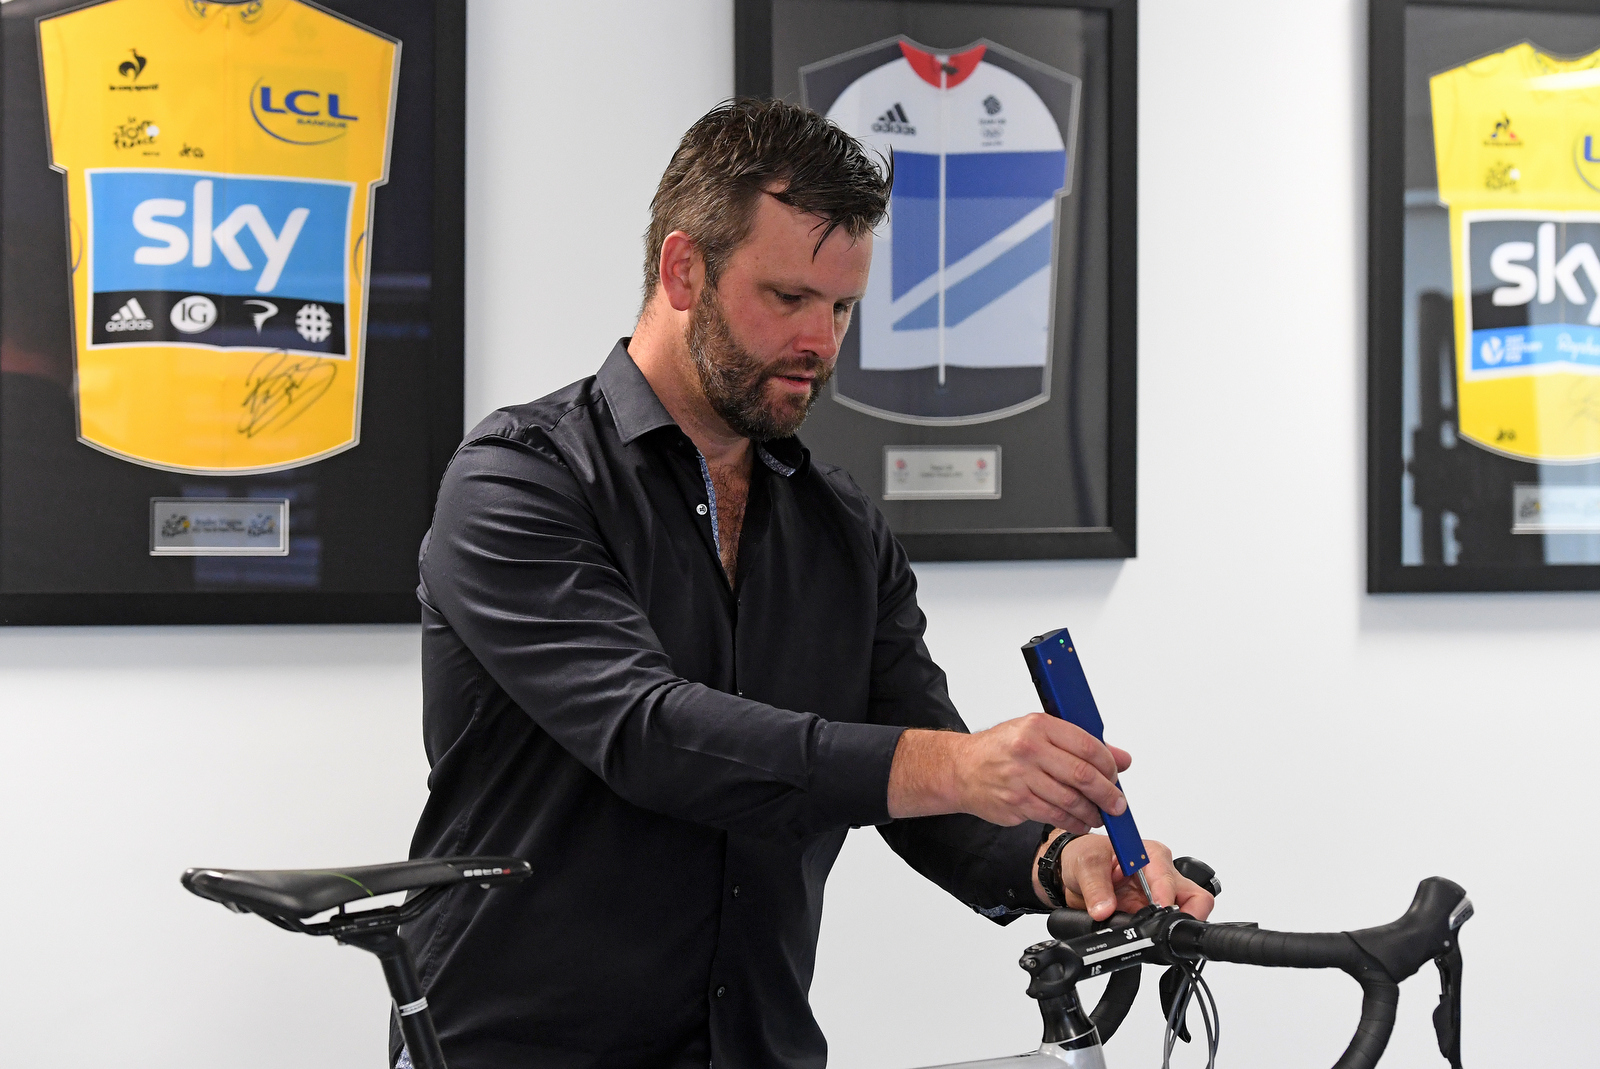
Phil Burt says adjustments need to be made over time. Image: Andy Jones
At his eponymous studio Phil Burt Innovation, the bike-fitter extraordinaire wrote his book Bike Fit to help other people do his job for him. Naturally, a book-guided fit is substantially simplified, with more rules of thumb and fewer individual considerations.
The self-fitting approach is likely to work better for ‘macro-absorbers’ — people who barely notice if their saddle shifts a centimetre.
Get The Leadout Newsletter
The latest race content, interviews, features, reviews and expert buying guides, direct to your inbox!
For microadjusters, self-fit might not be advised. Physiotherapist at Velophysio, Nichola Roberts, told us: “I would say a self set-up is possible but not advisable. If you are going to do it, use guideline measures to put you in the right ballpark, but be prepared to go by feel and tweak as you feel comfortable.”
And there’s no shame in asking for help. “Ask a friend who has some bike knowledge to observe you or film you on a turbo trainer, from behind and in front. If you are getting any discomfort or pain, seek professional help.”
DIY bike fit: how do you do it yourself?
Bike brand Canyon is famous for the good value it offers, largely afforded by the direct-only sales method it employs.
The German manufacturer knows that its customers are buying online and many of them, rightly or haphazardly, fit themselves to their purchases.
Daniel Heyder, one of Canyon’s product engineers, helped run us through the process of a basic self-set-up.
Start at the cleats
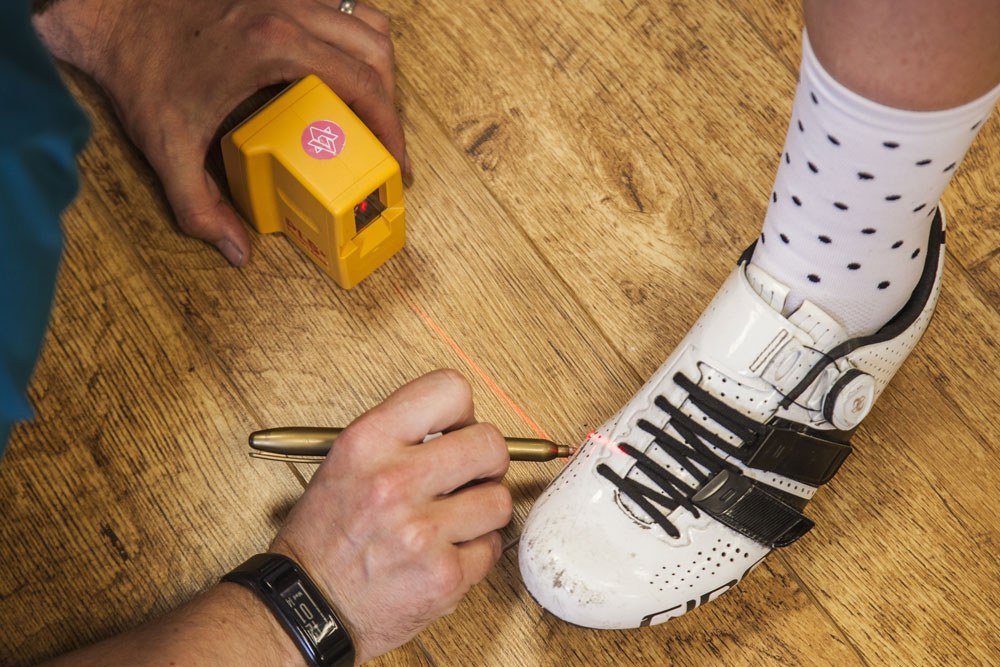
Cleat placement can make or break your ride
It’s very easy to rush at the bike, Allen keys in hand, but actually good bike-fit begins with the feet. The cleat-pedal contact is fundamental to comfort.
When you’re riding clipped in, your feet are the most locked-in component of your body. Misalignment can have a ricochet effect the whole way up the chain, from ankle to knee to glute and lower back.
The most popular method for fitting cleats is to put your shoes on and feel, beneath the soft upper of the shoe on each side of the foot, for the bony protrusion on the inside (first metatarsal head) and outside (fifth metatarsal head).
Mark each with a sticker; draw a line through the two points, then place the centre of the cleat on this line.
Orientation is important too, and according to Heyder should follow your “natural stance”.
To ascertain this, sit on the edge of a table and let your feet hang loose. Ask someone to look at the angle of your feet (if you look yourself, you’ll subconsciously self-correct) — they’ll naturally turn slightly in or out. Set up your cleats at the corresponding angle to match.
Cleats can be adjusted to account for differences in stance width — the distance between your hips — but the degree of adjustment available is limited. If you have wide hips, it may be worth investigating Speedplay pedals, where longer spindles can be used to bring the feet out, helping to straighten out knee tracking.
Cleat position troubleshooting
Nichola Roberts says: “Where people often go wrong with cleats is that they don’t take into account where their feet naturally hang when the leg is bent or at rest. So they either put not enough or too much rotation into the cleat. This usually results in pain on the outside of the knee, or behind the knee.
“Cleats that are too far forward or too far back generally result in knee pain. It’s rare that you actually feel it in the foot. I’d normally suggest that if you’ve changed your cleats, be aware of any twinges in the knee — and respond by making movements in small increments. When you come to change cleats, draw around them, then draw lines from your outline at key points, and take a photo.”
Find the right saddle position
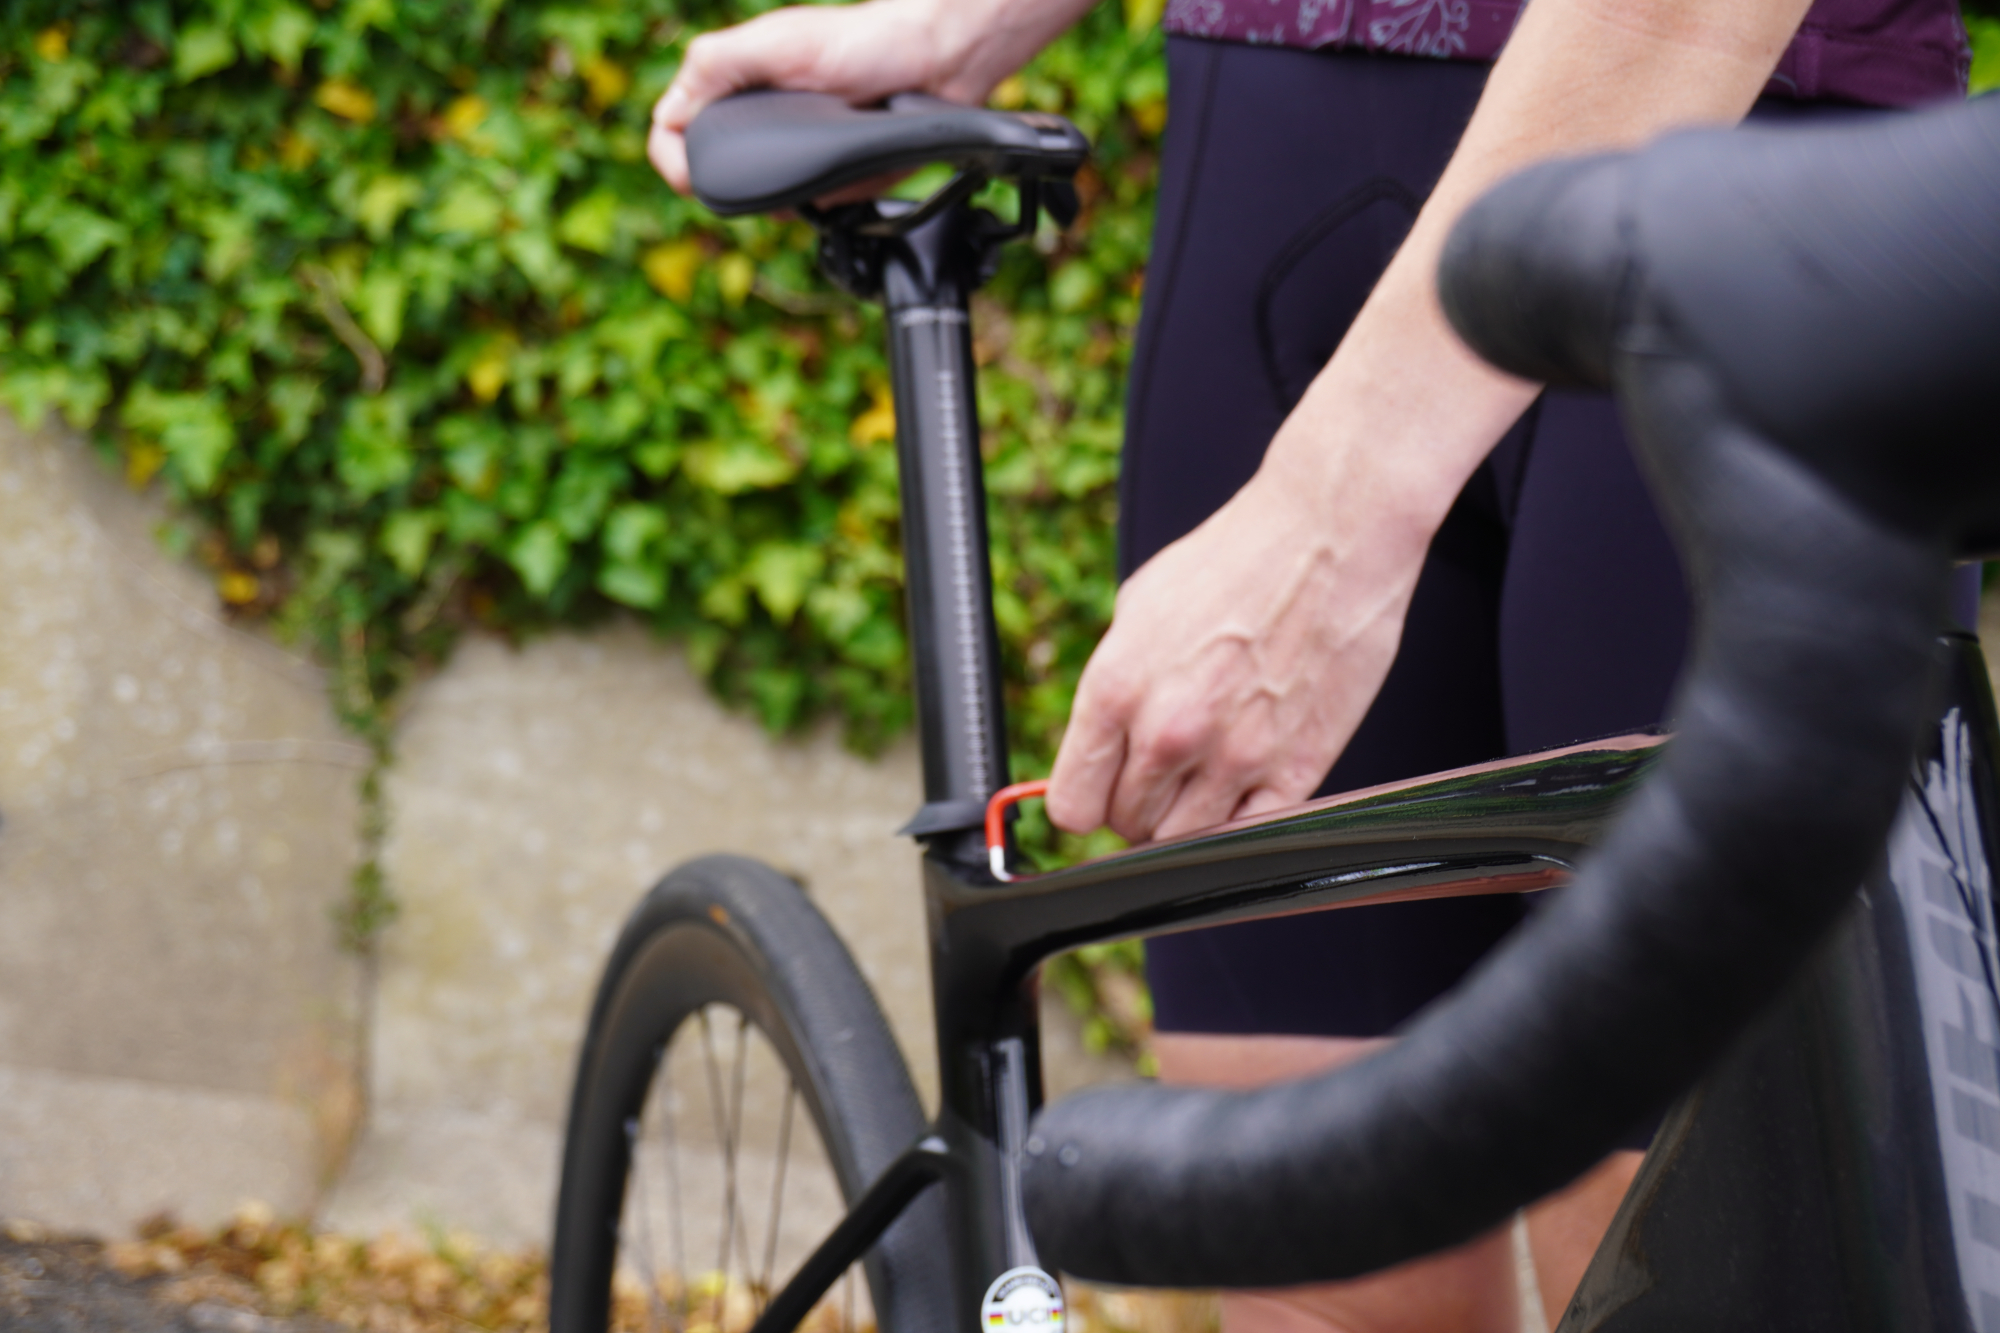
Saddle height, fore and aft - as well as the angle - are very important elements of a good bike fit
Starting with the saddle angle, the traditional advice has been to set it so it's bang-on parallel with the ground, at zero degrees. More recently, professional cyclists have been tilting their saddles down a few degrees to help relieve pressure - especially when in an aggressive position, with a big drop to the handlebars.
For beginners, though, who will likely have a less extreme saddle to handlebar drop, the traditional advice of a flat saddle tilt is very good place to start.
For setting your saddle height, the basic formula is to multiple your inseam height by 0.885 — the resulting measurement should be the distance from the centre of the bottom bracket and top of the saddle.
This longstanding equation is called the ‘LeMond Formula’, after the famous American cyclist — though it was actually his French coach Cyrille Guimard who came up with it.
The algorithm seems to have stood the test of time, but doesn’t take into account differences in pedal shapes, shoe soles or crank length. It also assumes that all cyclists have the same dimensions and level of flexibility — which they don’t. It’s a ballpark estimate, but will get you into the right region.
An alternative is to drop the crank to full extension and rest your heel on the pedal, setting the saddle height at the point where the leg is entirely straight (and therefore has a soft bend when clipped in).
‘KOPS’ (knee over pedal spindle) is used to find the correct fore/ aft (front/back) position of the saddle. While clipped in, with the cranks horizontal, drop a plumb line from the back of the kneecap to the pedal spindle — it should pass through the kneecap and pedal spindle.
Saddle position troubleshooting
Nichola Roberts says: “If you get pain or aching at the front of the knee, it may well mean the saddle is too low, which increases the angle at the top of the stroke, creating more force through the front of the knee. If it’s too high, you can experience pain at the back of the knee, around the hamstrings or ITB. It can also give you back pain, from movement in the saddle, and Achilles pain. Bear in mind knock on effects.
“Adjusting fore/aft will change your hip angle. If you move the saddle forward, you open the hip angle; if you go back, you close it. I’ve seen people suffer hip pain from the saddle being too far back, and knee pain from it being too far forward, but it’s very individual. It’s not all about the saddle, either.
“One thing people tend to overlook is crank length. Anyone who is having back or hip pain may need to consider shorter cranks. Bike frames are quite arbitrary in their measurements. If you have a long body and short legs, you will likely need a longer bike, with the saddle height lower. If you’re on 175mm cranks, this might mean your hip angle is closed as you pedal — but a shorter crank could open that up. Shorter cranks could also help someone who is less flexible, and perhaps can’t put the saddle as high.”
Over here we share the pros and cons of various crank length calculators to help you find the optimal setup for you.
Don't forget: making adjustment to fore/ aft affects saddle height. If you move the saddle back, it’ll increase the height, go forward and you’ll see a decrease — always re-measure height after making set-back adjustments. If you change your crank length, remember to add or subtract the relevant distance from your saddle height
Adjust your reach
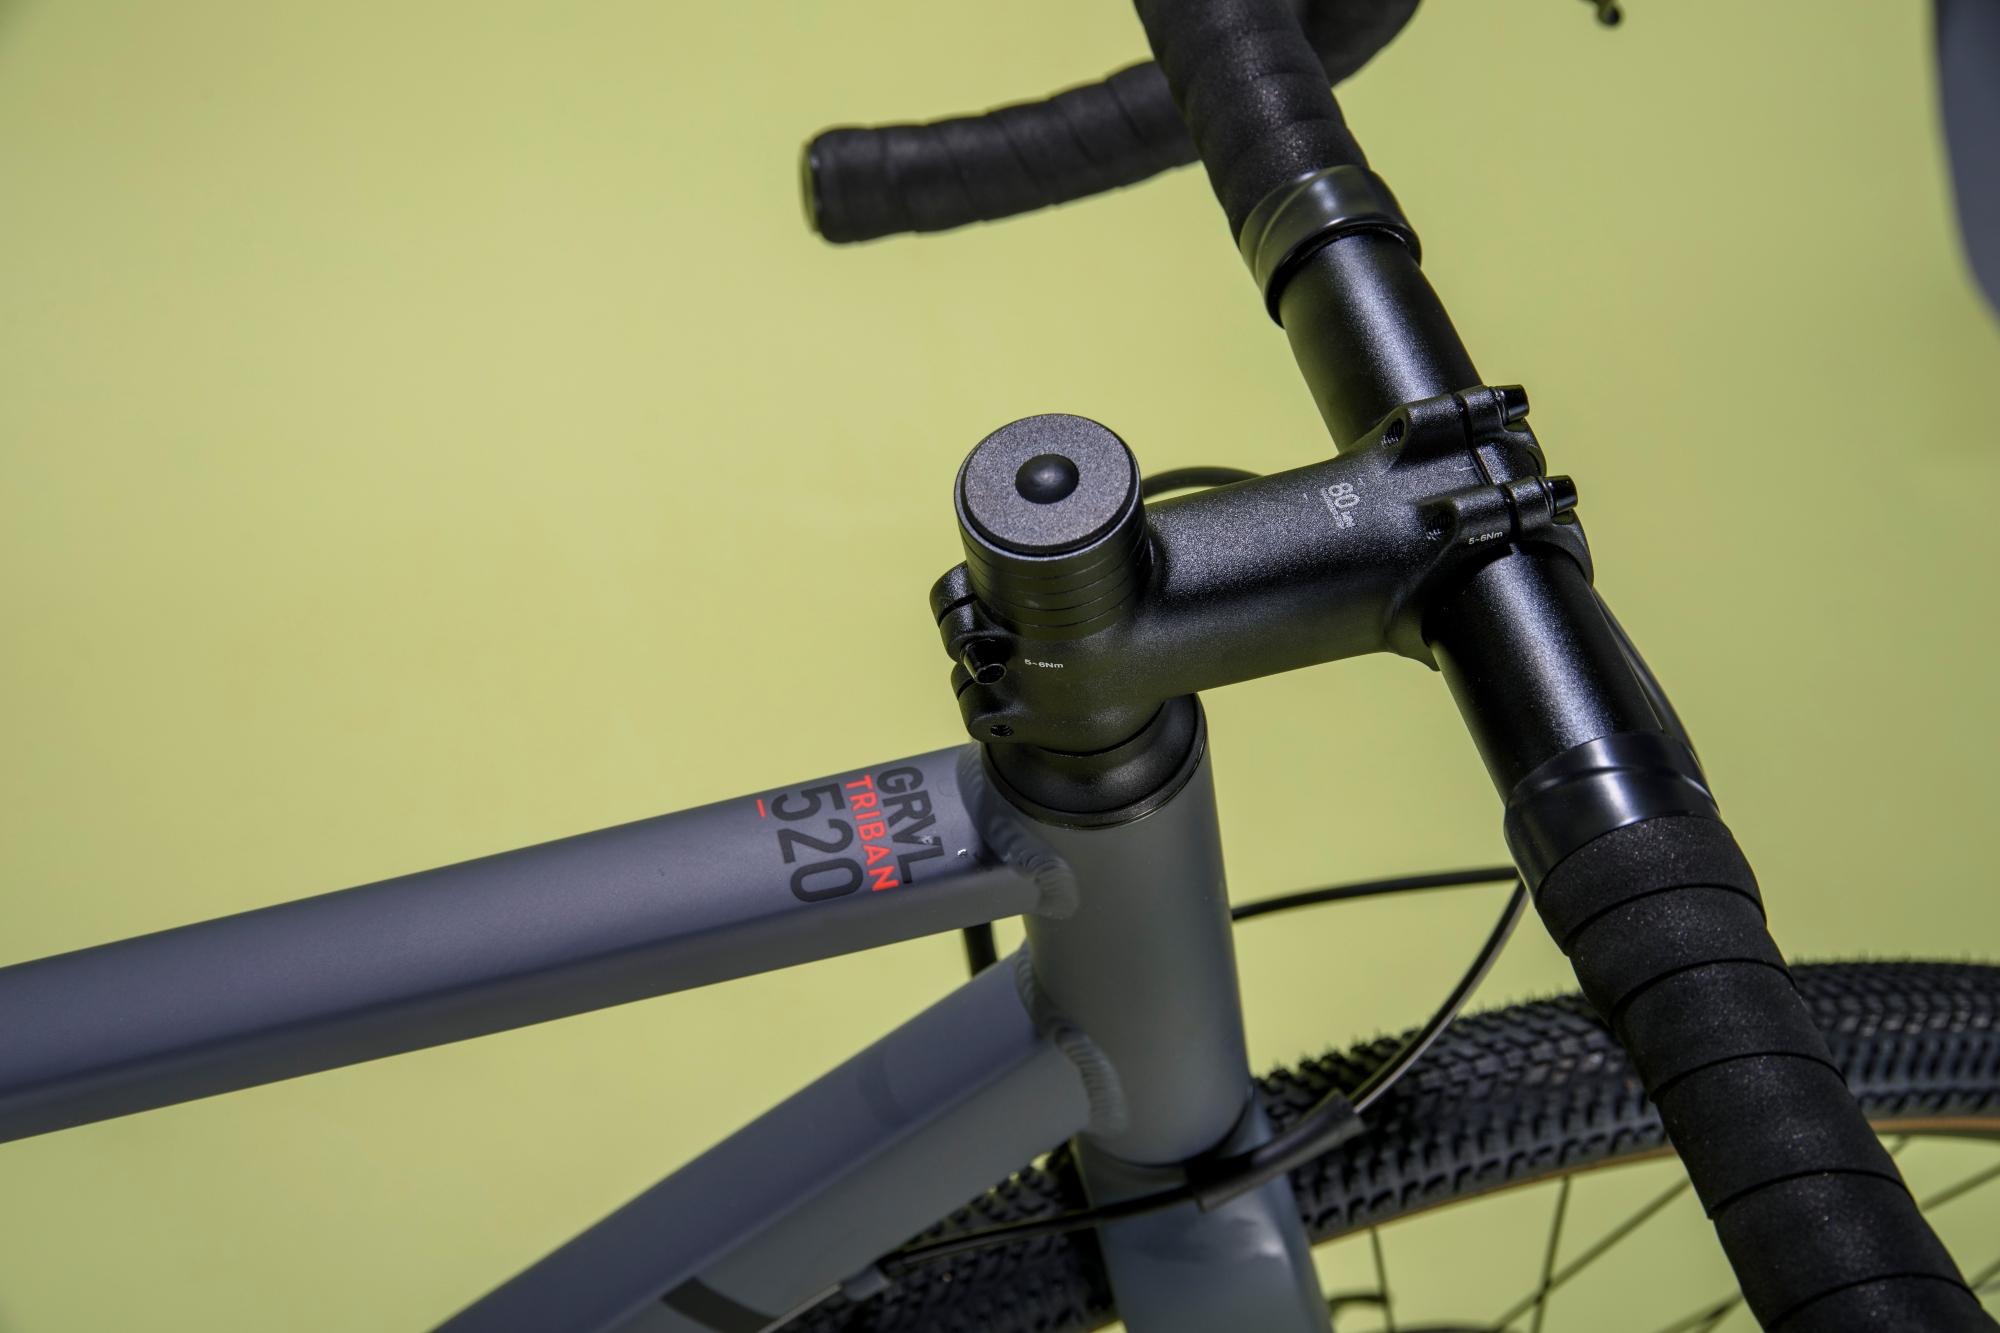
Swapping to a longer or shorter stem will adjust your reach
This is where things become a bit more personal. Your optimum, explains Heyder, will come down to “experience, personal preference, body anthropometrics, aerodynamics and body mobility. Many experienced riders tend to go longer and lower in the front due to a better body mobility.”
He suggests that you aim to maintain a relaxed angle — 160 to 170° — between your lower and upper arm. The drop you want on the front end will change over time, too.
“As a beginner, start off with the maximum spacer height and decrease the number of spacers used over the course of the season — your body will adapt accordingly if you make the changes slowly.”
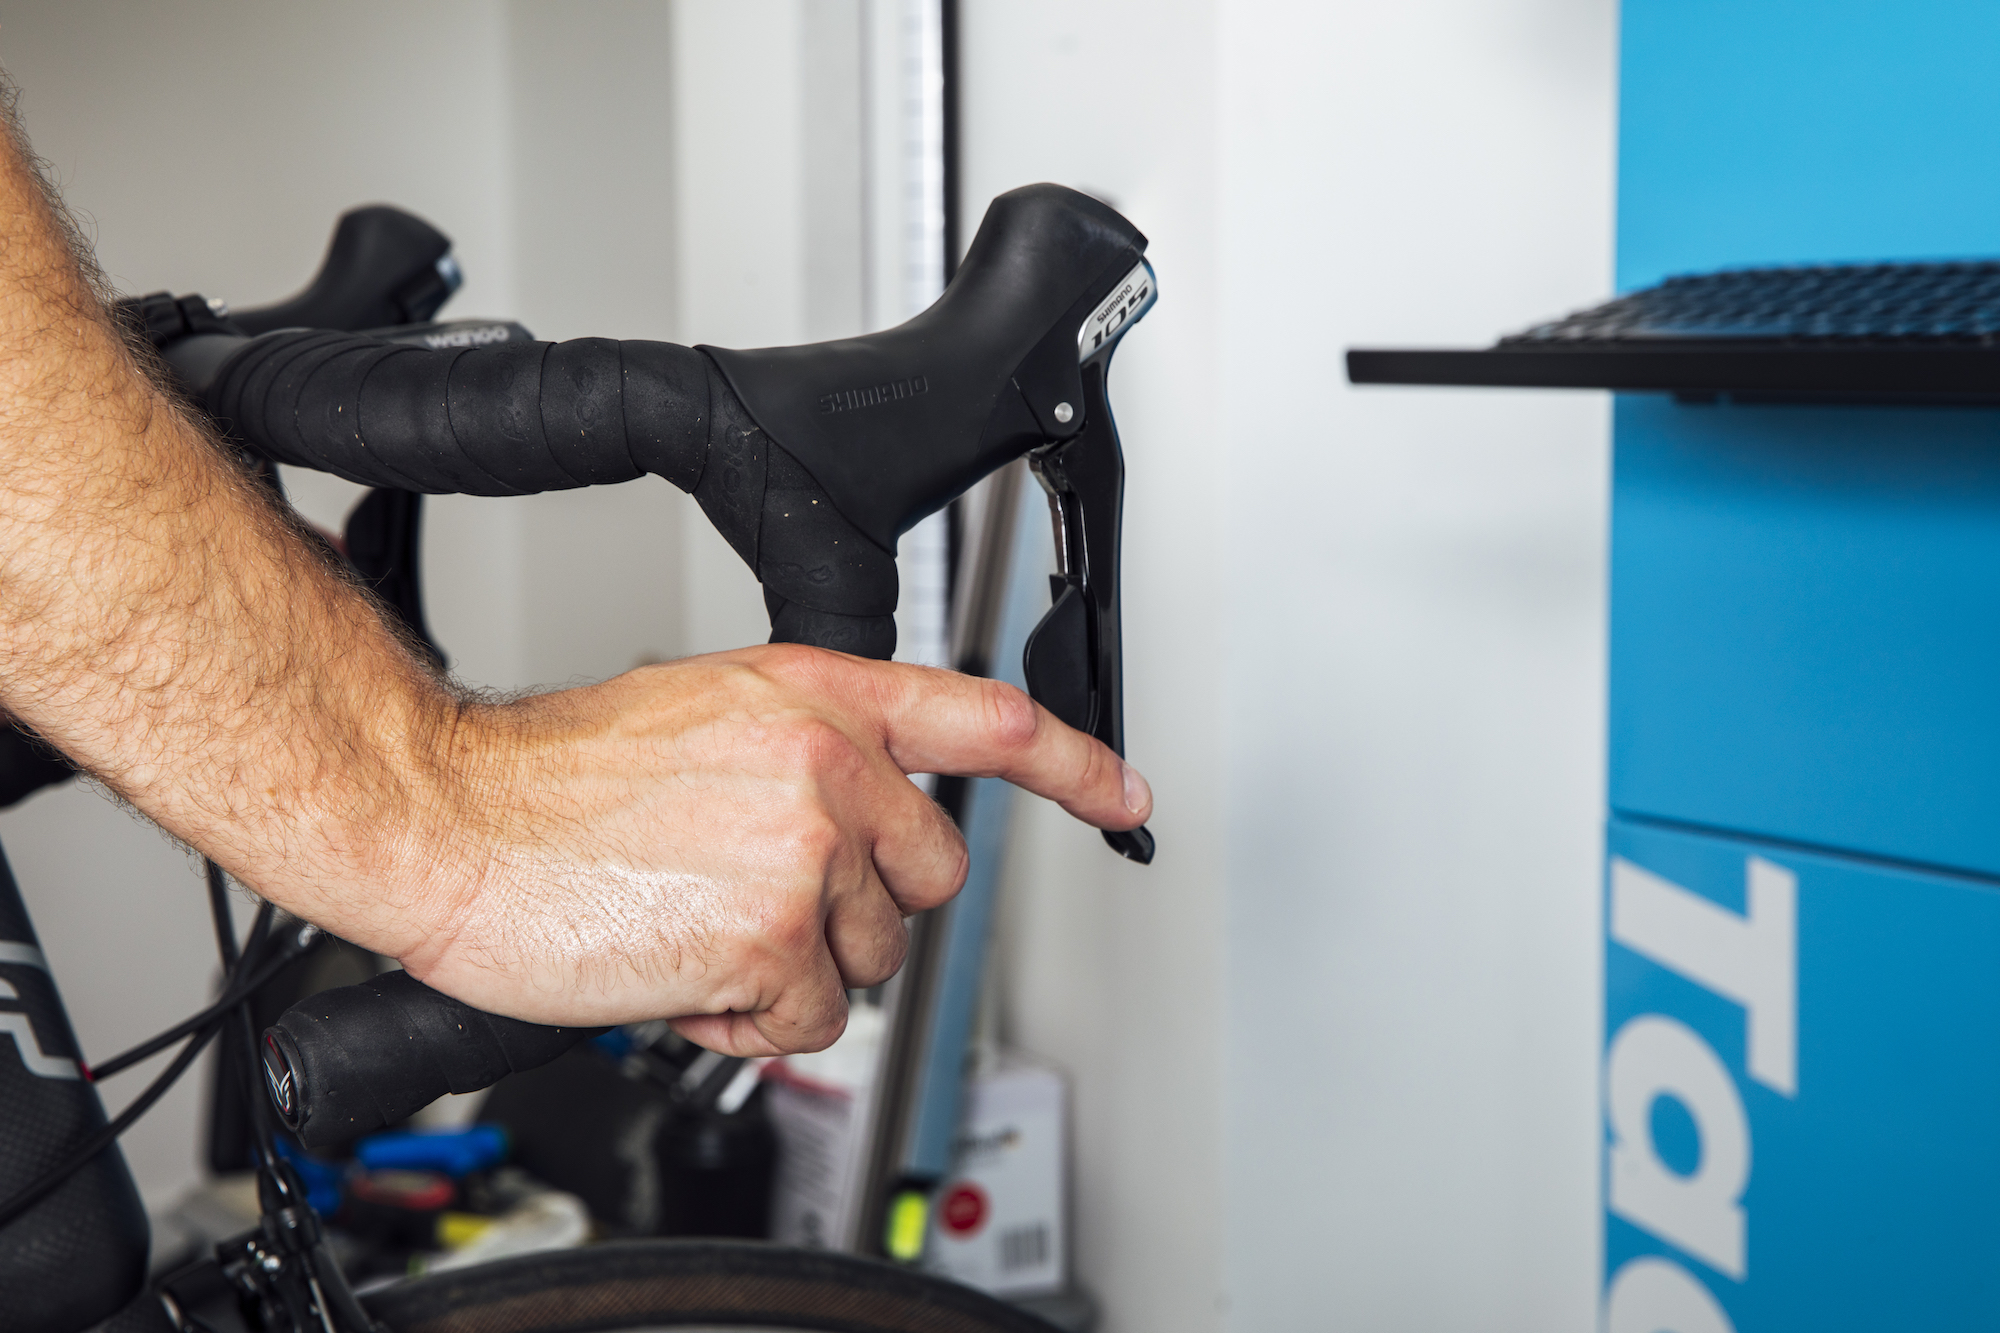
You want to be able to reach the levers comfortably
It’s worth remembering that handlebars play a vital role in setting your reach, with bars that are too wide adding extra distance. The ideal width usually mirrors the distance between the two bony protrusions on your shoulders.
Troubleshooting reach
Nichola Roberts says: “The ideal position is one with a soft bend in your arms. You shouldn’t feel like you’re putting an enormous weight through your hands. Never put the saddle forward to cater for a reach that is too long. Once you have the back end right, don’t move it — reduce reach with a shorter stem. Don’t ignore warning signs.
“Shoulder and wrist pain are signs of handlebars that are too wide. Check yourself in a mirror — look at the width of your shoulder, your arms should fall directly to the handlebar.”
DIY bike-fit: for or against?
Sorting your own bike set-up… is it a shrewd way to save cash or stingy false economy that risks needless injury?
Yes, you can do it yourself
Michael Hutchinson, former national champion and CW columnist believes it's possible to do a good job on your own.
I’m not sure anyone had even heard the term ‘bike-fit’ until about 2001. Before that, you might have had someone in the bike shop give you a look-over or (even longer ago) had a custom frame builder apply some home-spun wisdom.
But most people did it themselves. There were a few formulae around for saddle height — inside leg times 0.883 was the one I used, and my saddle remains that height to this day — and some rules-of-thumb, like the guideline that when you were on the drops your view of the front axle should be obscured by the handlebar.
The body is pretty adaptable, and a few millimetres one way or another is the sort of thing that most people can absorb quite well — so the rough way worked fine for most. If it didn’t, of course, it was more complicated. Discomfort, injuries, saddle-sores… a fitting can solve all of these. But there’s probably not much harm in having a go yourself first.
No, check in with a fitter
Peter Weir, bike-fitter at Bike Fit Lab, Ballymena, Northern Ireland reckons you should never try and do it yourself.
I would encourage every cyclist to have a professional bikefit. It is amazing how many people think that numb hands and feet, saddle discomfort and knee pain is a normal by-product of road cycling. It really isn’t. A good bike-fitter will be able to solve these problems (in the absence of underlying injuries).
The most common issue that I see in my studio is poor cleat alignment and saddles much too high, leading to knee pain. Good bike-fitters do not fit by numbers, they work with the rider to find their optimum position based upon said rider’s unique bio-mechanics and feedback — improving comfort, preventing injury, increasing efficiency and often even power.
Talk to your local bike-fitter — ask what they can do for you. If they talk about their software and system more than talking about you and your needs, try another fitter.
Reasons to pay for a bike fit
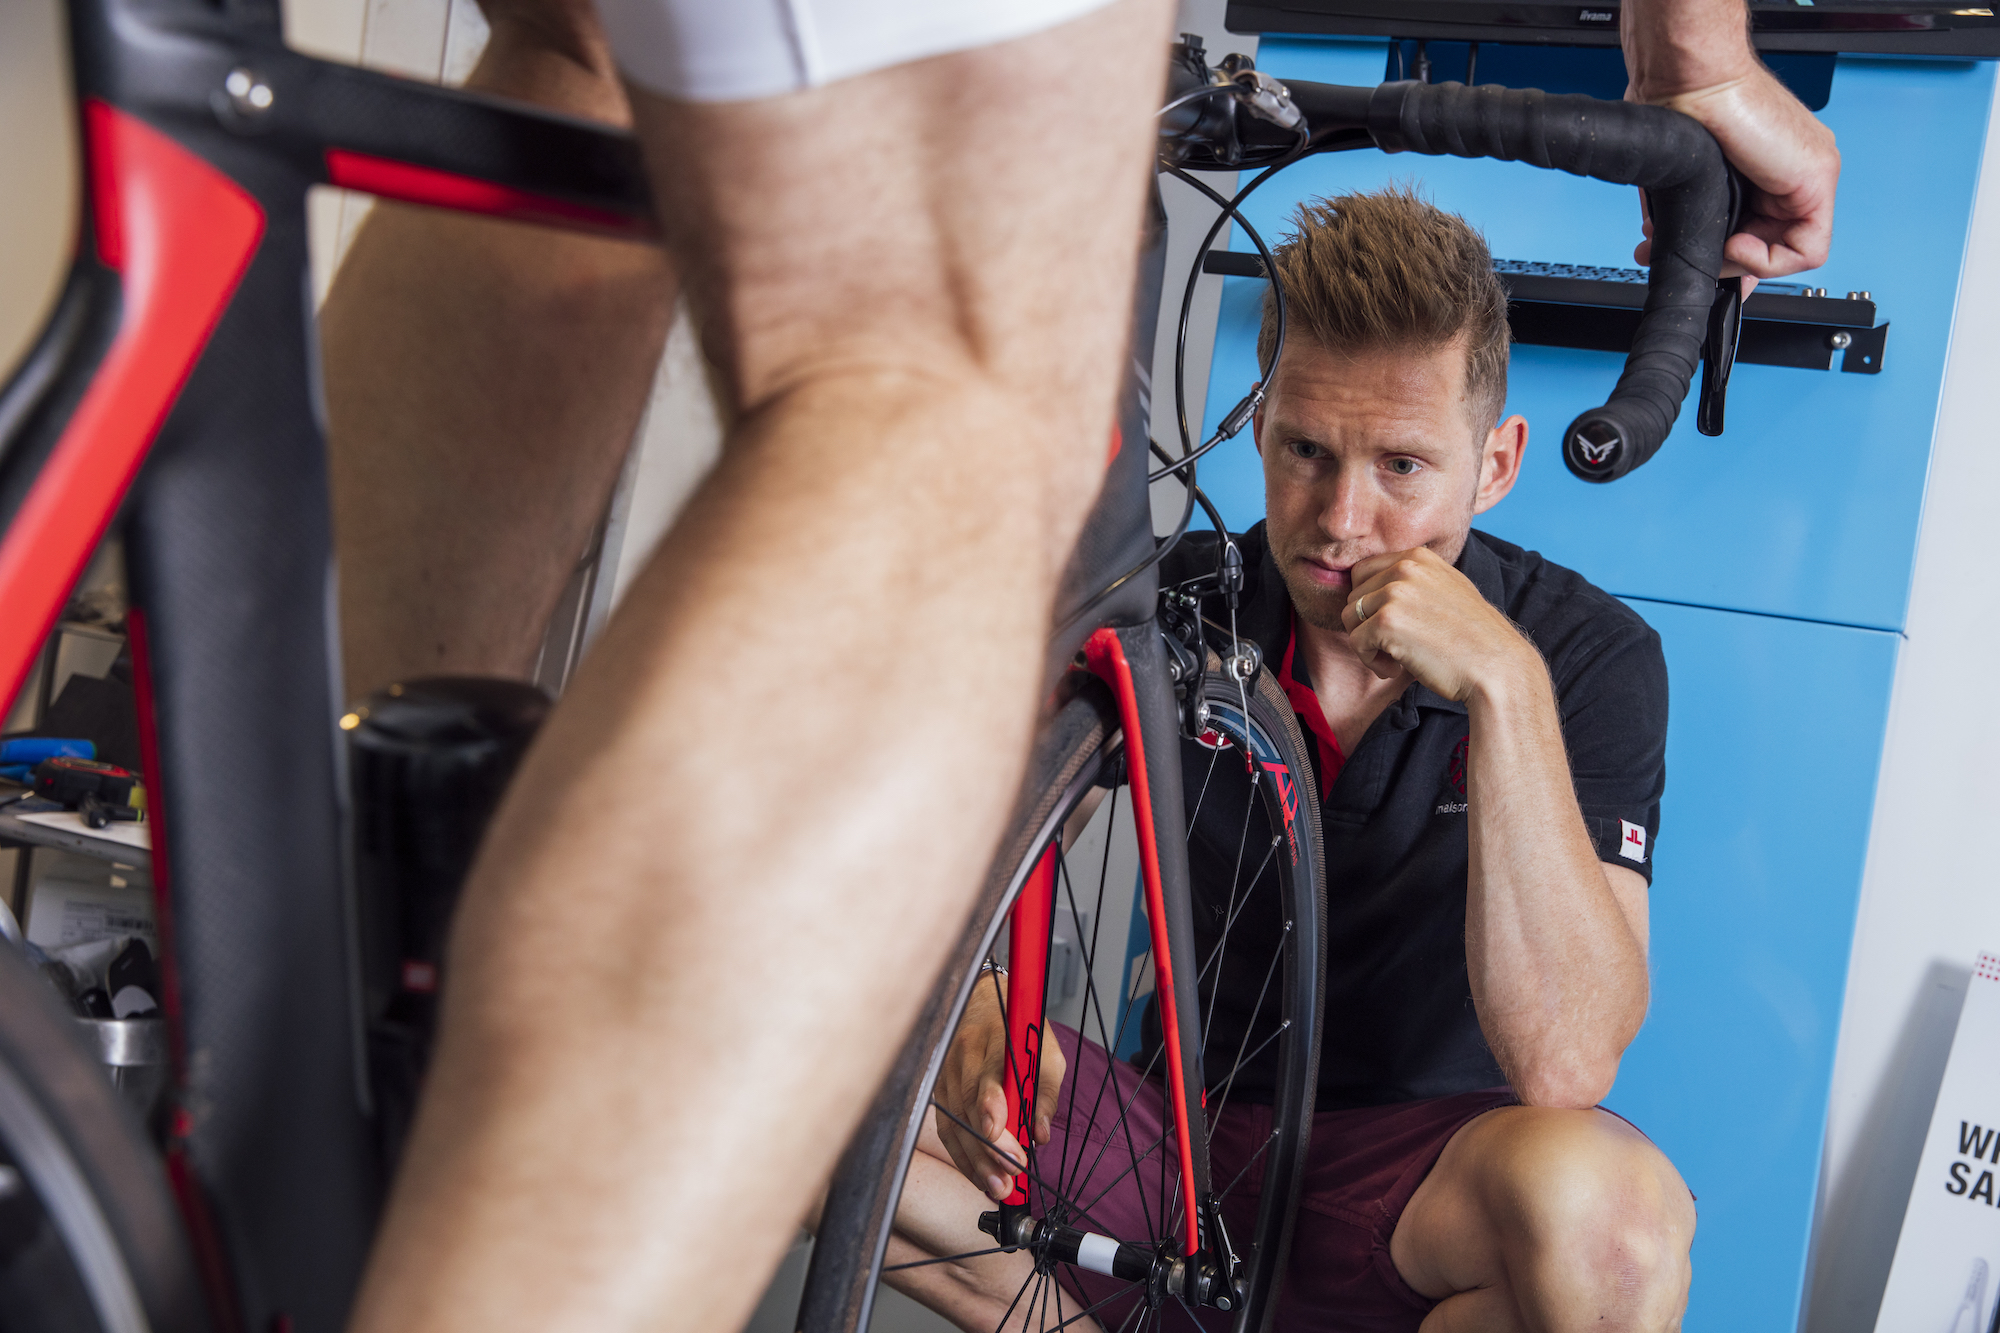
A bike fitter can help spot issues you may not be aware of
Paul Drake, an experienced bike-fitter at Maison du Velo in Reigate, Surrey, points out that, even with his experience, he doesn’t try to do his own fit.
“I don’t really advocate doing it at home,” he says. “It’s really tricky because you haven’t got anyone looking at you. You’ve got all the old adages, but guidelines based on multiplying your inseam length by a set figure are very rough, based on averages.”
Using a plumb line single-handedly is awkward and it’s easy to make mistakes.
“The difference between DIY and a bike-fit carried out by a professional is that the pro will first spend time getting to know your parameters, in terms of your body, where you have tightness, imbalances and rotations that you can’t measure yourself — then translating that on to the bike.”
A good bike-fitter will assess the range of movement you have in your hamstrings, your pelvic rotation, and how much you rotate forwards on the saddle, all of which affect your reach. Those biomechanical elements are then factored-in to reach, saddle height and fore/aft.
“Even if you’re a new cyclist,” adds Drake, “I’d advise you to bite the bullet and get a fit on your first bike. You can cause yourself so many avoidable problems with bad fit. And as a beginner, you’re a blank canvas — arguably it’s the best time to develop optimal muscle patterns.”
If you're looking for a cheaper alternative, there are online services offering virtual bike fits - read our full review of MyVeloFit to find out more about one of the options that we've tested.
Transferring bike-fits
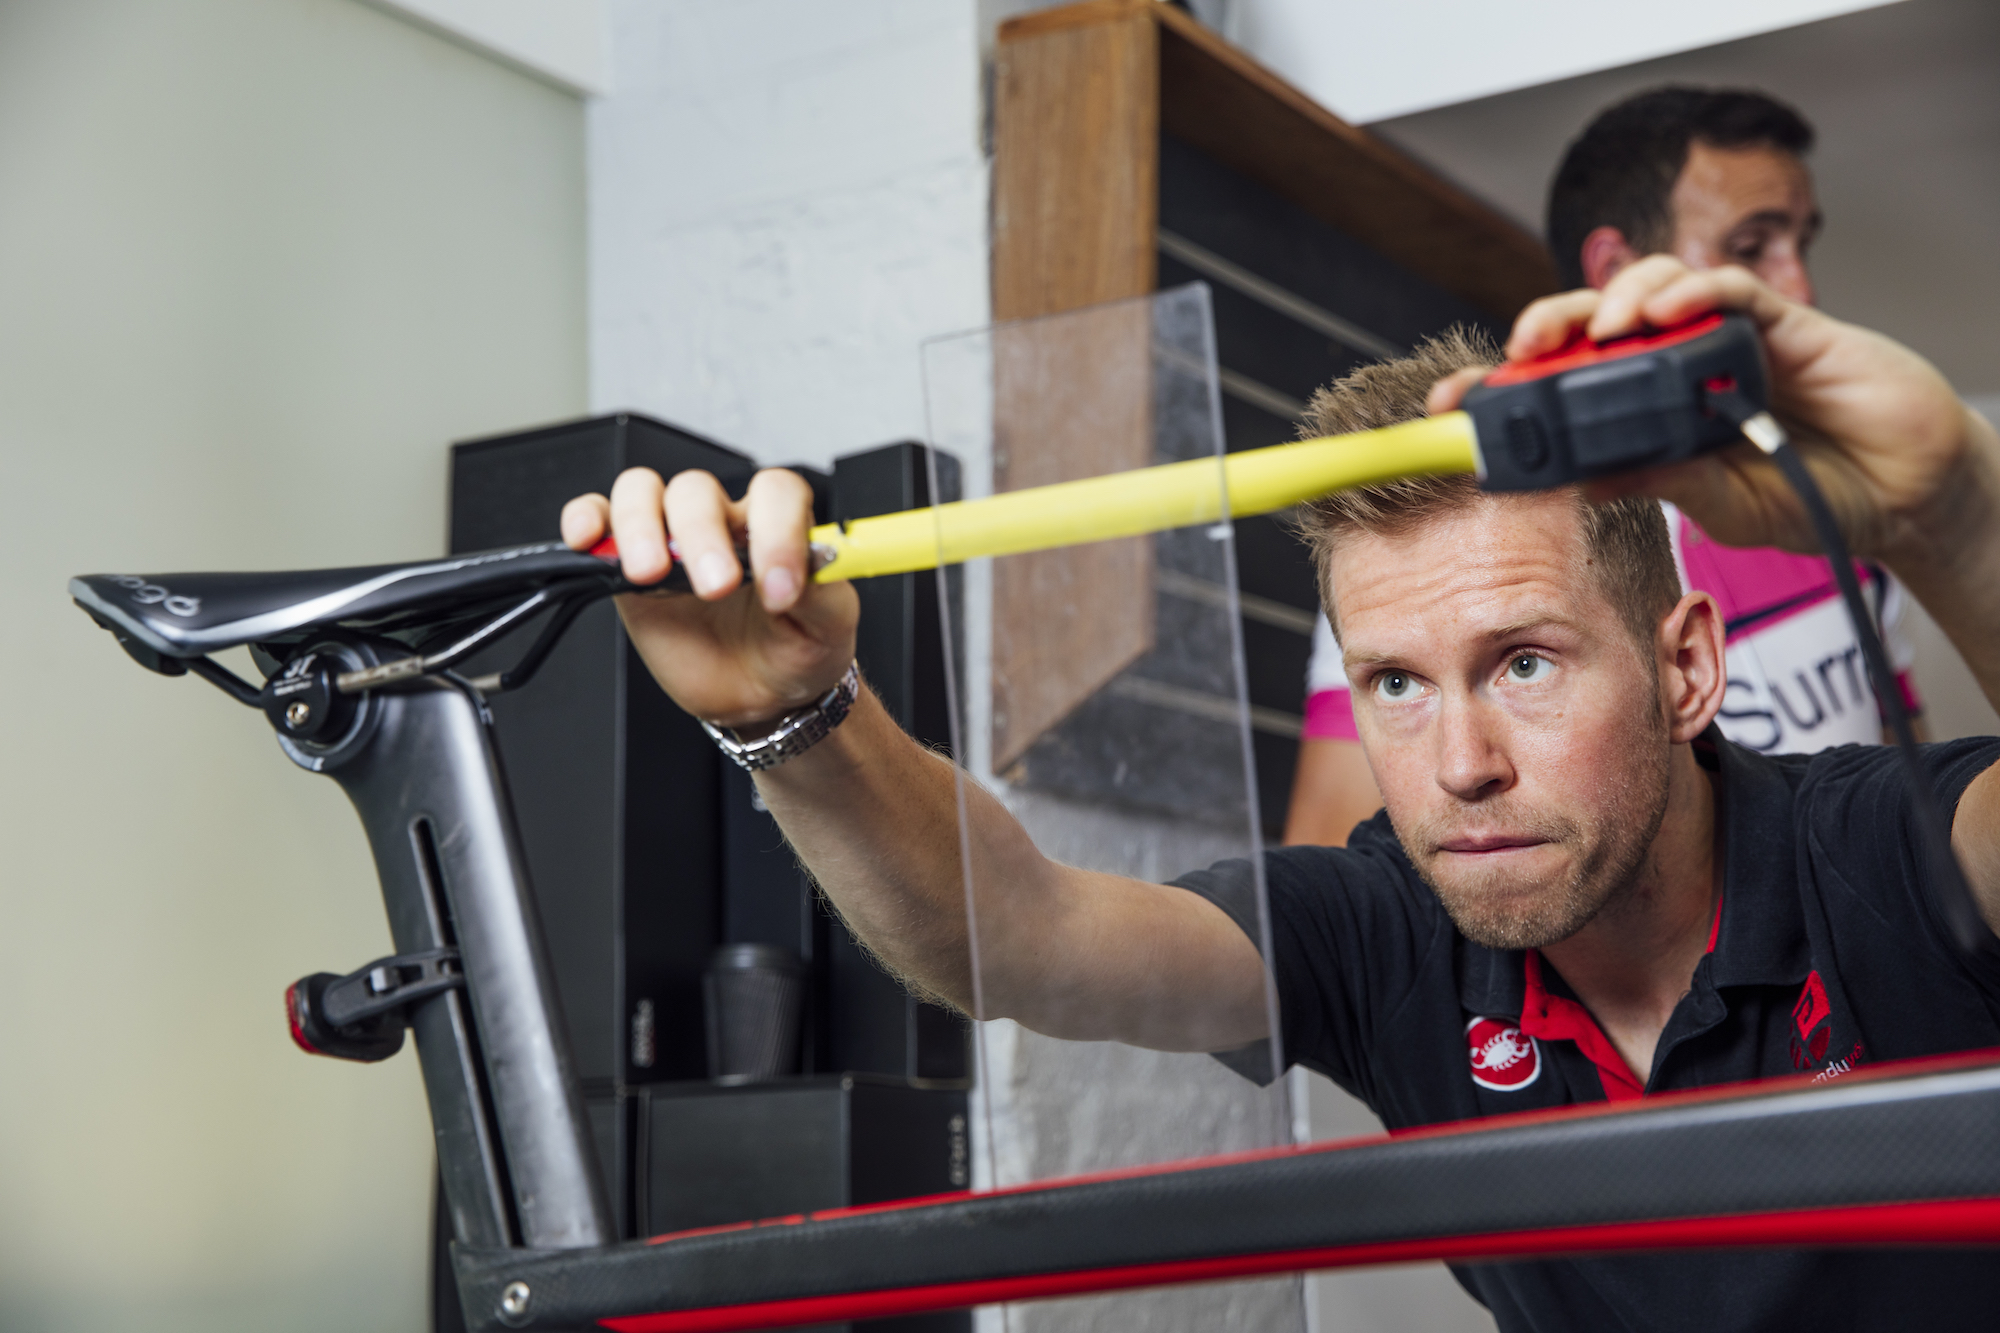
Bike fitters have the tools and experience to get it right, first time
Regardless of whether you’ve set yourself up or had a professional bike-fit, there will come a time when you want to set up another bike to replicate your primary machine. That could be when renting on holiday, or during the excitement of ‘new bike day’.
Were all bike geometries, saddles and handlebars equal, this would be an easy job — but they’re not.
Saddle height is fairly simple: measure from the centre of the bottom bracket to the top of the saddle, and you can get the angle right with a spirit level. Fore/aft can be harder, but there are several, not inexpensive, tools specifically designed for this job — or you could make your own. Drake uses a clear piece of Perspex cut into a ‘T’ shape.
“I set the bike up on a turbo trainer or in a stand so it’s level, then run the straight line from the centre of the bottom bracket. Nine times out of 10, the line is falling in front of the saddle. The correct layback is the distance between the tip of the saddle and the edge.”
This only works if you’re using the same saddle. If not, you’ll need to take into account any difference between the lengths of the two perches. An alternative option is to use a builder’s laser, instead of the Perspex plastic, to shine a straight line through the bottom bracket.
Reach can be measured by checking the distance from the centre of the saddle to the tip of the hood. If you want precision made easy, there are all-in-one tools available. VeloAngle, for example, uses polar coordinates to establish the relative position between the saddle, bottom bracket and bars.
This allows for precision and repeatability — but will set you back (from) £159. This does not include the accompanying app, which allows you to plug in existing measurements and calculate the x/y coordinates required for a completely different bike.
When to adjust your fit?
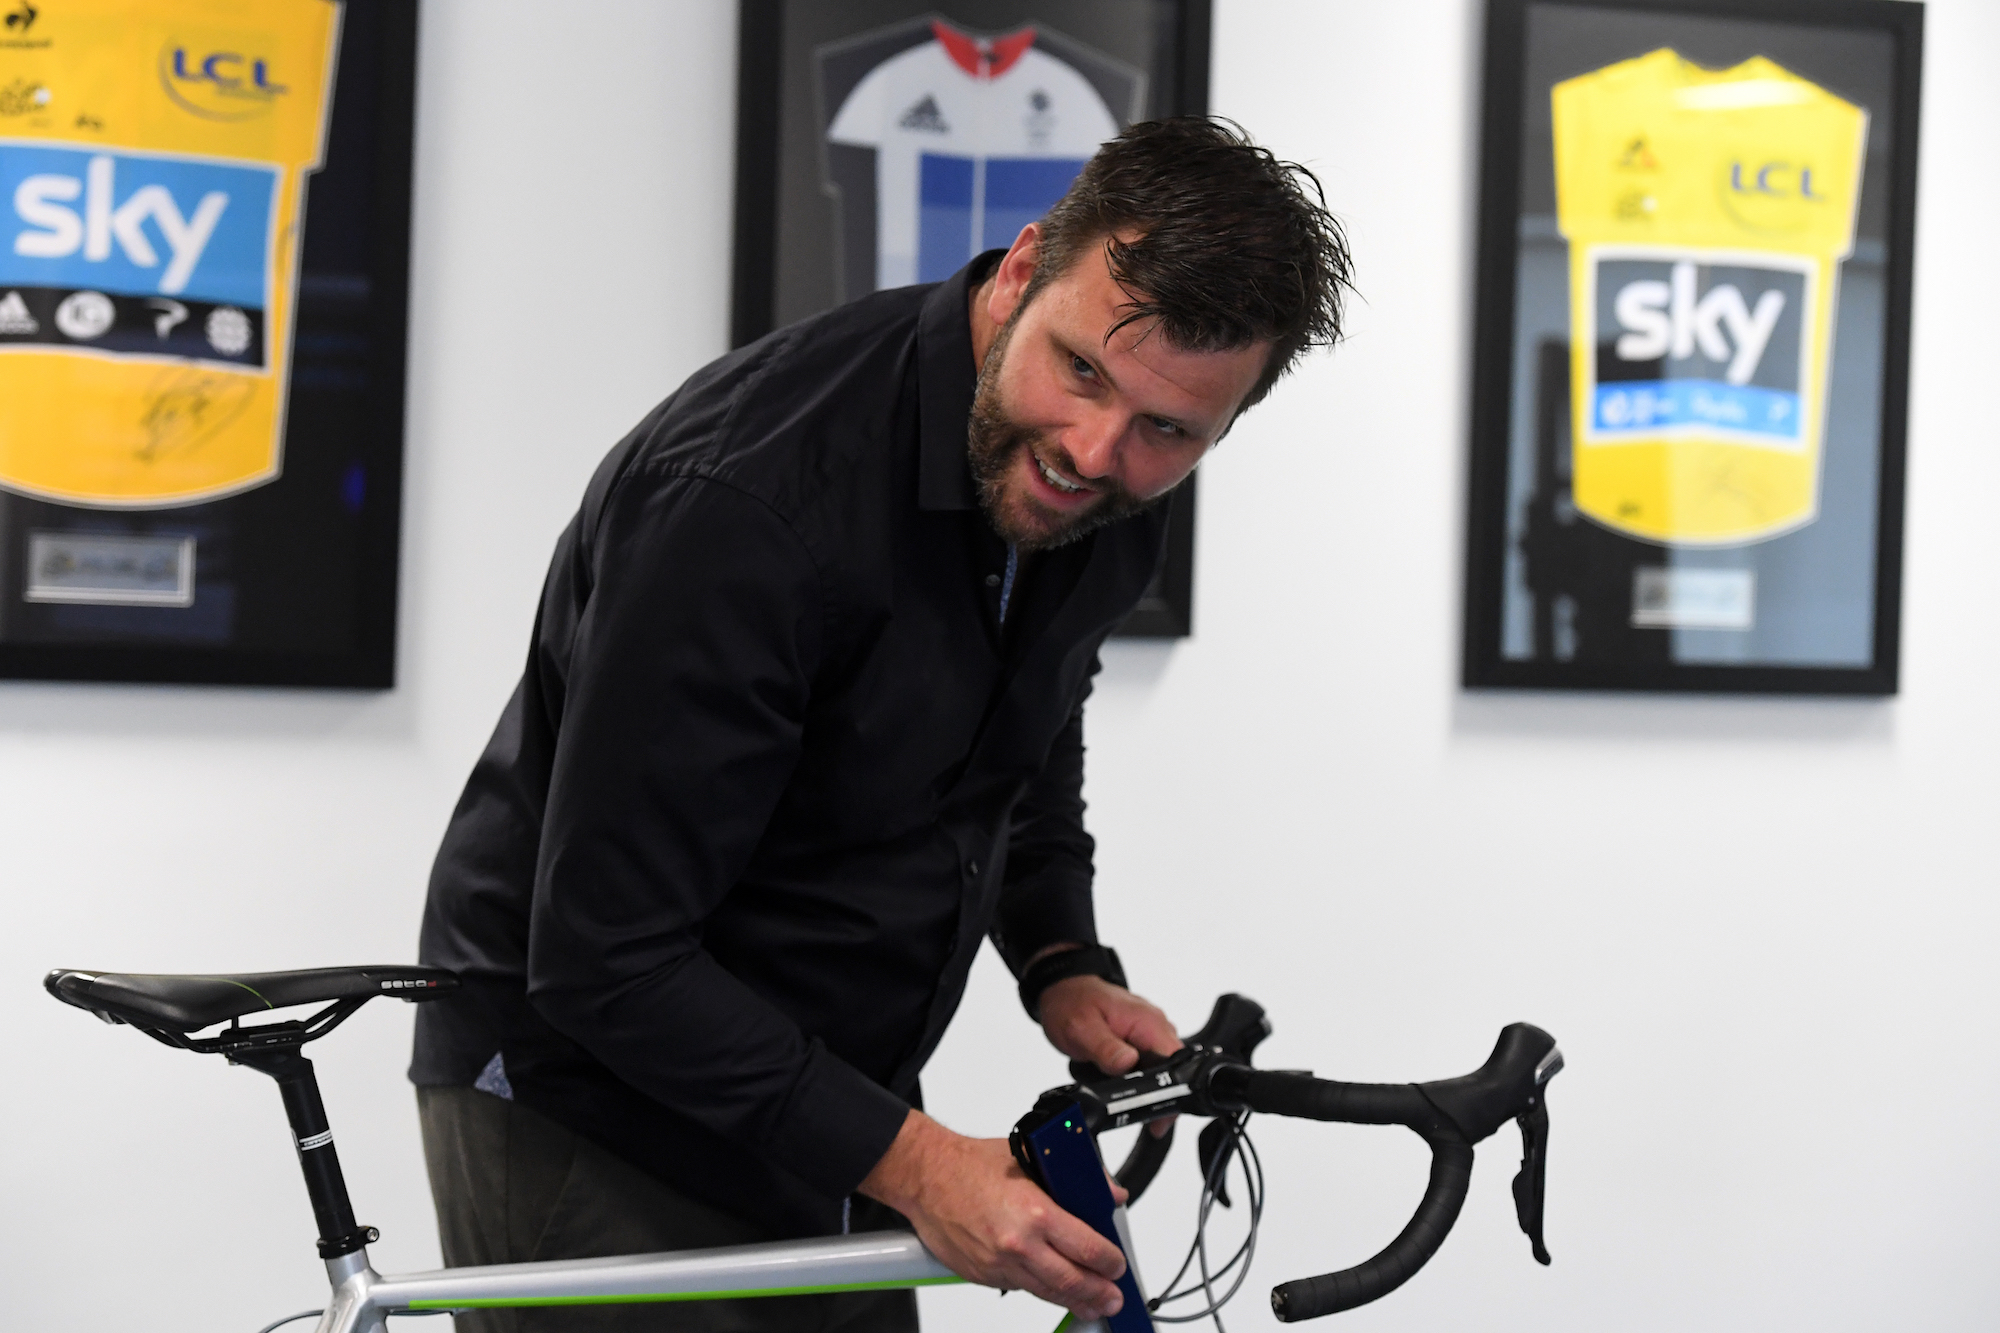
Bike fit changes over time
The optimum bike-fit for you is not a set of coordinates etched into stone.
Phil Burt again: “Many people will have a bikefit, get put in one position, and then leave it. But bodies are adaptable, and the bike is adjustable — the right fit is a marriage between the two.”
Bear in mind that your adaptability changes over time, advises Burt: “There isn’t one ideal position, but there’s definitely an optimum window for each measurement, height, saddle set back and reach.”
The important thing is to remember to stay within your comfortable window, and to make small changes, gradually. Test your adjustment with some shorter rides, and never make big changes ahead of a long day out.

Thank you for reading 20 articles this month* Join now for unlimited access
Enjoy your first month for just £1 / $1 / €1
*Read 5 free articles per month without a subscription

Join now for unlimited access
Try first month for just £1 / $1 / €1
Michelle Arthurs-Brennan the Editor of Cycling Weekly website. An NCTJ qualified traditional journalist by trade, Michelle began her career working for local newspapers. She's worked within the cycling industry since 2012, and joined the Cycling Weekly team in 2017, having previously been Editor at Total Women's Cycling. Prior to welcoming her first daughter in 2022, Michelle raced on the road, track, and in time trials, and still rides as much as she can - albeit a fair proportion indoors, for now.
Michelle is on maternity leave from April 2025 until spring 2026.
-
 Positive signs for UK bike industry as Halfords cycling sales grow
Retailer admits that the impact of Donald Trump's tariffs remains to be seen
By Tom Thewlis
-
 'We don't own gravel - it's a community thing': the spirit of gravel is safe, say British Gravel Championship organisers
Cycling Weekly travels to Dalby Forest to ride the championship course and find out where we go from here
By James Shrubsall
-
 ‘I fell over many times but kept going’: You can start cycling at any age - tips for beginner cyclists
Learning how to ride a bike as an adult can feel daunting, but it doesn't have to be
By Hannah Bussey
-
 11 ways to increase your average speed: training tips and instant gains
When looked at over a period of months, your average speed can tell you a great deal about how you’re improving as a cyclist. Here’s some top tips to get your mean looking meaner
By Hannah Reynolds
-
 I learned how to ride clipless pedals for the first time after cycling with flat shoes for years - here's the how and why
Learning to cycle clipped in is a rite of passage for any cyclist, but it takes practice, as Ellie Donnell found out
By Ellie Donnell
-
 Cycling training plans: 10 week plans for beginners, intermediates and racers
Get into cycling, get fitter, or ride faster with our cycling training plans
By Anna Marie Abram
-
 Kickstart your riding with our cycling training plan for beginners
Ready to get fit and healthy through cycling? Then this is the plan for you! In partnership with Alzheimer's Research UK
By Anna Marie Abram
-
 Eight simple ways to gain free speed
Here are our top tips for free speed: all you need are a few simple adjustments
By Zach Nehr
-
 Save money, fuel better: 20 ways to slash your cycling nutrition costs
With food prices soaring, it’s getting ever more expensive to sate a cyclist’s appetite. Here’s a nutritionists’ guide on how to cut your fuelling bill – without compromising on health or cycling performance
By Anita Bean
-
 Five free fitness features on Garmin Connect that cyclists should be taking advantage of
Here’s how to make the most of the training software which comes free with Garmin’s cycling computers and smartwatches
By Andy Turner