Cycling training zones: how to use your power meter and heart rate monitor to maximum effect
Combining rides of different intensities is the cornerstone of building fitness — and to do so, here’s what you need to understand about setting and using your training zones
Anna Marie Abram
Cycling training zones can be used to ensure training sessions are completed correctly, and can also be used in races. This focus on precision has trickled down to amateur level - with riders using heart rate monitors as well as power meters to reach the desired output.
Those heart rate and power readouts on your bike computer screen aren’t just for bragging rights — they are vital tools to inform your training. Understanding your training zones, how they’re defined, how each affects your body, and how much time to spend in each, is the bedrock of training effectively and getting faster
Read on to learn the purpose of each zone, how it benefits your fitness, and how to incorporate the right combination into your schedule.
What are cycling training zones?
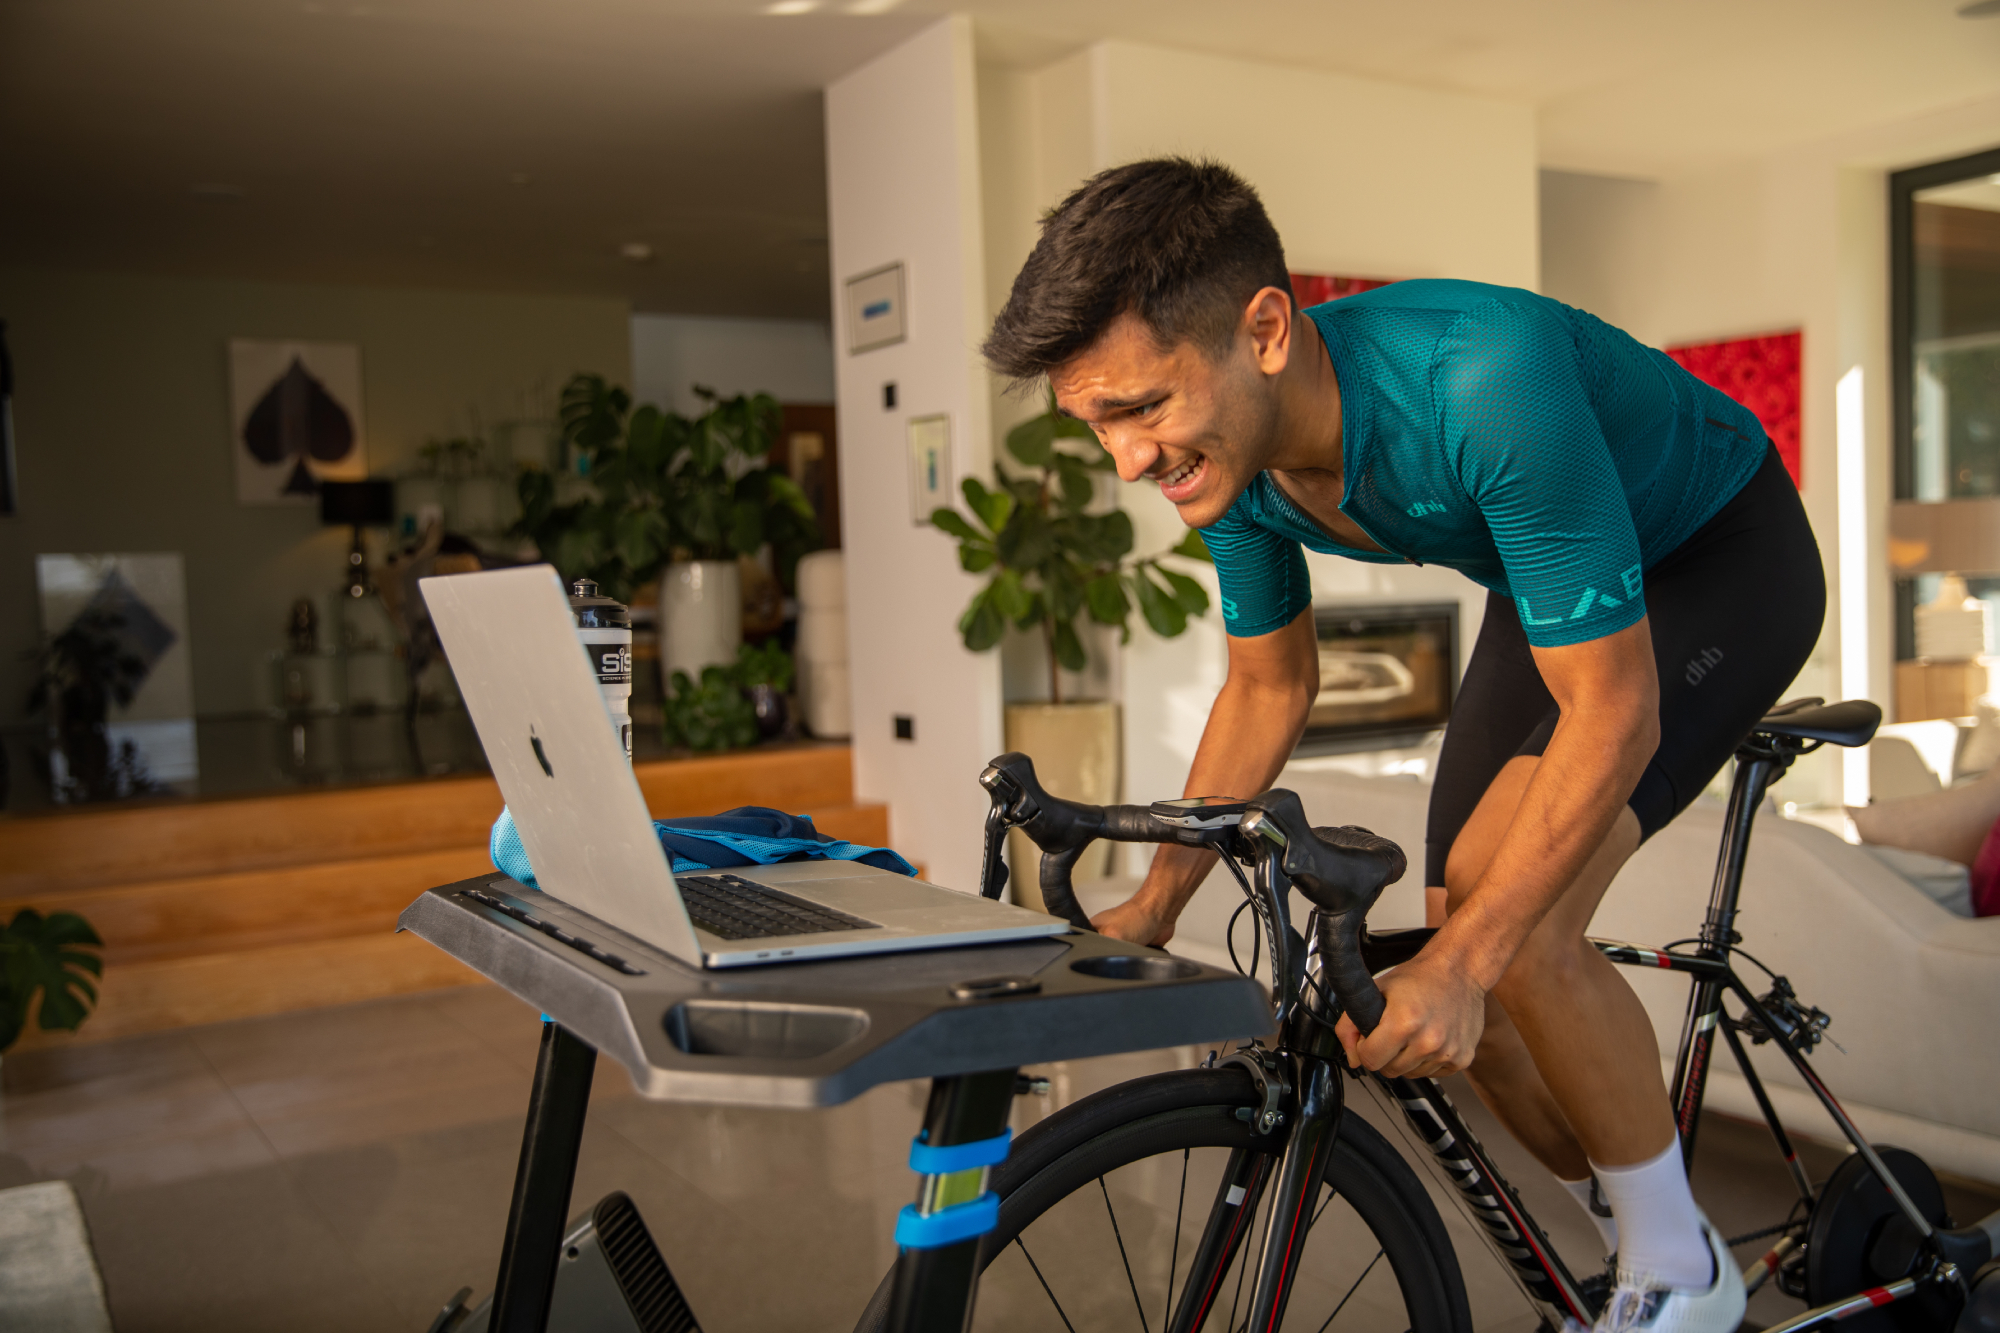
Cycling training zones are used to give an athlete a set intensity at which they should be working to during an activity. They may, for example, be completing intervals at 'zone three' for 20 minutes.
Training using zones is important because it means that riders can be sure they're pushing hard enough during intervals, that they're racing at a sustainable output for the duration required, and that they're pedalling gently enough on recovery and endurance rides.
The heart rate and power band for one athlete's 'zone three' will be different to the values given to another rider - so before attempting to train using zones, you'll need to carry out a test to gain either your max heart rate value or 'FTP' power (what you can produce for an hour). These values will be used to set your zones.
How do I set my cycling training zones?
Finding your threshold
Warm up:
10min easy spin
3x 1min fast cadence, 1min easy
5min easy spin
5min all-out effort
10min recovery
The test:
20min all-out effort (use the ‘lap’ button to split out the data in your file)
Cool down
To accurately train with zones, you first need an accurate benchmark against which to judge your effort level. For a long time now, the best cycling fitness test has been considered to be the FTP test — it’s a percentage of this figure against which we’re defining all the zones below. So it starts with this test…
Get The Leadout Newsletter
The latest race content, interviews, features, reviews and expert buying guides, direct to your inbox!
How Calculate your FTP and FT HR
Your functional threshold power (FTP) is 95 per cent of the average power you achieved over that 20 minutes. Your functional threshold heart rate (FT HR) is your average heart rate during the final 10 minutes of that 20-minute effort.
The cycling training zones...
Zone 1: Active Recovery
The intended effect on your fitness: The purpose of this level of intensity isn’t to promote a physiological response, but to stimulate recovery, either from a previous ride or from an interval in your current ride.
The stats
Power range: 0-55% FTP
Heart rate range: 0-68% Functional Threshold Heart Rate
Achievable time in this zone: % of your weekly training at this intensity: <10%
Achievable duration per effort: Endless
When and how to use: Studies have suggested that a short recovery ride after a leg-shredding session is more beneficial than complete rest, as it promotes movement, flexibility of tendons and flushing out of toxins from muscles.
Try this: As a recovery ride, try a 45 to 90-minute flat ride in Zone 1, with a reasonably high cadence. Keep it nice and relaxed — allow yourself a cafe stop in the middle.
Zone 2: Endurance
The intended effect on your fitness: Zone 2 riding, when performed correctly, is essential for building efficiency and endurance — the bedrocks of our fitness. As Dr Tom Kirk of Custom Cycle Coaching explains: “Zone 2 approximates to the intensity at which the release of lactate into the blood first begins to exceed its rate of removal, so levels begin to rise.” This is sometimes known as Lactate Threshold One.
Riding at this intensity increases the density of mitochondria in your muscles. Mitochondria are the energy-producing factories in our muscles, and so the more you have, the more energy you can produce from a given amount of fuel, and the better your ability to process lactate.
Additionally, riding in Zone 2, the body adapts to burning fat, helping to preserve our limited carbohydrate stores. Even the skinniest climbers have huge fat reserves to draw on, providing almost unlimited energy at low intensities.
The stats
Power range: 56-75% FTP
Heart rate range: 69-83% Functional Threshold Heart Rate
Achievable time in zone: % of your weekly training at this intensity: 60-70%
Achievable duration per effort: Up to seven hours — possibly longer, provided you’re fuelling well.
When and how to use: Zone 2 is the dominant intensity for ‘base training’ in winter and early spring. Riding at this effort level develops aerobic efficiency — that is, how efficiently you turn fuel and oxygen into forward motion. Rides in Zones 1 and 2 can be seen as dull and endless — but not so for Vuelta stage winner Michael Woods: “When my coach puts down a simple aerobic ride, I get really excited. It means I can do an adventure ride — go out and explore, tap out the miles and catch up with friends.”
Try this: How long you should make your Zone 2 endurance ride partly depends on your current fitness, but to really reap the rewards it needs to be at least two hours. Save hilly routes for specific climbing days; instead, keep a steady pressure on the pedals and keep heart rate at the right level. If you go out with friends, make sure you keep your competitive urges in check — no town-sign sprints!
Zone 3: Tempo
The intended effect on your fitness: Zone 3 is a tricky subject for physiologists and coaches. This intensity is commonly seen as the no-man’s land of effort level in which you accumulate junk miles and waste training time — stuck between the ‘easy’ yet beneficial Zone 2, and the fatiguing yet rewarding Zone 4. Zone 3 stimulates all the same adaptations as Zone 2, albeit with greater effort, yet fails to add much extra benefit. Even so, there is a place for moderate effort sometimes.
The stats
Power range: 76-90% FTP
Heart rate range: 84-94% Functional Threshold Heart Rate
Achievable time in zone: % of weekly training at this intensity: 5-10% dependent on time in season.
Achievable duration per effort: Up to 90 minutes.
When and how to use: Many coaches keep their athletes well away from Zone 3 for the reasons discussed. However, there are times when training at this level is beneficial for adding event-specificity to your training. If, for example, you’re targeting a sportive or gravel event, you’re likely to spend a lot of time in Zone 3, so it’s good to prepare your body for the demands of that pace.
Try this: 2x 30min intervals at 80% FTP, with a good 10min rest between. Aim to progress this up to 3x 30min closer to your event.
Bonus Zone! Sweetspot
The intended effect on your fitness: Sweetspot spans upper Zone 3 and lower Zone 4 — the ‘sweet spot’ in which the effort feels bracing but not yet painful. The sweetspot approach to training contrasts with the traditional ‘polarised’ method, advocating lots of ‘middle ground’ between hard and easy.
The stats
Power range: 84-97%: FTP
Heart rate range: 88-94% Functional Threshold Heart Rate
Achievable time in zone: % of weekly training at this intensity: 5-10% dependent on time in season.
Achievable duration per effort: Up to 90 minutes.
When and how to use: Like Zones 3 and 4, sweetspot can be useful for event simulation, e.g. for mimicking the long climbs of a Gran Fondo. Some coaches believe sweetspot training is beneficial for ‘time-crunched’ riders, condensing training load into less time compared with traditional low-intensity base-building.
Try this: 2x 20min at 92% FTP, with 10min rest.
Zone 4: Threshold
The intended effect on your fitness: Zone 4 is a nasty one. Kirk explains why: “In Zone 4, you reach the point at which lactate starts to rise uncontrollably, and your brain will eventually tell you to stop working.” This is known as Lactate Threshold Two, and your body can typically only maintain this level of effort for around an hour. Training at Zone 4 places a huge stress on your aerobic system.
However, there’s also a massive benefit to be had from training at this intensity: it provides a huge stimulus to your muscles to produce more energy-producing mitochondria, and improves your blood transportation system, strengthening your heart and building more blood vessels. Be warned, though, Zone 4 draws heavily on your carbohydrate reserves and is very taxing on your body. As such, working at this level can require significant recovery time, and should be used sparingly.
The stats
Power range: 84-97%: FTP
Heart rate range: 88-94% Functional Threshold Heart Rate
Achievable time in zone: % of weekly training at this intensity: 5-10% dependent on time in season.
Achievable duration per effort: Up to one hour (but no more than 30min per session).
When and how to use: Zone 4 training is best reserved for event specificity; that is, replicating the conditions of your goal race or event. Due to the high level of stress it places on your body, reserve Zone 4 until the eight weeks prior to (and during) your race season.
Try this: 2 x 15min at 100% FTP, with 5-10min rest between. Increase the number or length of intervals as fitness improves.
Zone 5: VO2max
The intended effect on your fitness: Zone 5 and Zone 2 — high and low — are regarded by many as the most beneficial zones. ‘Polarized’ training means alternating between these two intensities, so you’re either training very easy or very hard. Training in Zone 5 has been shown to boost VO2max; that is, the maximum rate at which your body can use oxygen (and fuel) during exercise.
This improves the speed at which your body can transport waste products and produce energy and ‘pulls up’ your threshold from the top end. However, those big benefits don’t come for free, VO2max intervals hurt — as Mike Woods acknowledges: “When my coach sets me a Zone 5 workout, I get anxious a day in advance!”
The stats
Power range: 106-120% FTP
Heart rate range: 106%+ Functional Threshold Heart Rate
Achievable time in zone: % of weekly training at this intensity: 10%
Achievable duration per effort: 3–8 minutes (up to 25min total per session)
When and how to use: Under the polarised model of training, the amount of Zone 5 used depends on the time of year. During the early phase of the year, the focus is on base training in Zone 2. Nonetheless, Woods likes to include a regular dose: “I incorporate Zone 5 throughout the season; if you neglect it for too long, it’s much more difficult to tap into it when the time comes.”
Mixing up your winter base training with some of these high-intensity efforts will also help you keep fresh mentally. Crucially, don’t use this zone too much too early in the season, or you’ll be burnt out come summer. VO2max work should increase in frequency as you approach the race season; it’s the cherry on the top of your base-building.
Try this: 4x 4min at 110% FTP, with 4min rest between. Increase to 5x 5min as you look to reach a peak of fitness. Remember, you need to be well recovered and fresh for these sessions
Zone 6: Anaerobic
The intended effect on your fitness: Zone 6 is flat-out. Kirk explains why this is anaerobic training: “Your aerobic system can no longer provide your muscles with oxygen fast enough, so anaerobic metabolism provides additional energy. However, this produces a lot of lactate and you will fatigue quickly.” Anaerobic work forces you to make energy in the absence of oxygen — a different energy system.
The stats
Power range: 121-150% FTP
Heart rate range: 106%+ Functional Threshold Heart Rate
Achievable time in zone: % of weekly training at this intensity: <5%
Achievable duration per effort: 15–120 seconds (no more than five minutes per session).
When and how to use: Unless you’re a track rider, Zone 6 is typically reserved for gaining a final peak in fitness. It’s the intensity that helps you make surges to bridge gaps or power away to the finish line. As such, it should not be ignored. Zone 6 training is very stressful on the body, so demands adequate fuelling and recovery.
Try this: Try one minute on, three minutes off, repeated five times. Take five minutes’ rest, then repeat that cycle. This will be a great way of testing both your anaerobic power, and your aerobic engine, which drives your recovery in the ‘offs’.
Zone 7: Neuromuscular Power
The intended effect on your fitness: You power neuromuscular efforts with your body’s stores of adenosine triphosphate (ATP) and creatine phosphate. This training is of little benefit to your cardiovascular system, but will develop your winning sprint and boost your efficiency, as Kirk points out: “Developing your contractile strength will help you generate more power in the pedal stroke, helping you become a more efficient rider.”
The stats
Power range: N/A
Heart rate range: N/A
Achievable time in zone: % of weekly training at this intensity: <5%
Achievable duration per effort: 0-15 seconds (no more than one minute per session)
When and how to use: Zone 7 should not be a major focus for endurance cyclists, but can benefit us all throughout the year. Neuromuscular training, alongside strength training in the gym, is of particular benefit for those looking to build leg strength and explosivity.
Try this: From a ‘standing start’ — clipped in but minimal speed — sprint for 10 seconds in a very big gear. The initial pedal revolutions as you get moving will require massive force — great for contractile strength.
Digging deeper...
What are the disadvantages of using power-based cycling training zones?
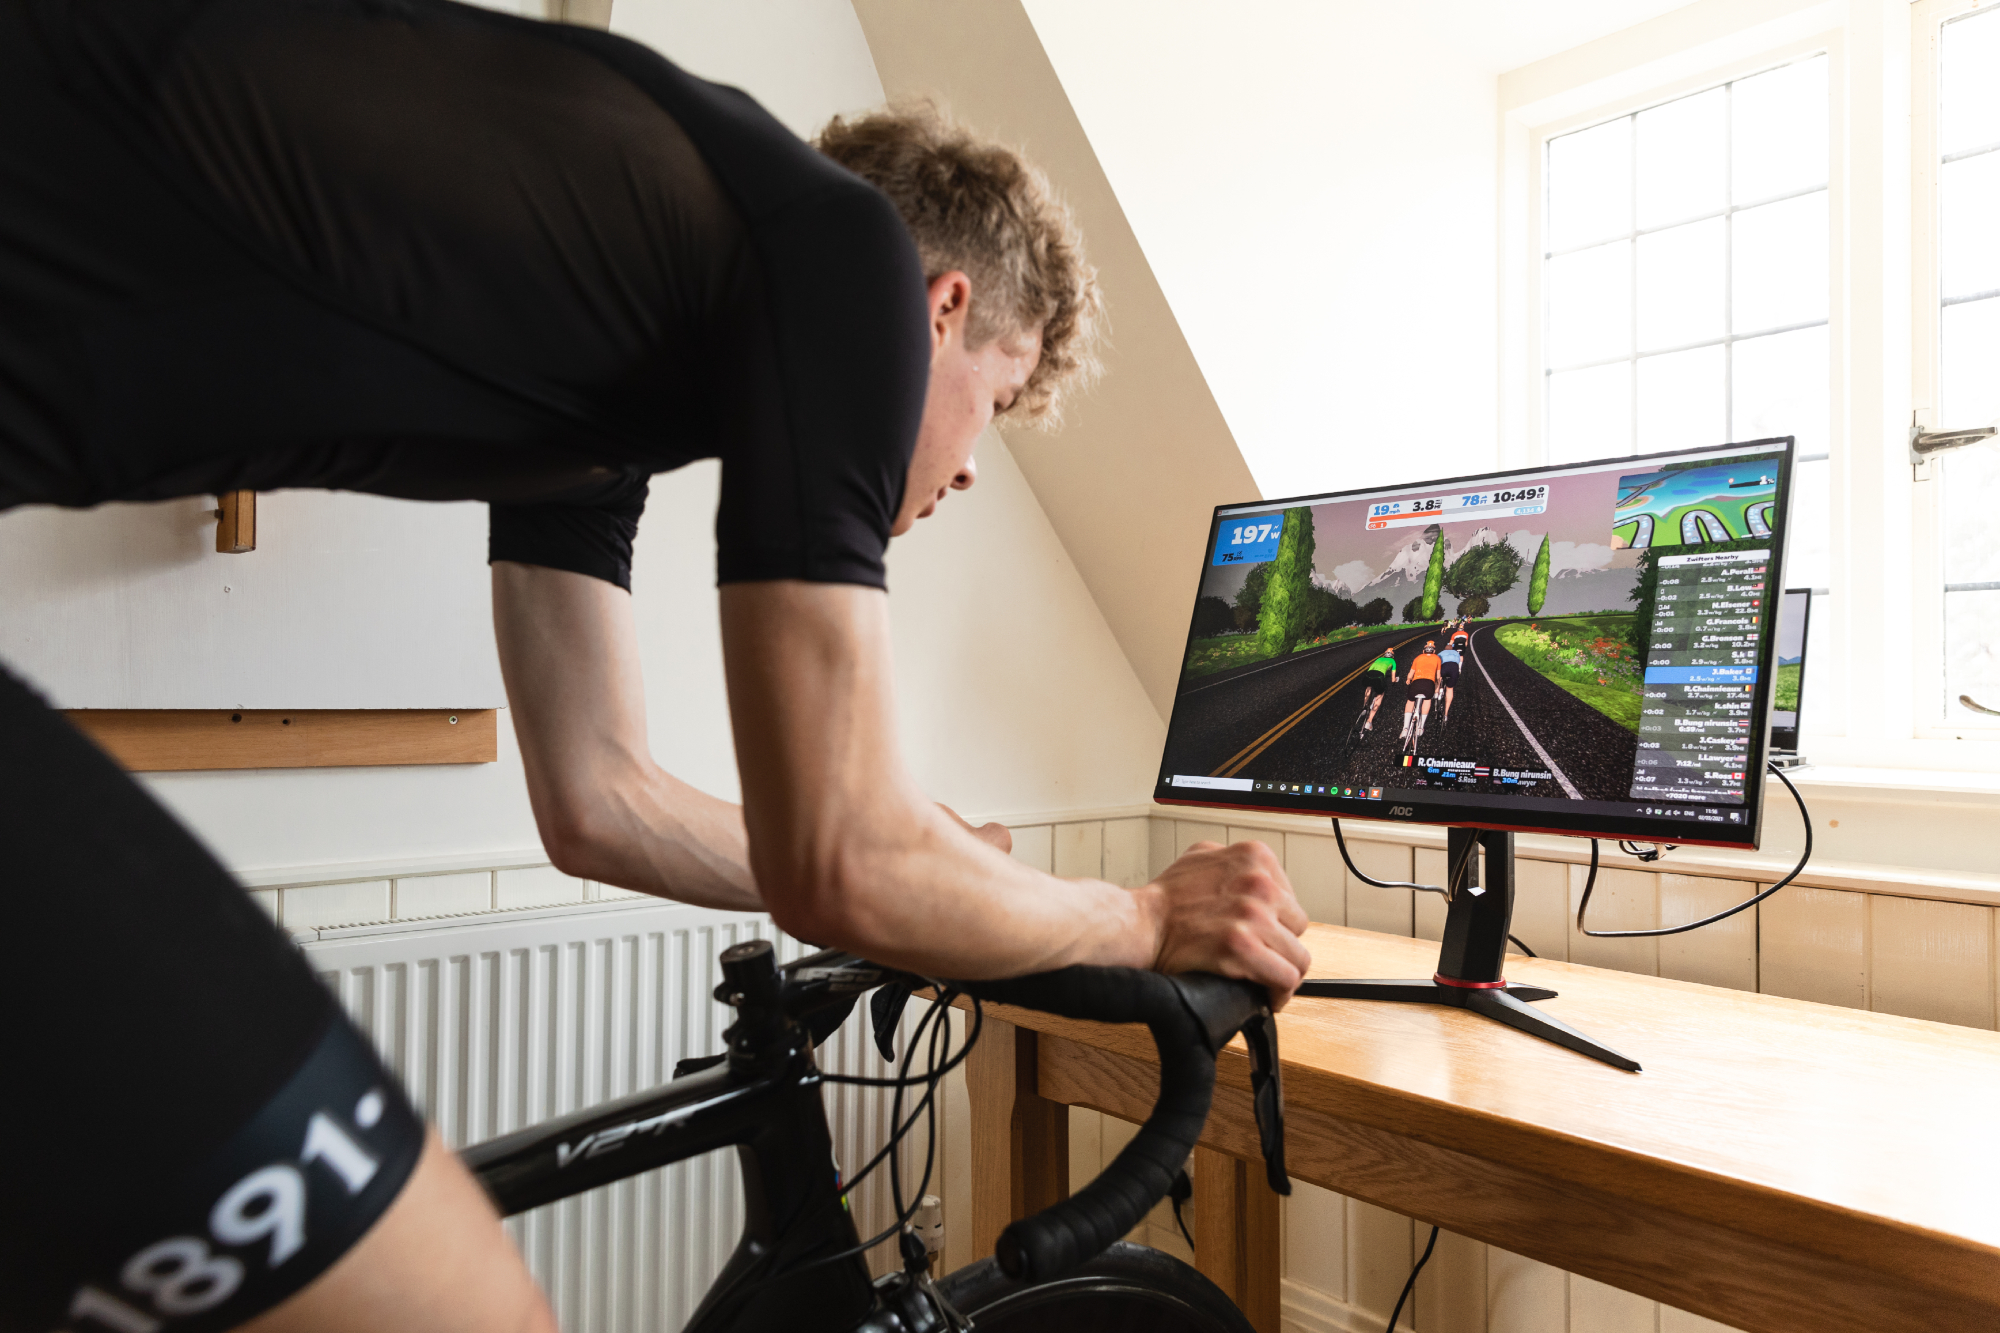
The case for intuitive effort-setting Rate of perceived exertion — that is, how hard the effort feels — is arguably the most important training tool you have. Come race day, it’s your brain that will ultimately dictate your pace. So use zones in training, but don’t over-rely on them. Mike Woods puts it succinctly: “Being a slave to the power meter can prevent you from going deeper than you thought you could.”
The Canadian advocates doing some sessions by feel, free from data-guidance. “The best computer that you have is your body — it’s giving you feedback as to what you should be doing all the time. The more you can understand how your body’s reacting to a certain pace or zone, the better you’re going to be as a rider.” This is particularly important in the final month before your event, to help you understand what your body is telling you come the big day.
Training with heart rate: what you need to know

If you train only with heart rate, be aware that your heart does not instantly respond to effort — there is a small time lag. So though you may be in the correct zone in terms of power, in the initial one to two minutes of an interval, your heart rate is still rising. Therefore, if you don’t have a power meter and want to train at threshold and above, you need to use a bit of intuition at the start of the effort to judge the appropriate intensity.
Conversely, a heart rate monitor can sometimes be more useful than power. If your heart rate fails to rise as quickly or as high as usual, it may be suppressed by fatigue or illness — and you might need more recovery. Unexpected spikes in heart rate can signal a rhythm problem, but technical glitches are common too, so don’t leap to alarmist conclusions!
A scientist’s view: cause and effect, a caveat - one rule doesn’t always fit all
Training in a particular zone is not guaranteed to have the intended effect. “Zone 5 effort, for instance, may not directly boost your VO2max,” says Dr Jamie Pringle. “It isn't that simple. Indeed, some studies have shown that a few minutes of maximal, Zone 6 sprint training can be more effective at increasing a muscle’s aerobic capabilities than many hours of endurance training.”
Choosing the right balance of intensities is a complicated business, in part determined by individual physiological differences, calling for experimentation and — if possible — expert coaching input. However, guidelines are important. “At the fundamental physiological level, there are two distinct thresholds — neither debatable nor changeable,” says Pringle.
“These are the lactate threshold and critical power. There are markedly different physiological responses to exercise below or above the critical power, just as there are changes in the metabolism depending on whether you are above or below lactate threshold.”
Pain or gain? Rethink the burn! Busting the lactic acid myth...

Lactic acid — more correctly known as lactate — is a chemical by-product of exercise that accumulates in the blood at higher intensity levels. Many riders blame lactate for the pain and fatigue felt during a hard workout, but they may be misguided.
Science has shown that lactate actually serves as a fuel and is recycled as we continue exercising — it is a marker, rather than the prime cause, of fatigue. The discomfort we experience is more likely caused by a combination of physiological and mental processes working in tandem; to single out lactate is pointless scapegoating.

Thank you for reading 20 articles this month* Join now for unlimited access
Enjoy your first month for just £1 / $1 / €1
*Read 5 free articles per month without a subscription

Join now for unlimited access
Try first month for just £1 / $1 / €1
- Anna Marie AbramFitness Features Editor
-
 'This is the marriage venue, no?': how one rider ran the whole gamut of hallucinations in a single race
Kabir Rachure's first RAAM was a crazy experience in more ways than one, he tells Cycling Weekly's Going Long podcast
By James Shrubsall
-
 Full Tour of Britain Women route announced, taking place from North Yorkshire to Glasgow
British Cycling's Women's WorldTour four-stage race will take place in northern England and Scotland
By Tom Thewlis