11 bike maintenance mistakes and how to avoid them
Is your bike spannering not quite up to scratch? Are you suffering from a series of mechanical mishaps? Maybe we can help...
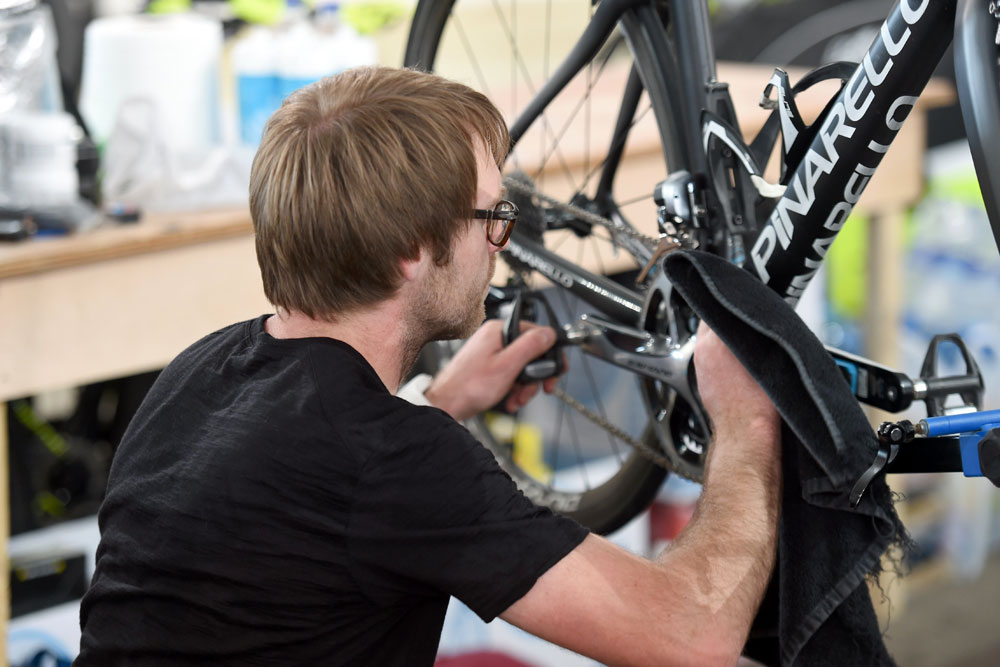
Bike maintenance

Sooner or later every cyclist has to face getting oily fingers, when their coveted machine requires some mechanical TLC.
Even experienced riders can come unstuck with a combination of the wrong tools and bad decisions in fixing the most minor of technical faults.
We outline some of the most commonly-made mistakes, and tell you how to avoid them.
Even though some of these mechanical mishaps seem farcical, we can assure you that we've seen them in real life... and perhaps even made some of them ourselves.
1. The wrong tools
You wouldn't vacuum your carpets with a lawnmower, or boil water for a cup of tea using an iron, so why use inappropriate tools to fix a bike? Its shocking how many riders will think nothing of spending several thousand pounds on a bike, and then use a soft-as-cheese allen key they got free with some Swedish flat-packed furniture to 'fix' a problem.
>>> Getting a new bike? Here’s the tools and accessories you’ll need
Using the wrong tools is the most basic, and perhaps over-looked, mistake for the DIY bike mechanic. Start by investing a decent set of allen keys from a reputable tool manufacturer, as the majority of bike issues require nothing more.
Get The Leadout Newsletter
The latest race content, interviews, features, reviews and expert buying guides, direct to your inbox!
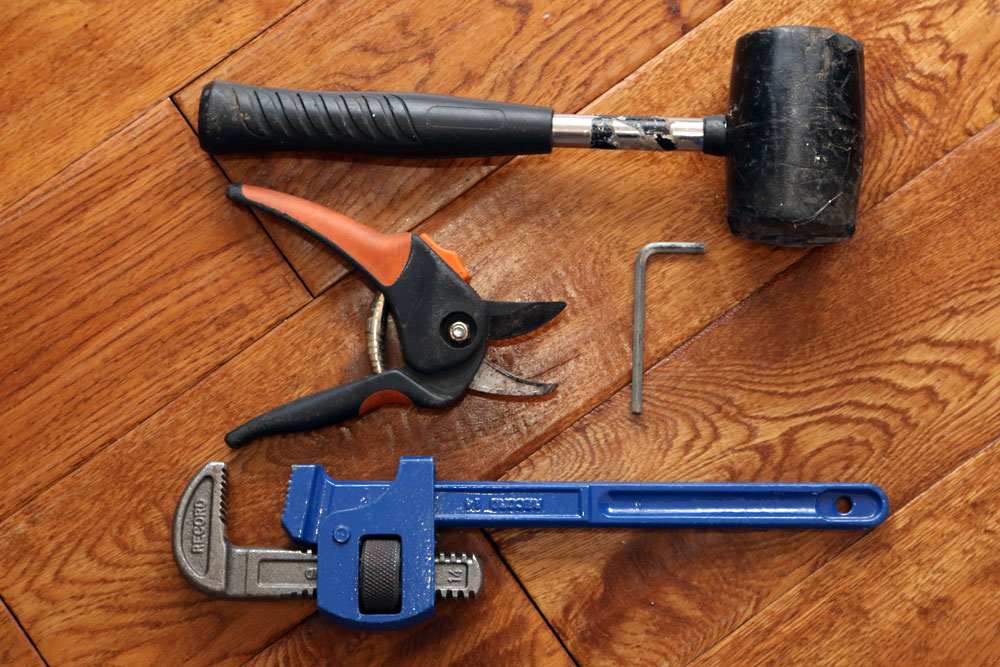
Depending on how in-depth you want to get, you could also buy proper cable snips (not pliers or garden secateurs), a bottom bracket tool (not a plumber's wrench), a pedal spanner (not an adjustable spanner), a cassette removal tool and chainwhip (not clamping it in a workbench and destroying both the cassette and workbench)... you get the picture.
A decent set of tools can very well last you a lifetime. But keep an eye on them: any sign of wear, and they should be replaced. A rounded-off allen key can destroy a bike.
2. Bad headset adjustment
Pretty much all modern bikes feature an Aheadset-type system, where the stem clamps onto the steerer tube of the fork. We've seen several people assume that they can tighten the headset by simply screwing in the top-cap bolt as hard as possible. If bolts holding the stem onto the steerer are still tight, then all sorts of trouble can ensue.
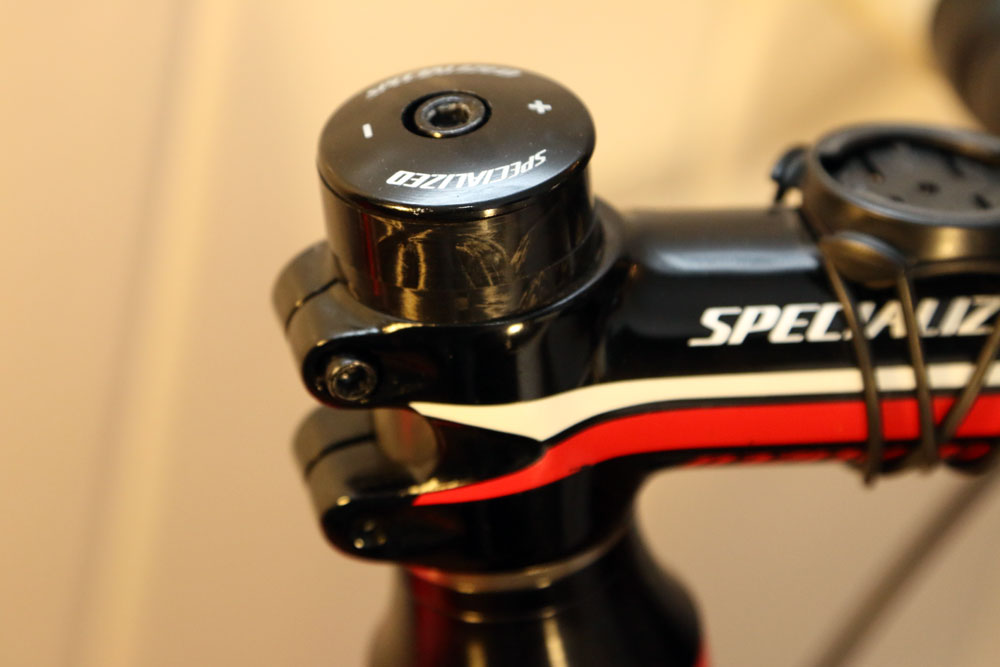
If you want to tighten up the headset, then first loosen off the stem bolts and then tighten the top cap bolt, which 'pre-loads' the bearings in the headset. But don't overdo it. Not being able to steer and the resulting injuries are not a good look.
>>> How to adjust your headset
Also make sure that the stem/bars are then lined up correctly with the top tube and front wheel before tightening up the stem bolts on the steerer.
3. Not knowing your bike bodging limits
Having a go at fixing things yourself can be an enlightening and rewarding experience. It can also be painful, embarrassing and costly if it all goes wrong. Know your limits before you start the job: do you have the right tools (see 1)? Do you have the necessary information to undertake the repair effectively? Do you have the right parts?
If in doubt, ask an expert - or get them to do the job, and watch them if you want to learn how to do it yourself next time. Make friends with your local bike shop, or enroll on a bike mechanics' course.
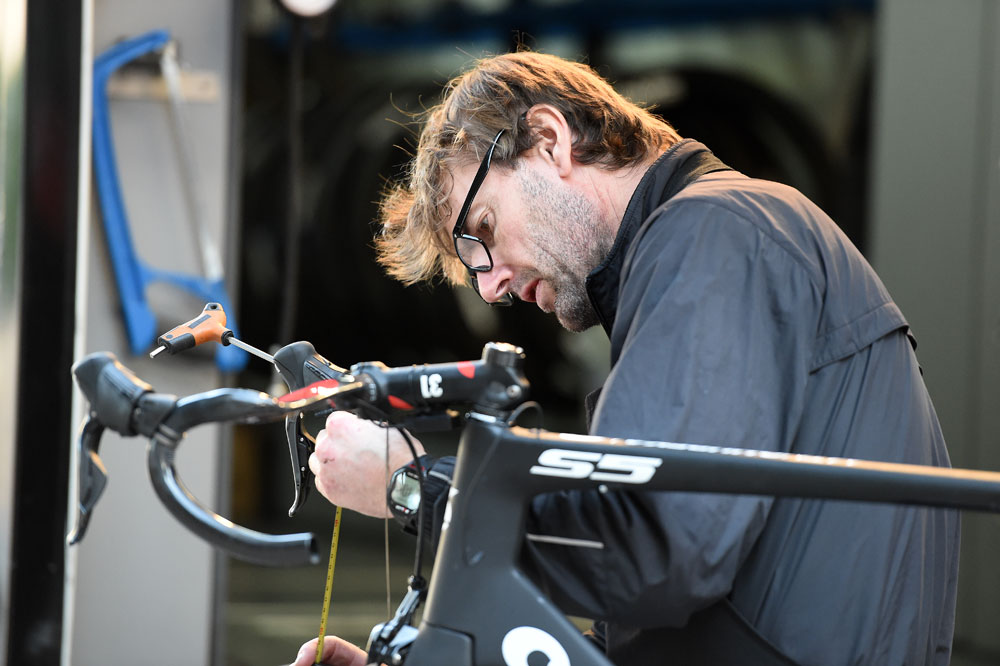
Most of all: if you have any doubts about fixing something on your bike (even part-way through a bodged repair job), swallow your pride and hand it over to a professional. And never, ever start a major repair or upgrade the night before an important ride or event... it is doomed to go wrong.
4. Over-tightening anything
Having loose bolts and screws all over your bike has obvious drawbacks (stuff falls off, and could result in injury or death), but over-tightening bolts is just as bad.
Manufacturers' instructions and manuals often quote how tight bolts should be - commonly quoted as Nm (Newton metre) torque. More and more manufacturers are printing or etching torque figures on components, so finding out is relatively easy.
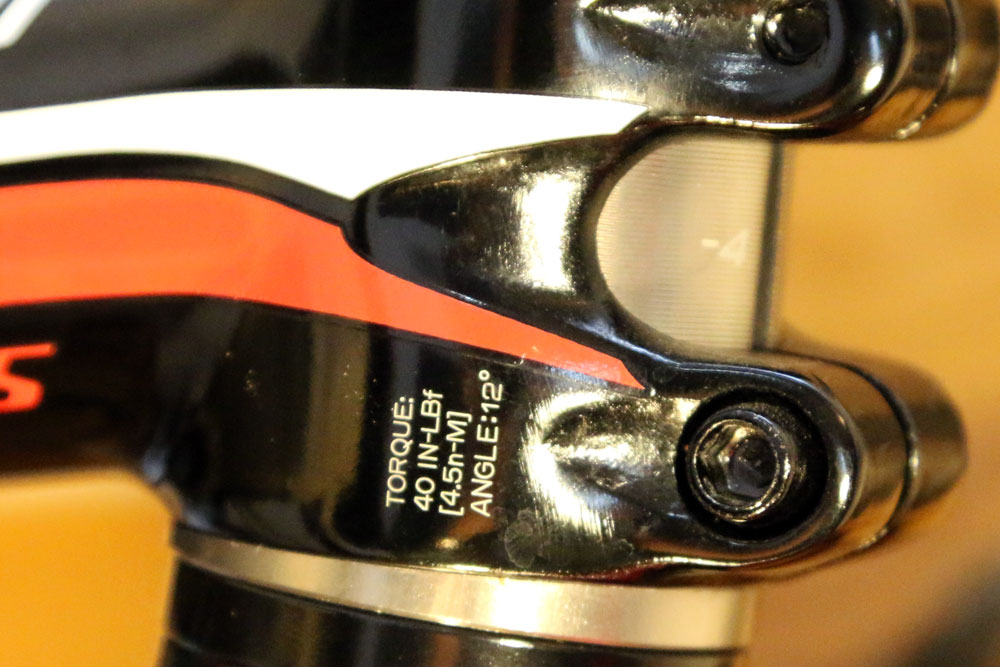
Tightening bolts beyond this recommended torque could result in threads being stripped, or components becoming compressed and leading to cracking or failure. The latter particularly applies to tightening bolts on stems and seatposts when the components are carbon-fibre.
We'd recommend buying a small torque wrench suitable for the job: bike-specific ones often come with a set of allen drivers to use with them. Cranking bolts as tight as they go until you hear a cracking sound and think "that feels like it's about 5Nm" doesn't really work.
5. Using tyre levers to install a tyre/tube
Sometimes a particular rim/tyre combination can lead to a very tight fit. The tightness of the fit is mysteriously amplified when you suffer a puncture in the pouring rain, freezing cold and in the middle of nowhere.
>>> How to fix a puncture
It may be tempting to use a tyre lever (or, lord help us, a spoon handle) to prize the tyre's bead onto the rim in the final little bit that you seen stretching across the rim, but don't. Instead, try seating the bead of the tyre into the 'valley' in the middle of the rim, and work it around slowly with your fingers rather than using brute force.
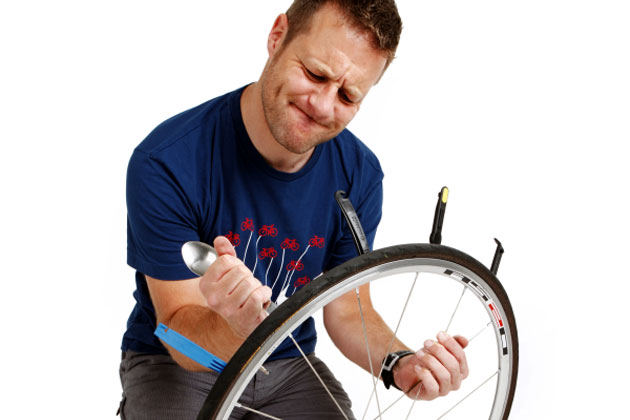
Many a new tube has been pinch punctured by using tyre levers to get it back on, leading to any amount of frustration, bad words and possibly an awkward phone call to a friend/partner/relative to ask them to pick you up in a car.
6. Fitting the wrong cassette to your bike
There are some people who genuinely think that the way to upgrade their gears is simply to fit a cassette with more sprockets. We have heard of riders who have bought a 10-speed cassette and put it on a nine-speed bike, and then complain bitterly when it doesn't shift properly.
>>> Road bike groupsets: A complete buyer’s guide (video)
Mis-matching the number of sprockets (cogs) on a cassette with the number of gears your shifters are compatible with is a no-no. Your shifters are indexed for a pre-set number of gears, and pull through the exact amount of cable for each shift - these are not compatible with higher (or lower) number of gears.
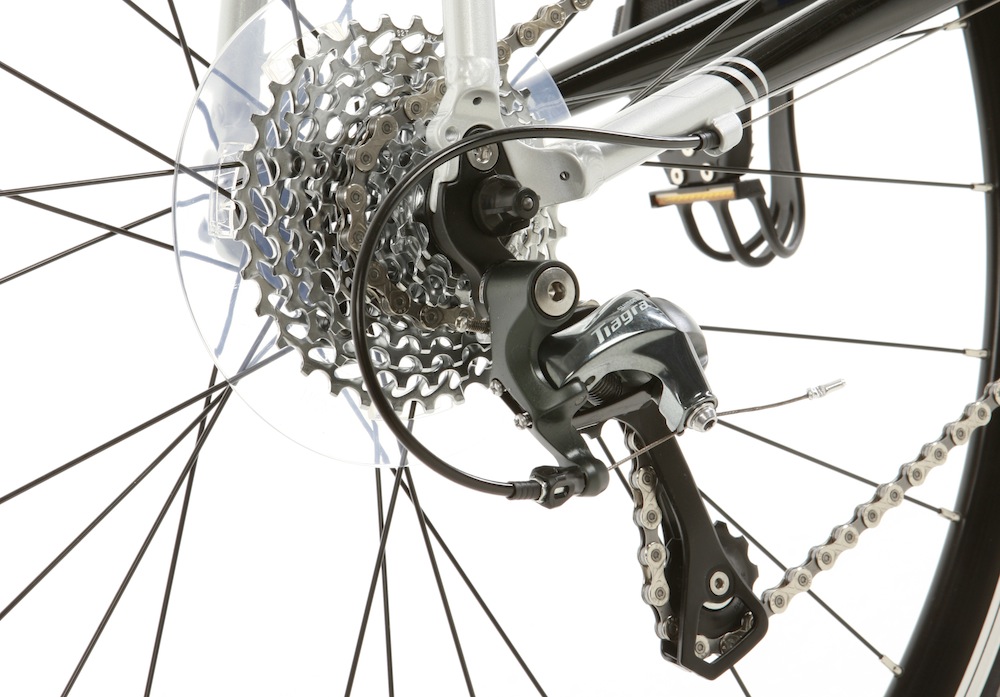
If you want to change a nine-speed bike to 10-speed, or 10-speed to 11 then you are going to have to change the rear shifter, cassette, and most likely the rear derailleur, chain and chainset too. There's no shortcut to that one.
Note that replacing a worn cassette with a new one (of the right number of sprockets) on your bike may also mean you have to change the chain and chainrings to preserve shifting quality, as all of the drivetrain parts tend to wear together.
Watch: Roadbike groupsets, a buyer's guide
7. Not closing the quick release on your brakes
On one recent sportive that Cycling Weekly attended, we were frankly shocked at the number of people who had not set up their brakes correctly. Numerous people had the quick-release on their brakes in the 'up' (open) position rather than closed.
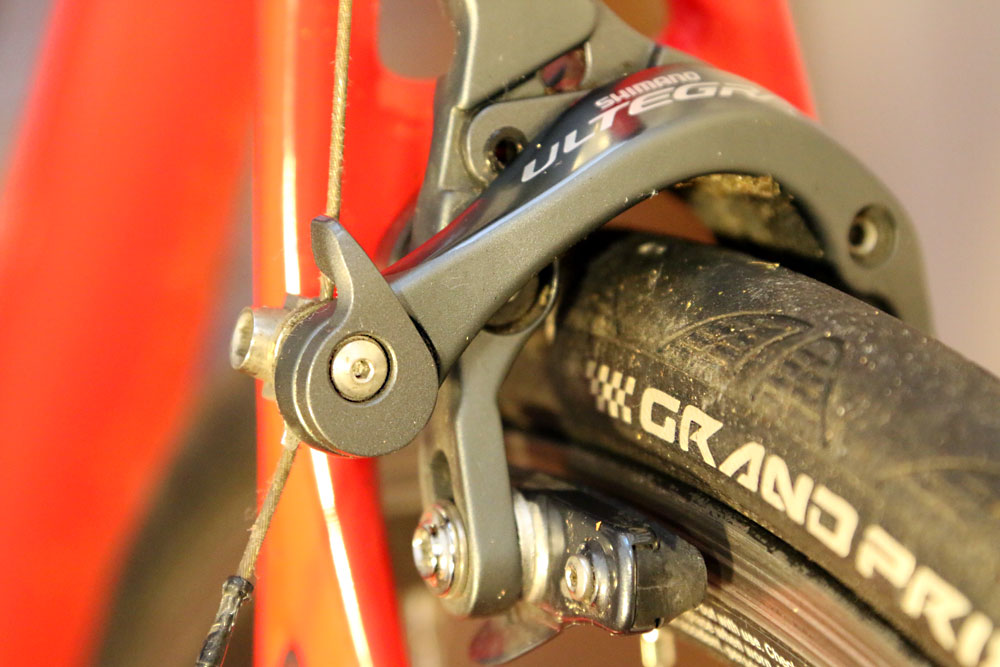
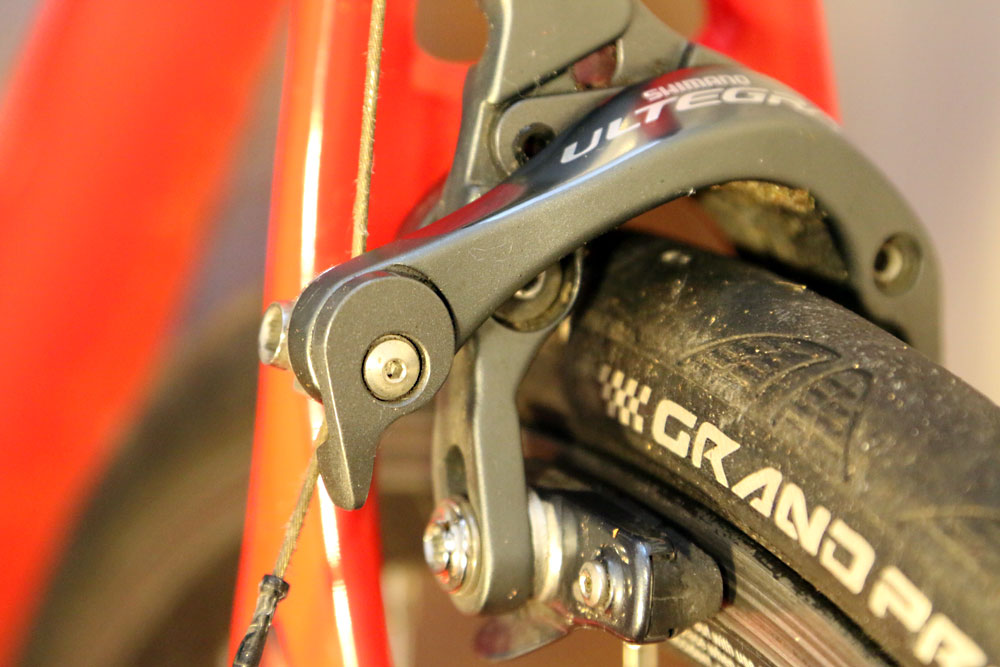
The idea of these is to open up the space between the brake pads to aid the removal of the wheel. If your brakes are too loose or too tight, then adjust the cable through the clamp on the brakes.
8. Fraying cables
A fraying cable is an unpleasant thing. There's nothing worse than seeing a beautiful bike, and then looking down to see a frayed bit of cable forlornly hanging off the front derailleur. It almost makes us feel physically ill.
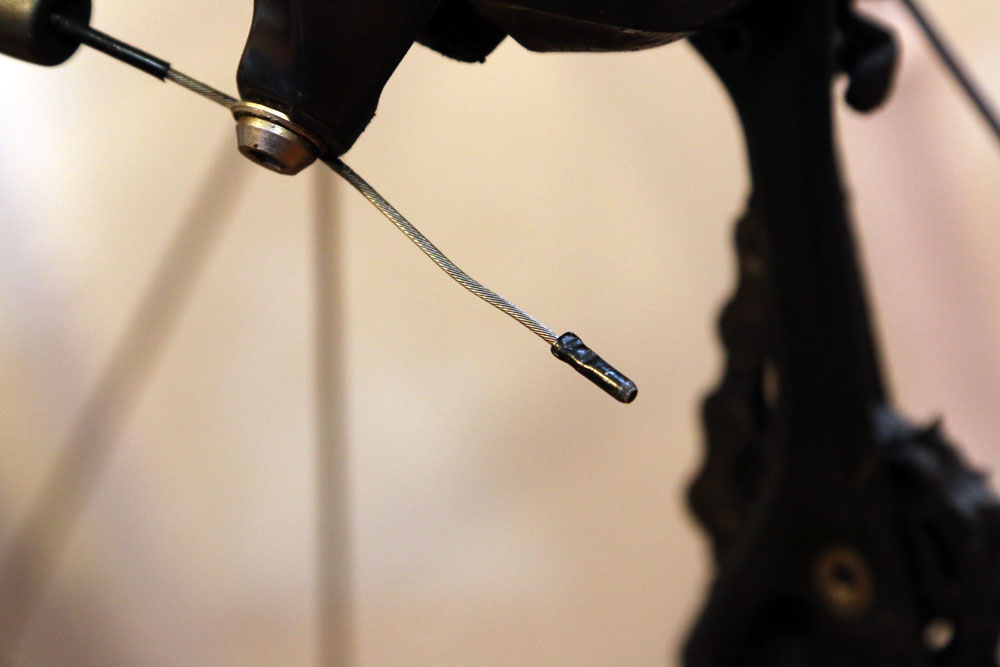
Frayed cables are the epitome of prevention rather than cure, because once they have started fraying there's not going back. Make sure that the cable end caps are installed at the ends of brake and gear cables. These cost pence from a bike shop, so there's really no excuse for having bare cable ends.
When pinching the caps on the end of the cables, make sure you don't pinch them too hard causing them to split or cut. Proper bike cable cutters often have a section for just this job. Use these rather than kitchen scissors or hedge shears.
9. Pulling out internal cables
There's nothing quite like the sense of panic you feel when you remove an internally routed cable from your bike's frame, and then realise that you have no way of getting a new one back in again.
You could literally spend weeks pushing a bit of cable in and out hoping that one day it will magically find its own way into the correct hole - it won't. Ever.
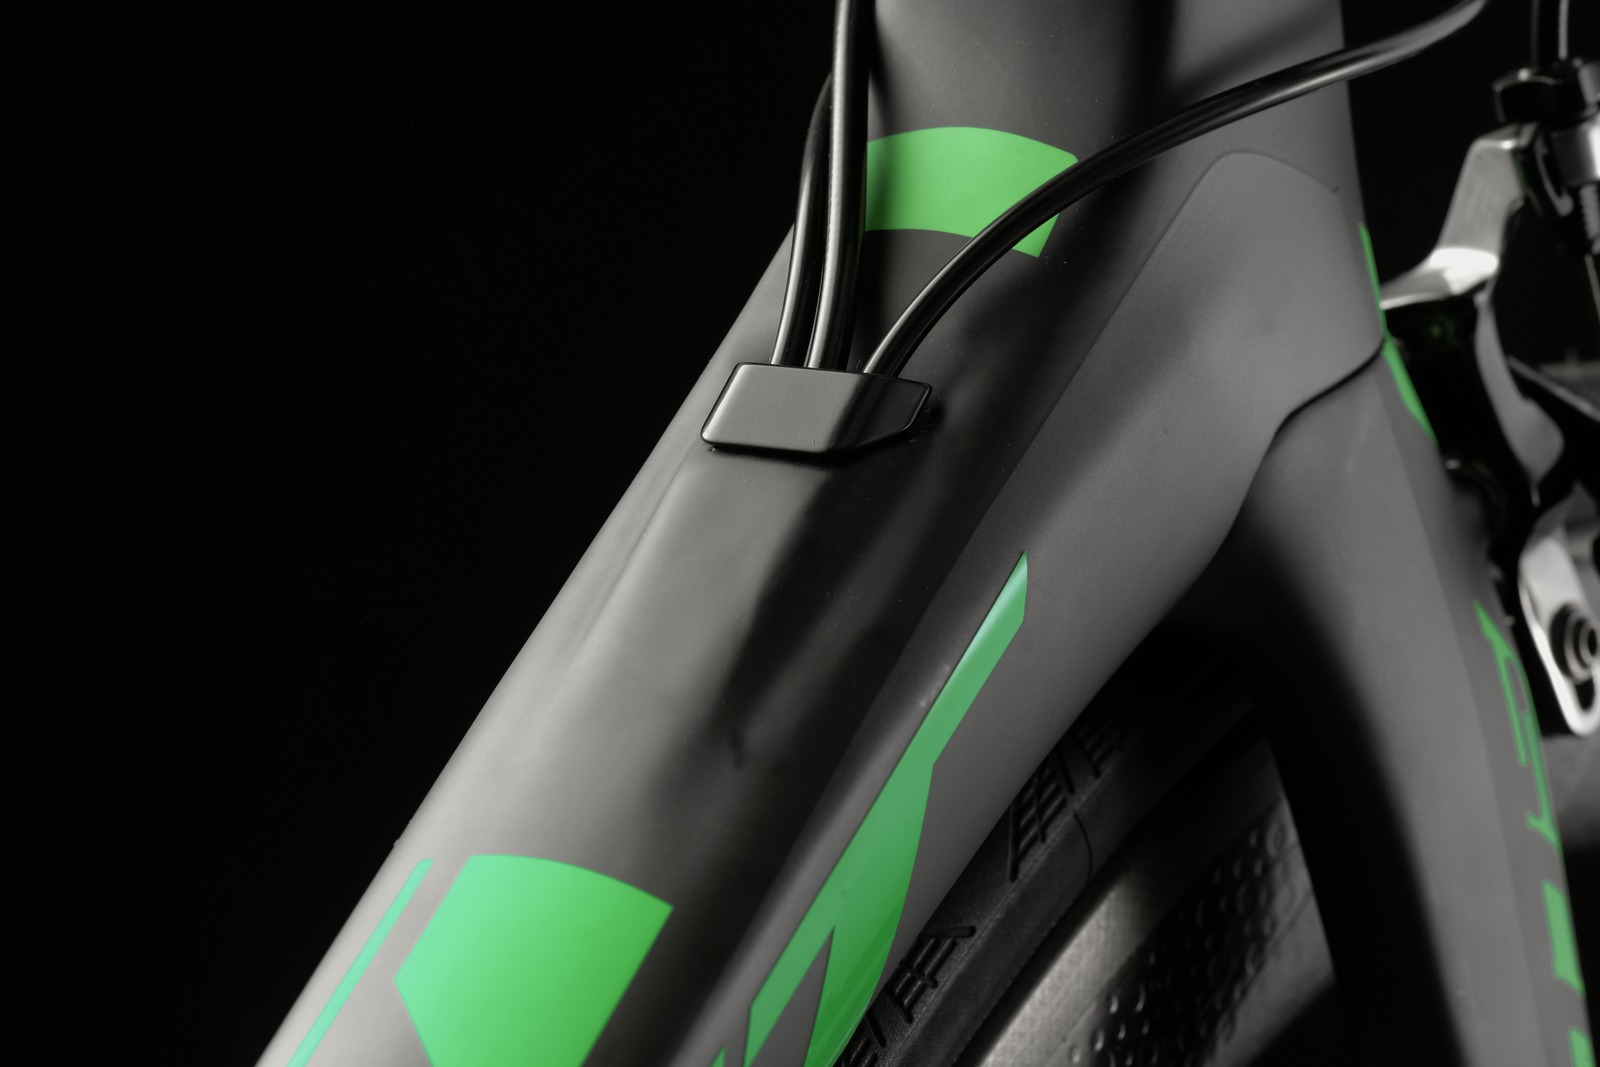
The right thing to do is use a piece of narrow tubing that you thread over the old cable before removing it, then taping it to your bikes frame so it doesn't fall out. This acts as a guide for the new cable. Many new bikes come with a set of this tubing, so make sure you hang on to it.
See also number 3 above.
10. Not using long enough bottle cage bolts
Many riders use a mini-pump attached to their bike's frame via a clip mounted under a bottle cage. This clip uses the bottle cage bolts, but it's all to easy to over-look the fact that standard bottle cage bolts often aren't quite long enough.
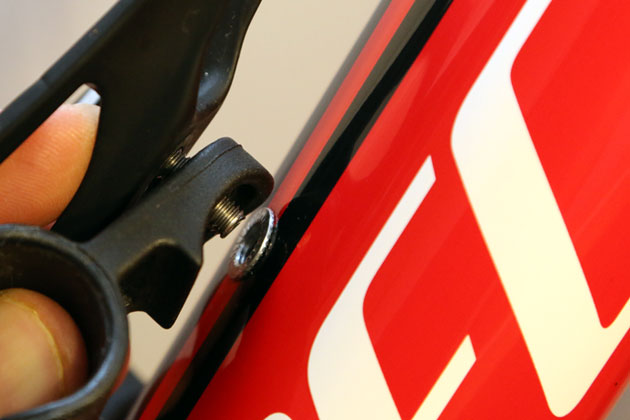
Some pump mounts come with extra-long bolts (hurray for them) but many do not (boo). Ensure that there is plenty of thread still going into the frame mount holes - at least 5mm, but more is preferable. Not enough thread in there, and you run the risk of stripping the thread out of the frame mounts completely.
11. Getting your seatpost stuck
A carbon seatpost stuck in an aluminium frame is something that can easily be prevented. A stuck or very stiff seatpost is a common problem, and equally applies to an aluminium post in a carbon frame, or an aluminium post in a steel frame.
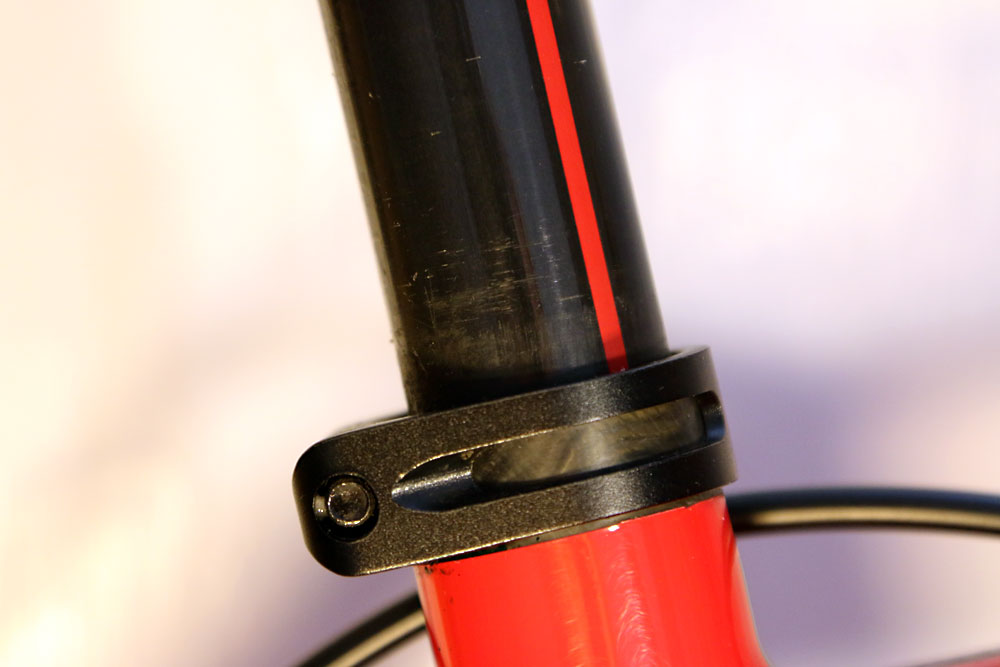
Don't use grease to prevent it – instead use a bike-specific anti-seize compound, which is available from most bike shops and made by the likes of Finish Line, Muc-Off and Shimano.
Grease and other oil-based lubes can cause the material used in the manufacture of carbon-fibre parts to swell, meaning they are very hard to shift when they get stuck.

Thank you for reading 20 articles this month* Join now for unlimited access
Enjoy your first month for just £1 / $1 / €1
*Read 5 free articles per month without a subscription

Join now for unlimited access
Try first month for just £1 / $1 / €1

Nigel Wynn worked as associate editor on CyclingWeekly.com, he worked almost single-handedly on the Cycling Weekly website in its early days. His passion for cycling, his writing and his creativity, as well as his hard work and dedication, were the original driving force behind the website’s success. Without him, CyclingWeekly.com would certainly not exist on the size and scale that it enjoys today. Nigel sadly passed away, following a brave battle with a cancer-related illness, in 2018. He was a highly valued colleague, and more importantly, an exceptional person to work with - his presence is sorely missed.
-
 "Like a second skin” - the WYN Republic CdA triathlon suit reviewed
$700 is a substantial investment in a Tri Suit, and it is, but you’ll definitely feel fast in it
By Kristin Jenny
-
 What does Q36.5 mean? We asked the people behind the Italian kit brand that sponsors Tom Pidcock's team
Q36.5's Luigi Bergamo and Lodovico Pignatti Morano take on Cycling Weekly's Q&A
By Tom Thewlis