Help the environment; save some money – here's how to make your cycling kit last longer
Surprisingly easy ways to keep your bike gear going and going
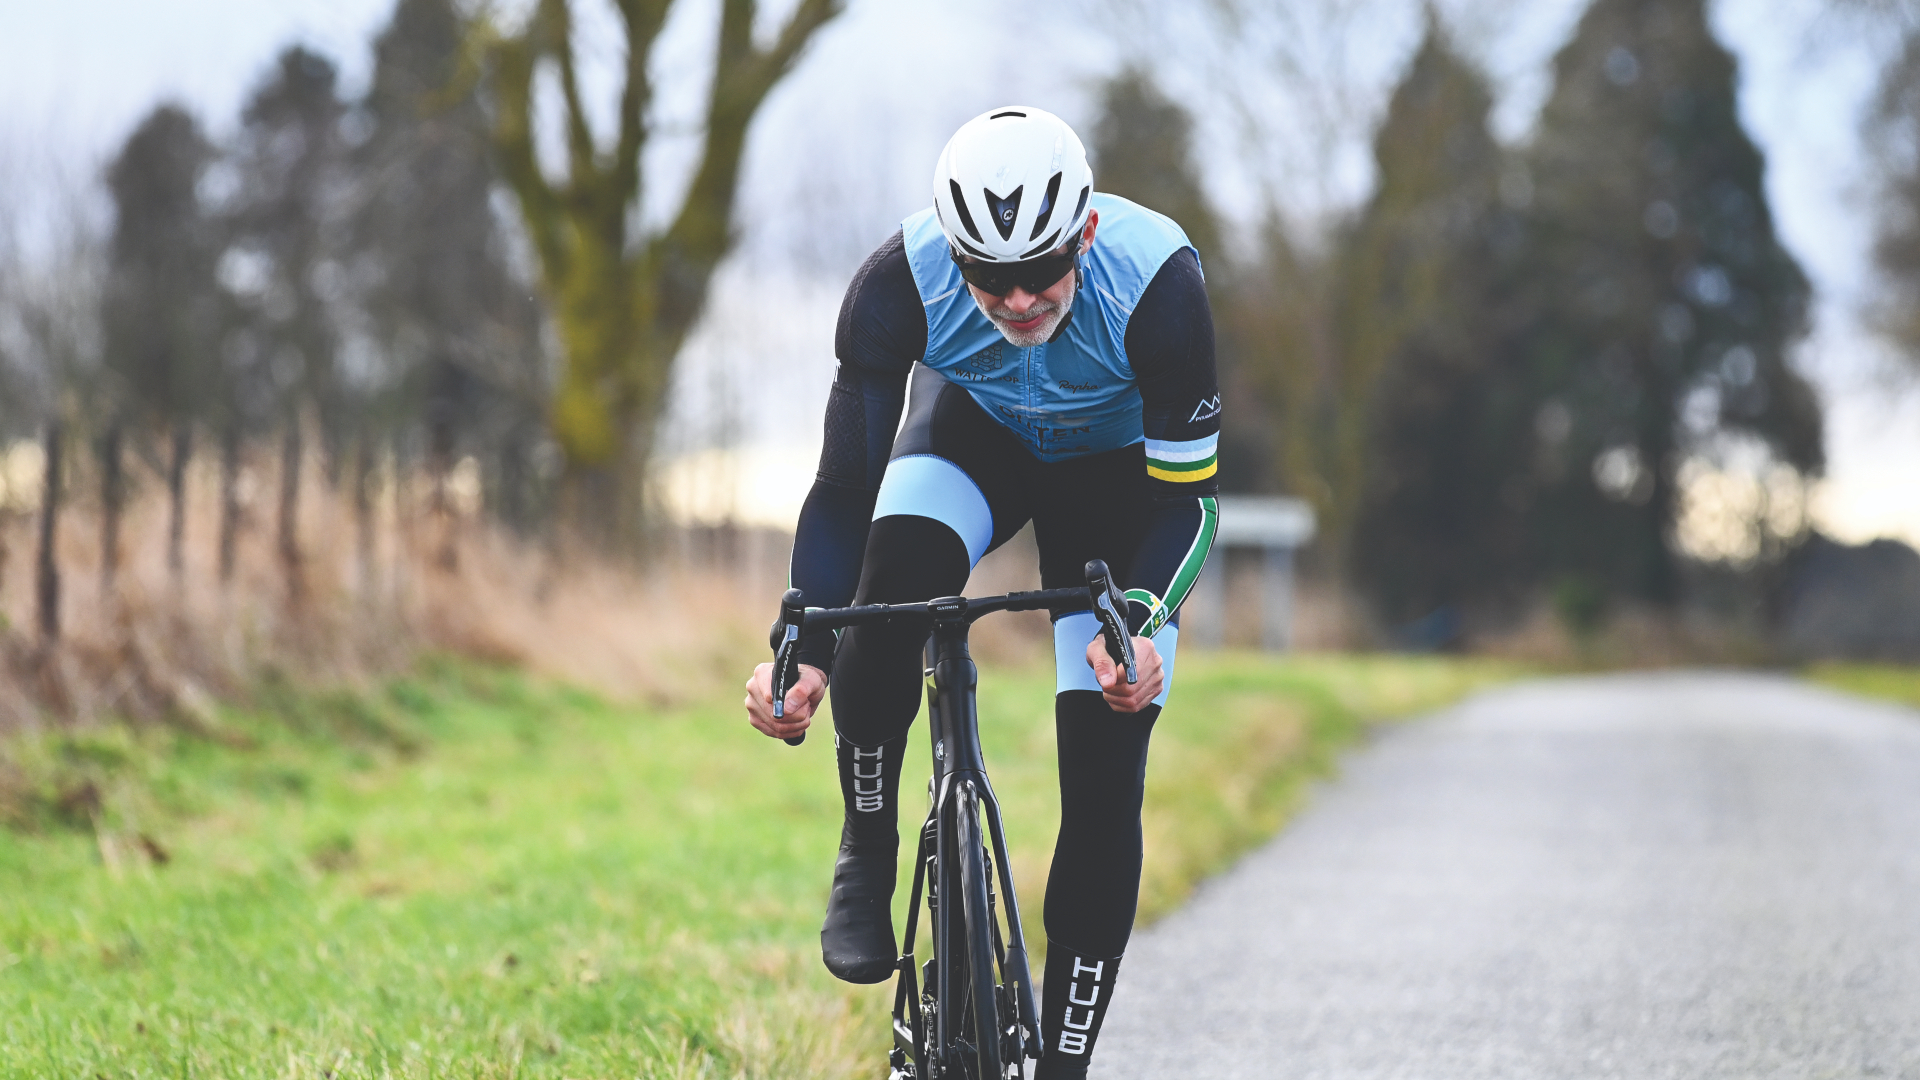
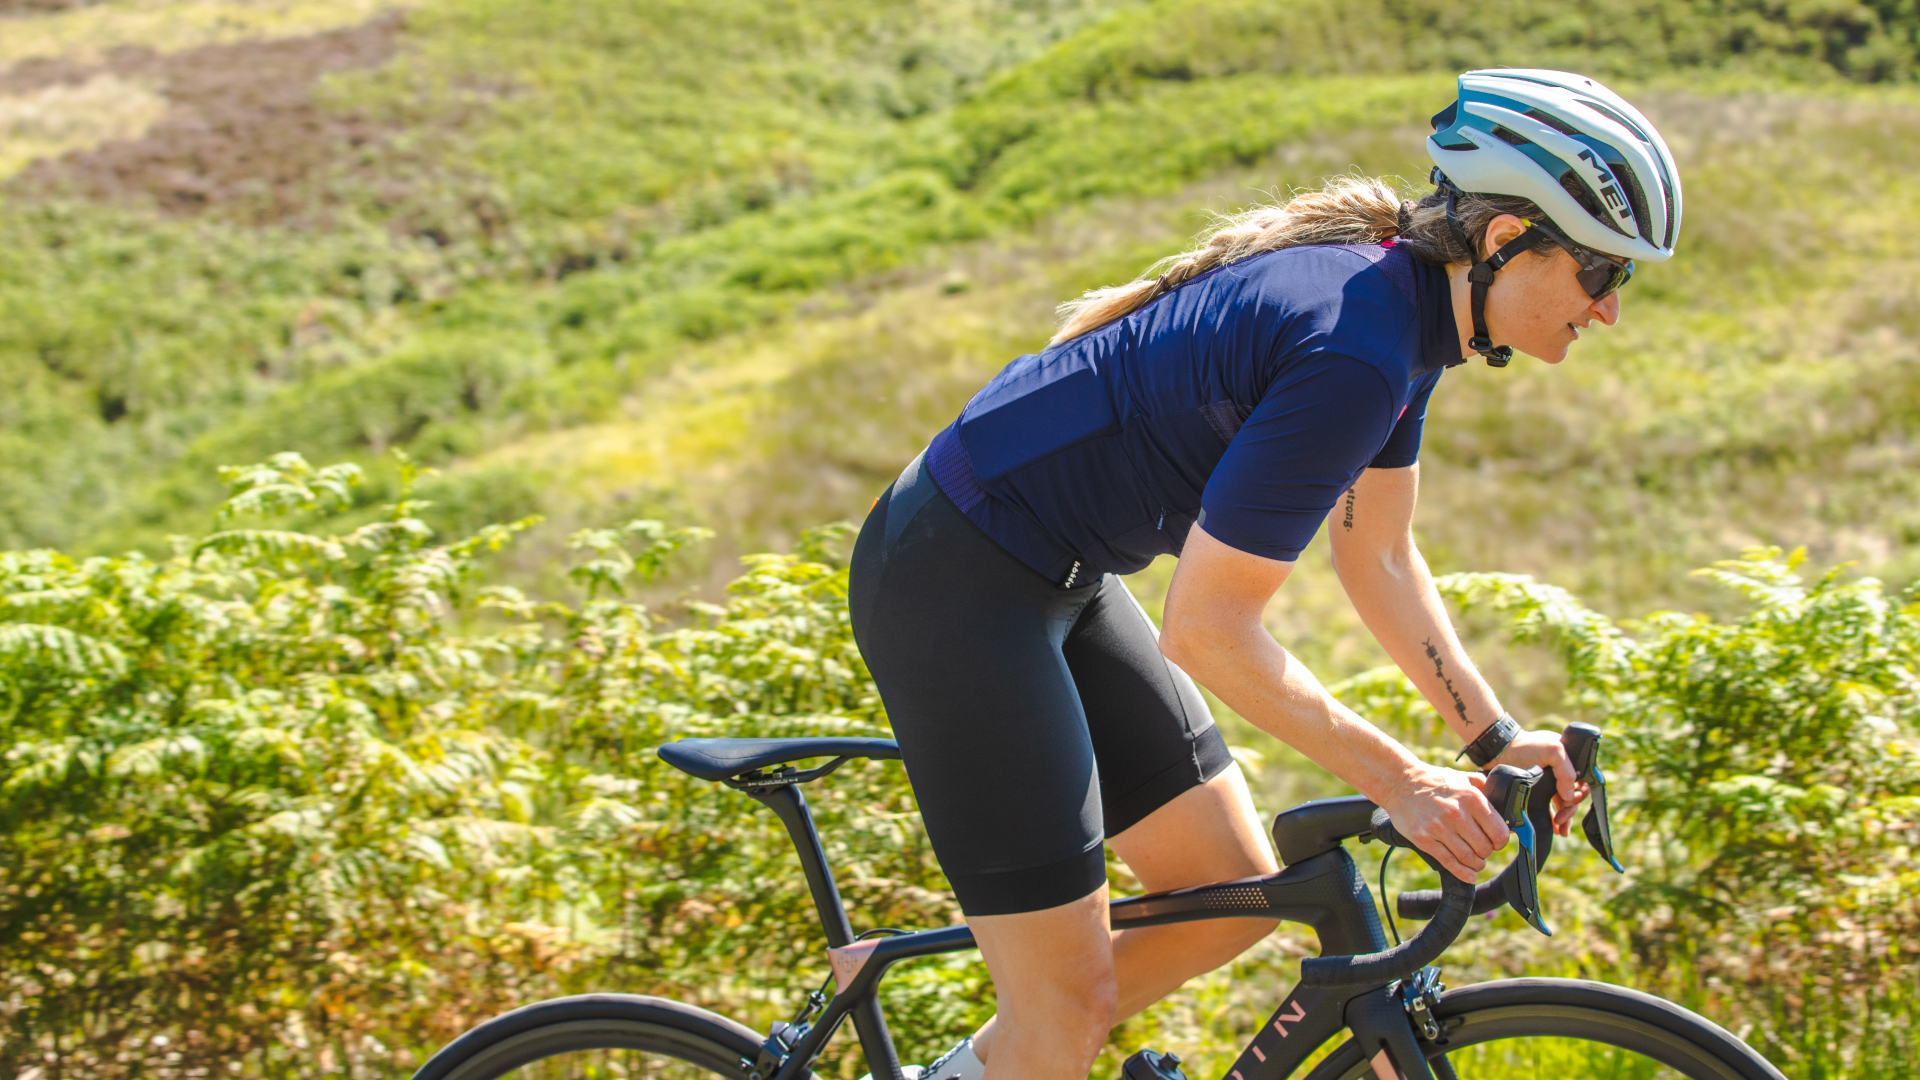
Whether it's wanting to save your hard earned cash from paying out again, doing your bit for the environment or even keeping a favourite jersey looking its best, we all have motivation for wanting to make our cycling kit last longer.
The good news is that there are some really quick, easy and cheap ways to add life to your bike and bike clothes. From routine maintenance to one off fixes, we've got lots of hints and tips for how to keep your gear going.
1. Lengthen the life of your cycling clothes
Washing
Stop washing at high temperatures!
Did you know that washing even sportswear at 86°F/ 30°C, using a regular domestic detergent will be effective enough to destroy or inactivate most viruses? Even on cycling short chamois'.
Washing clothes at low temperatures can not only save you money by using up to 40 per cent less energy, according to website loveyourclothes, but also damages most sportwear.
Using hot water to do your bike kit laundry risks not only shrinking your cycling clothes, but it can also damage most synthetic fabrics found in sportswear, such as polyester and nylon, breaking down the fibres quicker than washing at a lower temperatures.
Research undertaken in 2010, demonstrated that a 30°C/ 86°F wash was enough to ensure that bacteria wasn't capable of spreading, and was even enough to kill bacteria.
Get The Leadout Newsletter
The latest race content, interviews, features, reviews and expert buying guides, direct to your inbox!

Even low temperature washes can remove bacteria from the chamois in your cycling shorts.
Elastic Interface, producers of cycling short chamois for a significant number cycling clothing brands, even sought independent third party verification from scientist Antonio Paoli M.D., B.Sc. Department of Biomedical Sciences, University of Padua, Italy.
Paoli concluded that "high temperature washing does not add benefit to the cyclist’s health and would damage fabrics and foams".
"Normal washing of clothes will reduce the risk of germs being transmitted" confirms the NHS. However it does also state that in cases where someone has an infectious illness "clothes should be washed at higher than normal temperatures and with a bleach-based product to minimise the transmission risk as much as possible".
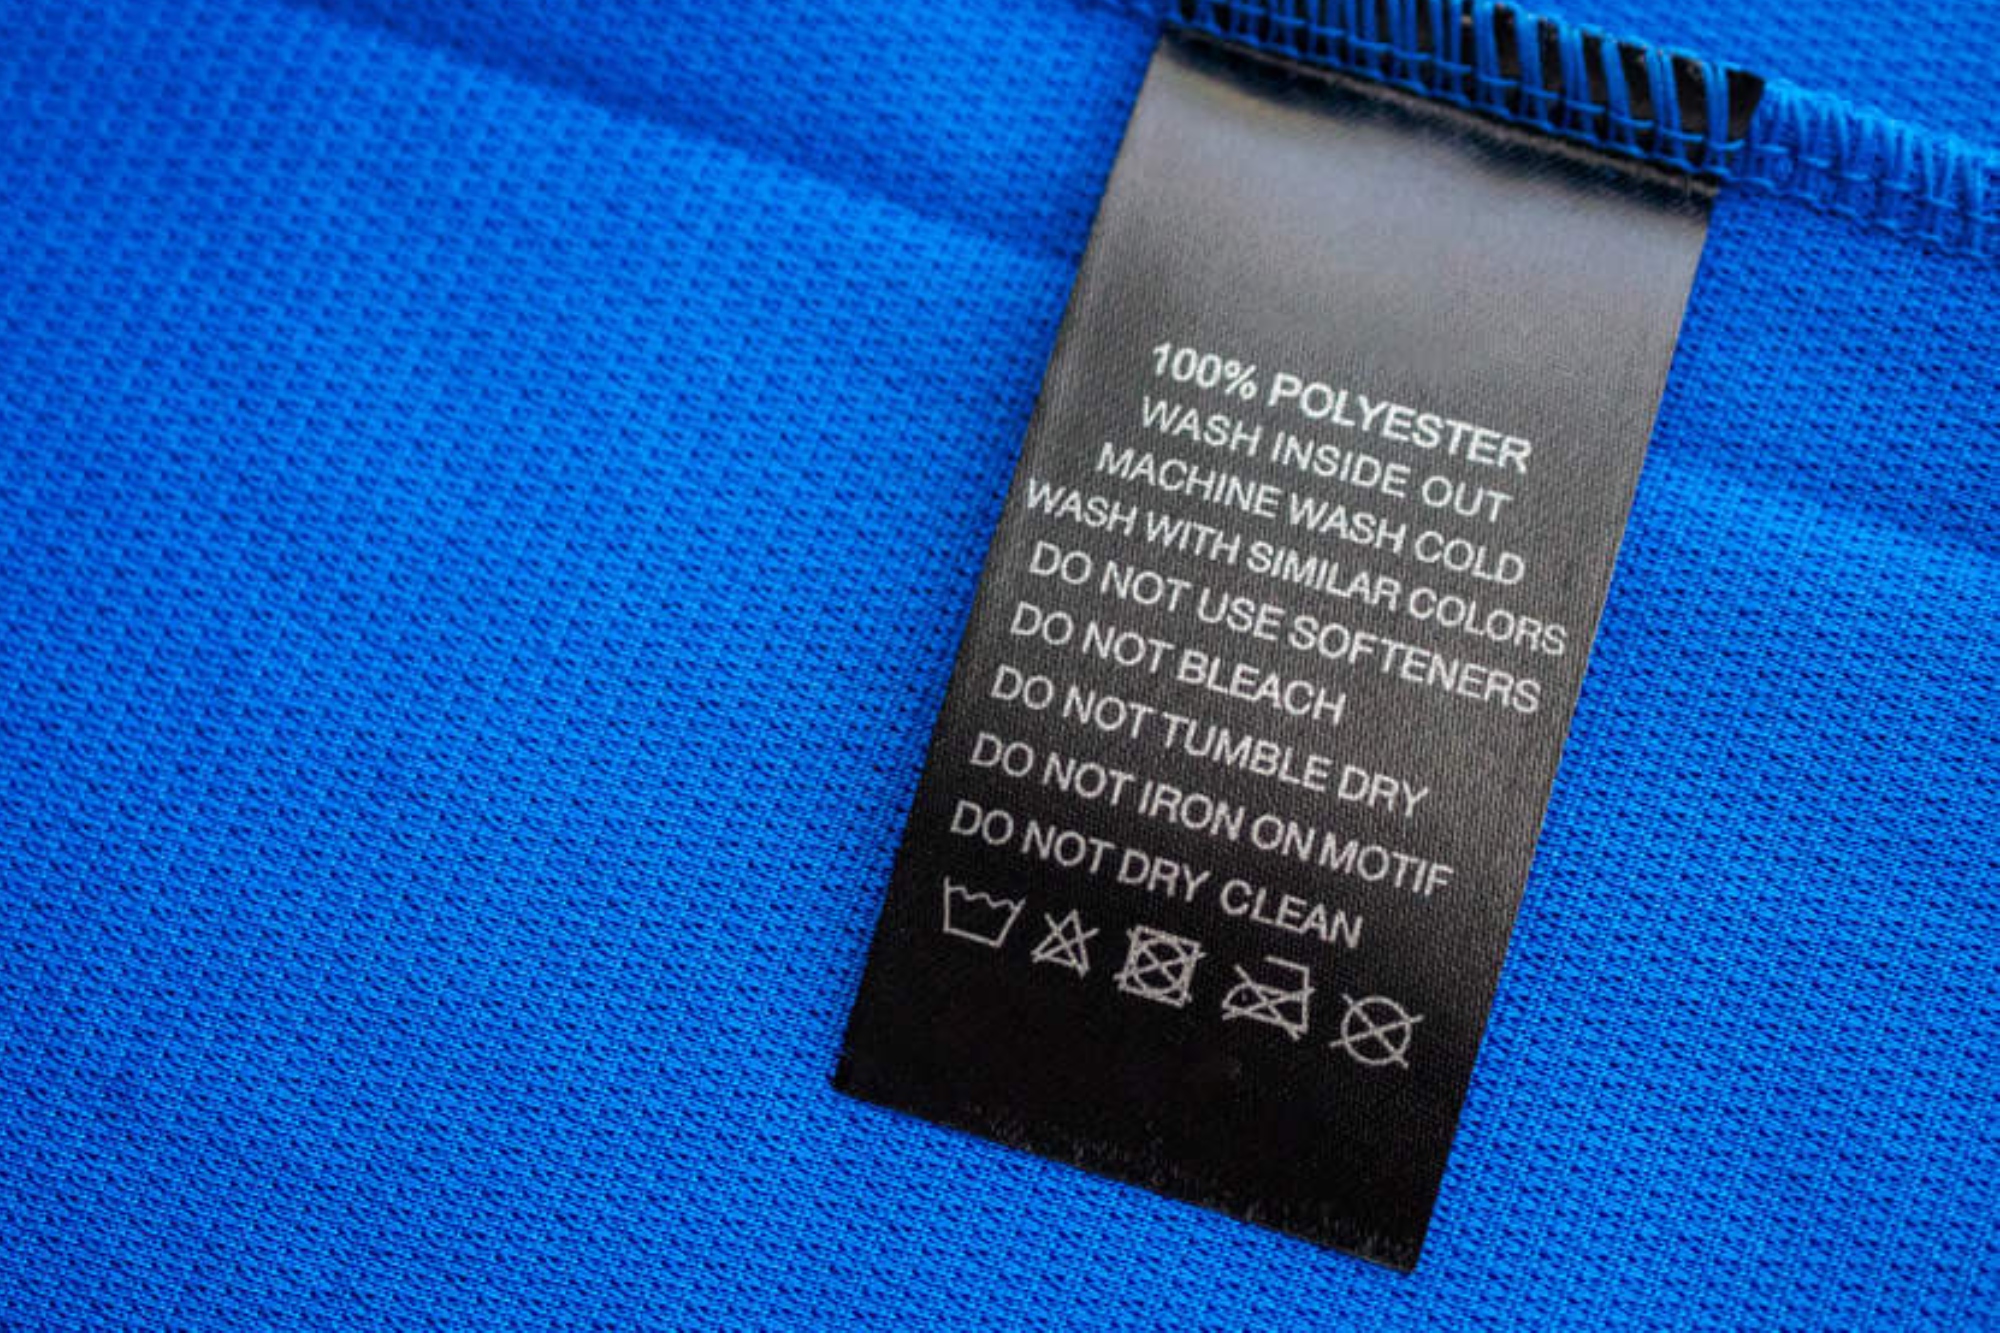
Washing at lower temperatures helps save your kit and the planet.
Use a gentle liquid detergent, and never use fabric softer.
"It's not only any water protection that will be impacted by some mainstream detergent that include fabric softeners" say's Andy Syme, Head of Product Design, Muc-Off, "it will also have a big impact on it's breathability.
"Residue from the detergent builds up, get imbedded in the fabric and on the outside and stops your cycling gear being water-proof or water-resistant, and will make you very sweaty too.
"I've heard of so many people chucking really expensive riding jackets because they think it has run its lifespan, when actually it just needs washing properly and re-proofing.
If you have an underperforming piece of previously waterproof or resistance gear, you can read our page specifically on how to re-waterproof your cycling gear to make it perform like new.
"It's better to start with a specific cleaner from the start," Syme continues, "but if you have washed it a few times already, you can swap to a milder or specific sportswear detergent and wash out some of the residue build up bringing life back in to your kit".
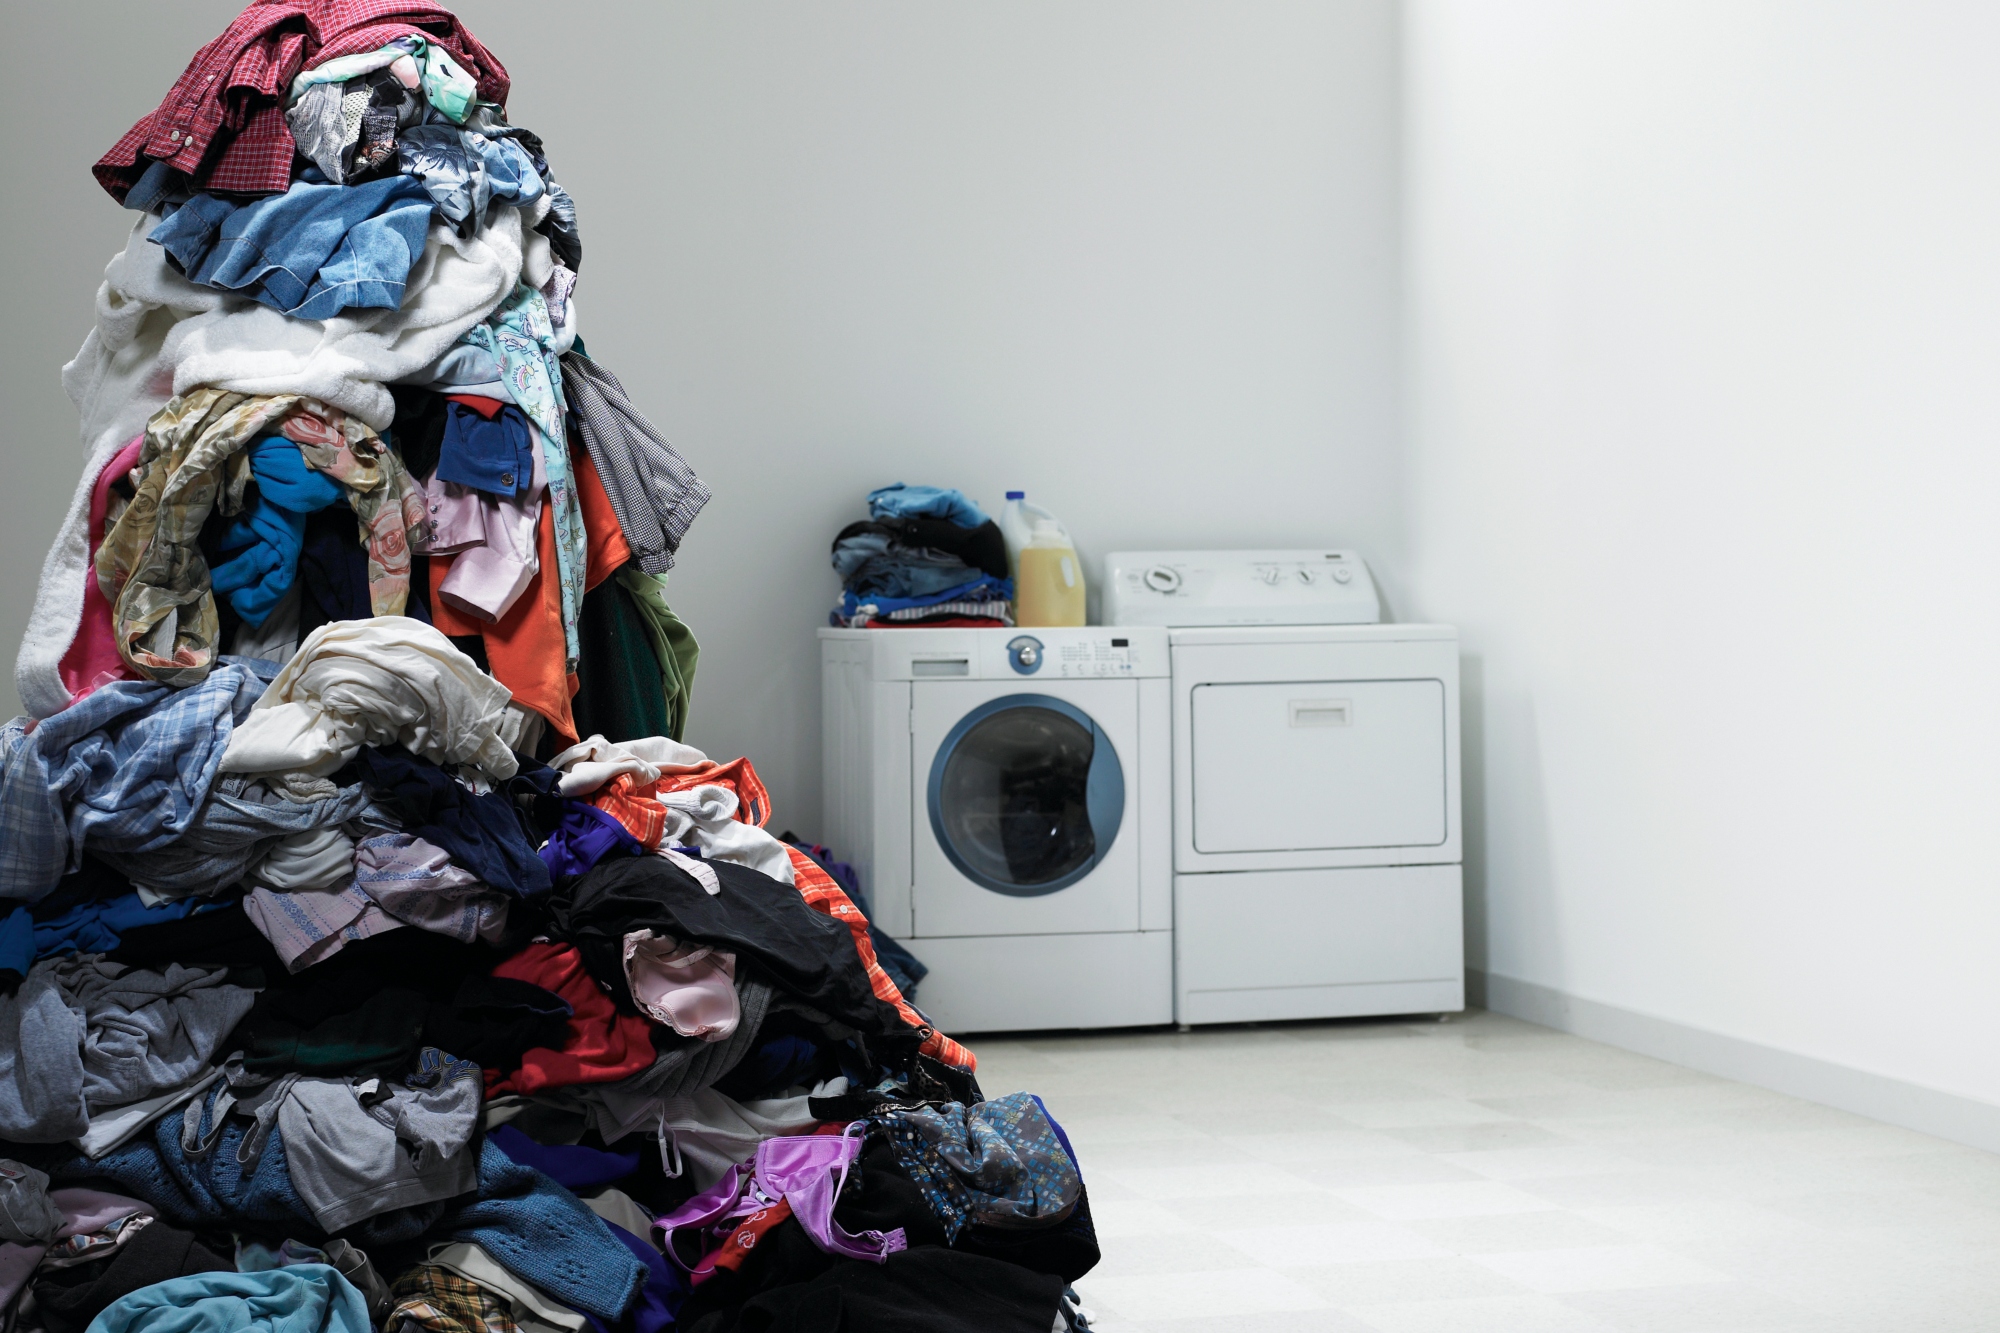
The scene of most cyclists washing pile at home
Be washing load savvy
I'm totally guilty of wanting to get as much in one washing machine load as possible, so was pretty shocked to learn that washing my cycling kit with even jeans might be a false economy.
Bike brand Liv say wash all your kit together, but not all your clothes. "Bulky items like jeans and towels can destroy delicate fabrics" it warns.
Liv also recommend to "turn shorts inside out, as well as any screen printed jerseys. Mesh lingerie bags also come in handy for washing cycling gear". This should lengthen the quality of the image by reducing it's direct contact other garments, especially zips and Velcro.
"If your cycling jersey has zippers, zip them up. Ensure any other fasteners are closed, as well. These could get snagged on delicate mesh and other materials in cycling clothes," says Liv.
"Open Velcro will shred mesh and will pick the fabric of jerseys and shorts," Liv continues, before advising to "make sure Velcro is closed on gloves and other items or wash separately to be super safe".
Finally Liv remind us not to forget to check pockets: "Energy gels and other snacks can make a big mess in the wash and ruin clothing".
Do you even need to wash your cycling kit?
Airing or spot washing your gear can dramatically make your cycling kit last longer. While its obvious to take a sponge to cycling shoes or helmet, consider doing the same to jackets or gilets.
Getting caught in the rain on the last bit of your ride, layering up with gilet to keep out a chill on a fast decent or even getting mucky from rain spray while stowed in your back pocket are moments when external layers won't warrant a full wash cycle.
While it's important to clean and take care of all your cycling gear, you could consider just wiping off any mud splats and then airing the item to dry before storing away.
If your cycling garments did get sweaty however, you will need to give them a wash to remove moisture and bacteria that can cause kit to smell.
Don't leave your used kit scrunched in the laundry bin.
"The key to preventing stinky kit, when perma-odour sets in, is to wash kit ASAP after it's been worn," says Irene Lucarelli, Marketing and CSR Specialist, of Elastic Interface, the cycling short chamois experts.
"If you can't wash your kit instantly, hang it up to air first to prevent mould and mildew setting in, and then wash as soon as feasibly can," Lucarelli confirms.

If your helmet just needs a refresh, wash or buy new padding.
2. Lengthen the life of your cycling helmet
Even the best bike helmets can with a bit of TLC, and assuming no crash damage, give you a good few years of life with these simple tricks of the trade.
Chris Smith, USA Lazer Marketing, Shimano North America gives us his top tips on helmet care:
1. Protect your helmet from UV deterioration by keeping it out of the sun and heat when not in use. Your car is the worst place to store your helmet!
2. Keep drops and bumps from affecting your helmet’s ability to protect you when needed. Store your helmet in a case or bag to keep it from damage during transportation.
3. Sweaty and dirty straps makes for a gross helmet. No need for complicated cleaning, just dunk it under water to clean out the interior and rinse out the straps. Let it air dry overnight and it will be fresh for your ride the next day.
4. Replacing padding is an easy way to refresh your helmet. Most helmets have accessory pad sets available to replace original worn out padding for a fraction of the price of a full helmet.
He does caveat his list with an important reminder that "helmets do have a lifespan and you don’t want to outride your helmet’s ability to protect. Check your helmet regularly for compressed or cracked foam, cracked or separated polycarbonate outer layers and broken buckles. Replace your helmet once it’s no longer able to perform its job!"
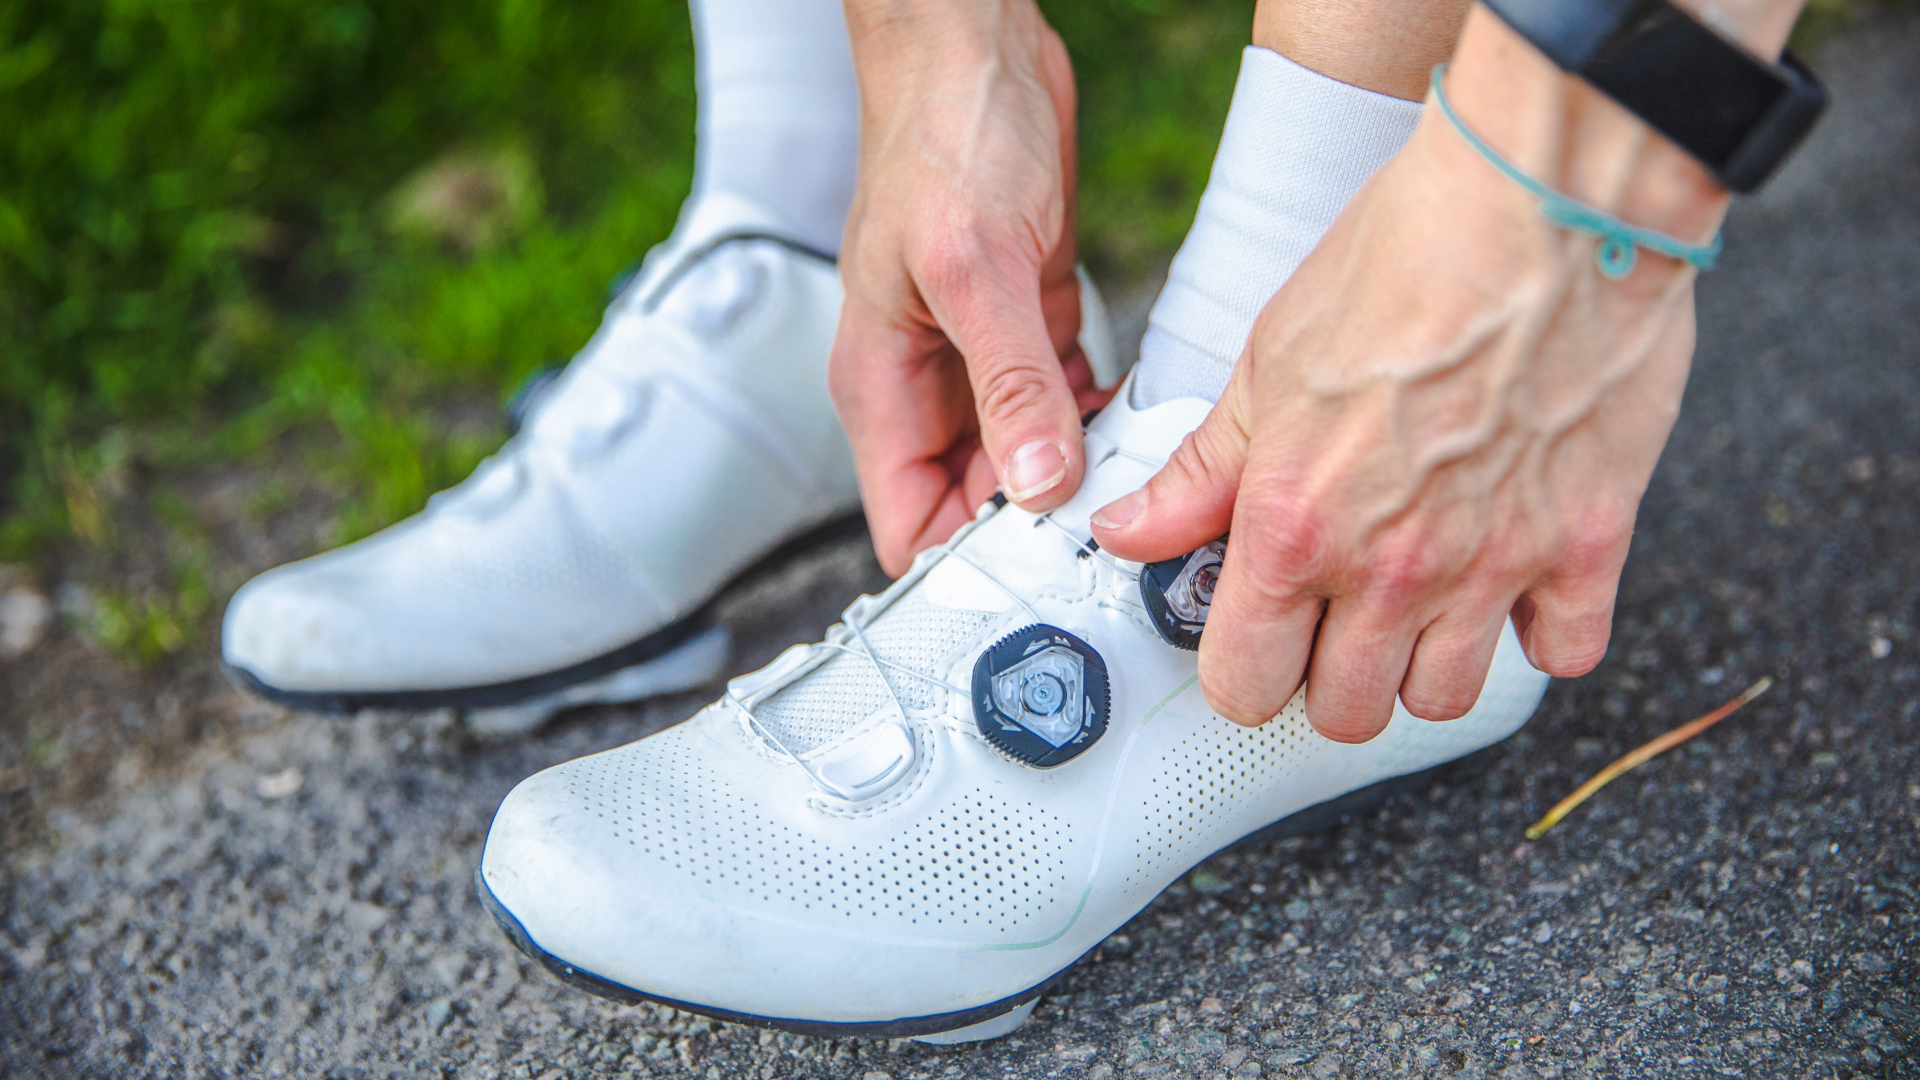
Repair before replacing shoes
3. Lengthen the life of your cycling shoes
Before we discuss the cleaning aspect, one of the best things you can do to prolong the life of your cycling shoes starts before their first ride.
"Always apply copper anti-seize compound to your cleat bolt threads before attaching them to your shoes" says Muc-Off's Syme.
"Pedals and cleats take a real hammering all year, but in winter they are a direct target for salt spray from roads. This gets in to both and soon start corroding and breaking them down,
"Trying to remove a pair of worn cleats from cycling shoes will be impossible after a while, so just dab the smallest amount on each bolt before placing and your future self will thank you," Syme says.
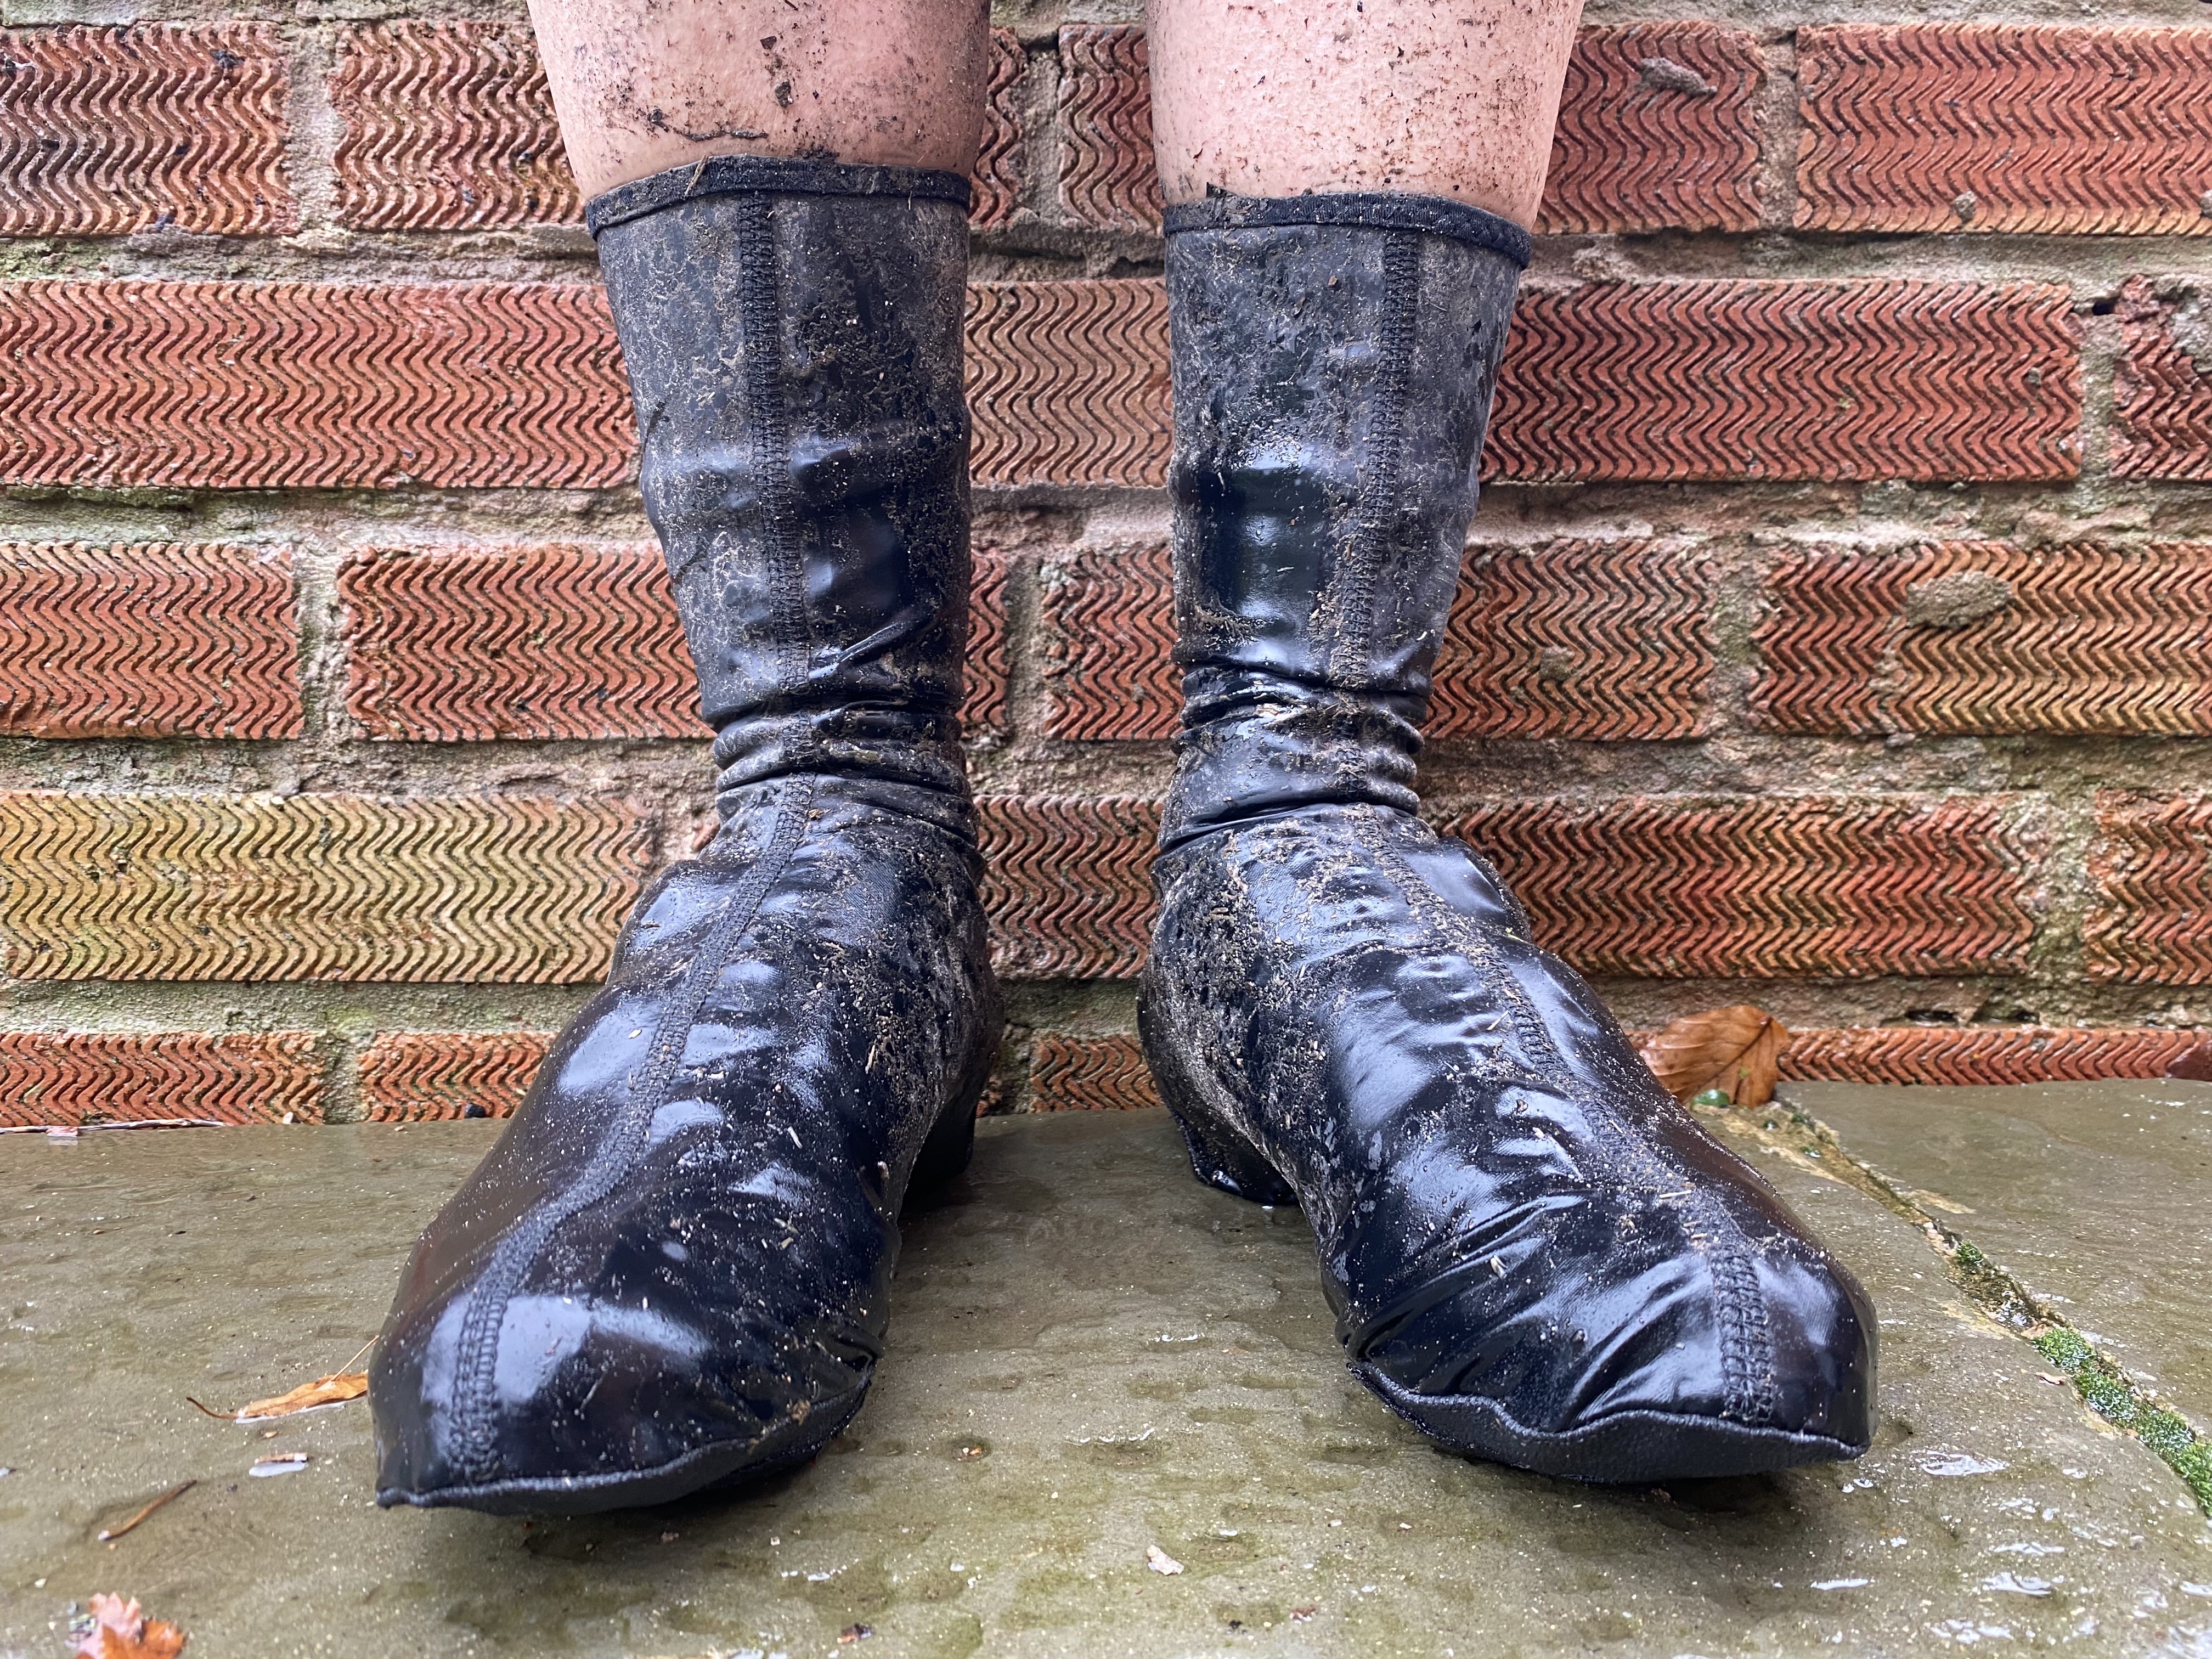
A pair of decent overshoes can save a lot of wear on a pair of cycling shoes
Rain, road crud, mud and dust can all impact negatively in the life span of even the best cycling shoes. Even tiniest of muck and dust partials will eroding material, closures and cleats over time, and impact on any water protection.
The good news is that a sponge and warm water alone will probably displace a lot of the offending material swiftly. However, even the best cycling shoes will get the occasional soaking, covered in road spray or mud from riding off the beaten track on a gravel bike.
Once your bike shoes are in this state, it's time to give them some proper TLC.
You need to give your shoes a thorough brush and then use a gentle cleaner on a damp surface say industry experts NikWax, before cleaning with a gentle wash.
NikWax say look for cleaners that are safe to use specifically on footwear, here there is a lot of cross over between bike shoes and hiking boots, and this will give your shoes a some water protection too.
Once you have cleaned your cycling shoes, it's worth applying an appropriate water protection product, depending on what your shoes are made from.
NikWax say it's best to do this while your shoes are still wet, and then always allow your shoes to dry naturally.
"Do not place next to direct heat," say the outdoor cleaning brand specialist, "it can cause soles to de-bond and leather to dry and crack.
"If you want to speed things up a bit, put newspaper or paper/cloth towels in your shoes to soak up excess moisture".
Once your shoes are dry, you can help them last longer still by investing in a pair of the best cycling overshoes. These won't totally prevent your bike shoes from getting wet, but will keep a lot of muck at bay and out of the closures.
If you do find closures getting worn, the chances are you can just replace the parts rather than the whole shoe.
Heal rubber pads, BOA ratchet spares, and even shoe repair kits that fill scrapes and scuffs are all available to buy.
Lastly, stop walking around in your bike shoes! Keep all off bike use to a minimum. If you do need to get from bike to cafe or house, cover the cleats in protectors or better still take your shoes off.
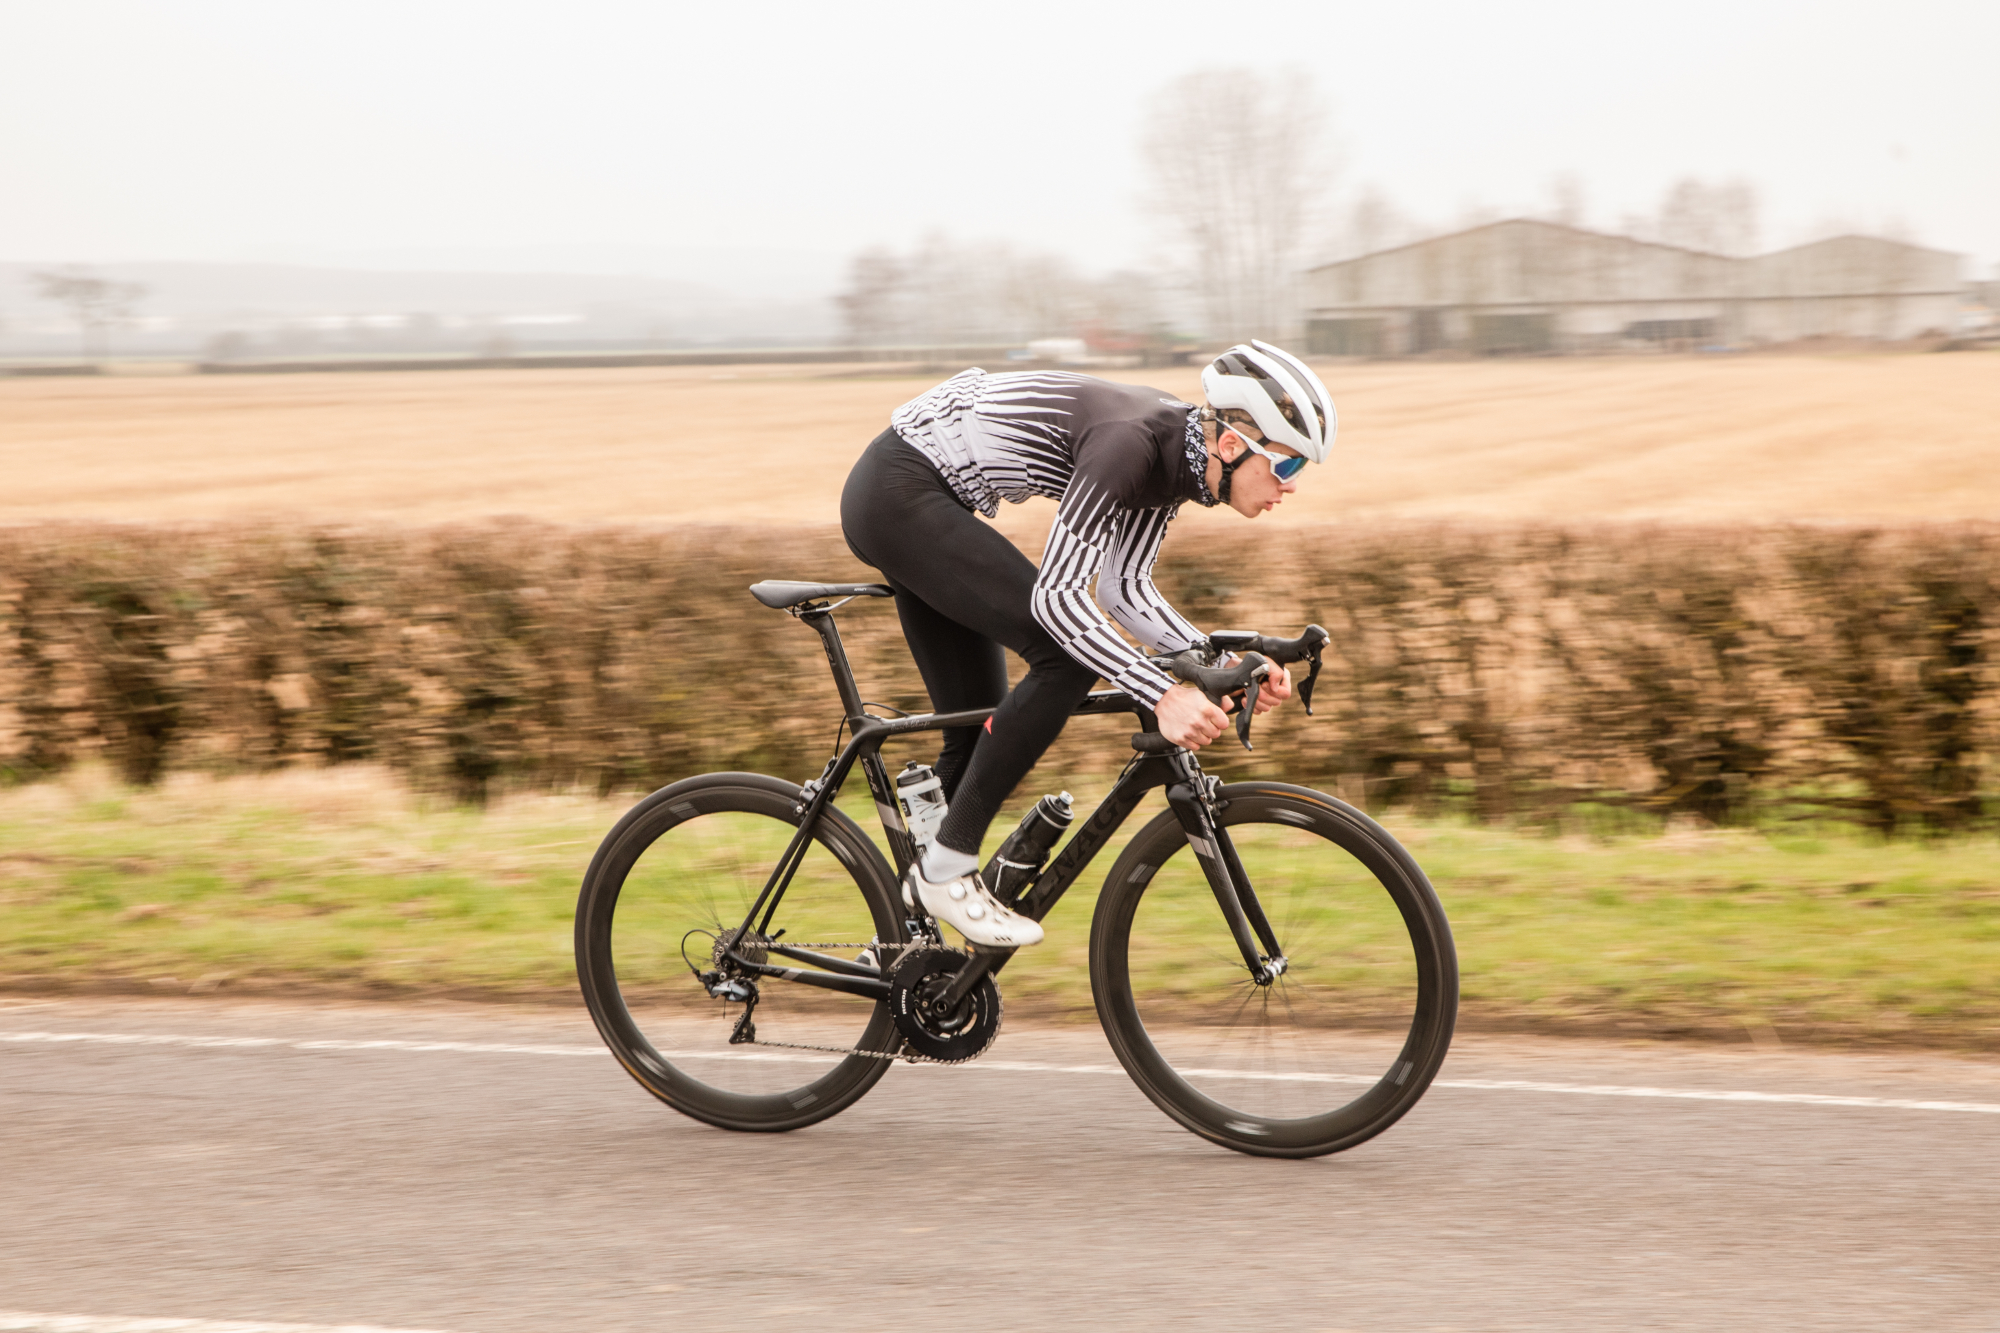
Look after your bike and it will look after you
4. Lengthen the life of your bike
Pre-first ride
Like your cycling shoes, extending the life of your bike starts as soon as it's out the box.
"Don't take it for granted that the bike manufacturer has used any form of assembly pastes," says Muc-Off's Syme.
"Add copper anti-seize compound to the threads of bolts, especially places like pedals and water bottle bolts."
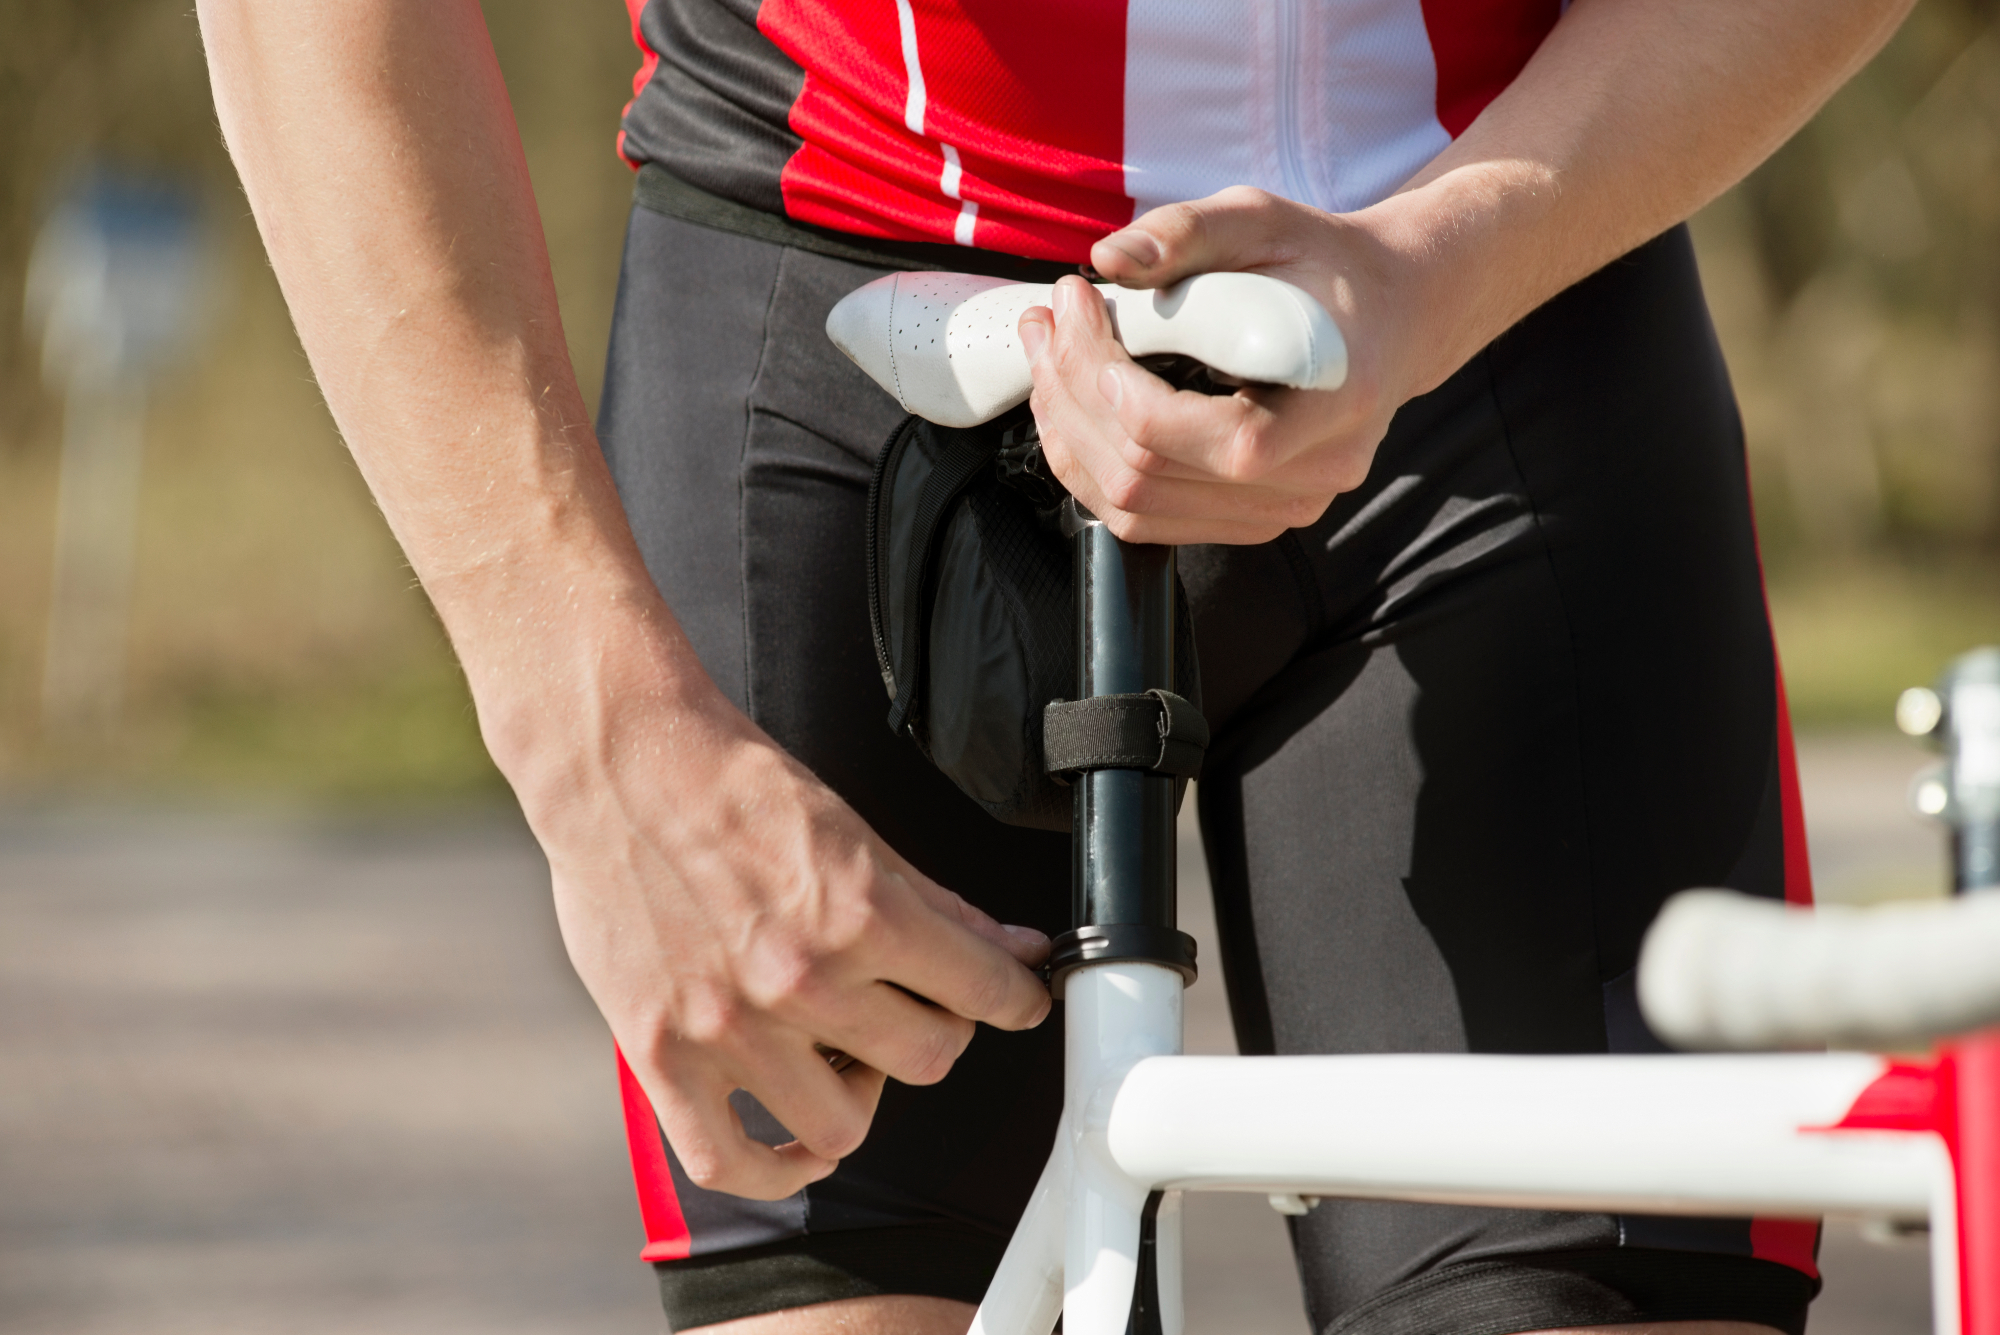
Applying assembly paste can prevent damage later down the line
"If you have carbon seatposts or bars, add some carbon assembly paste, and then always use a torque tool to prevent over tightening and damaging parts," advises Syme.
A brand new bike will also have a brand new chain, which feel sicky. This is the residue from it's factory assembly.
There's mixed advice as to whether to leave on this factory grease or remove, but the newest thinking is that this will attract a lot of muck if it isn't cleaned off, contaminating the grease, which immediately sets to degrading the chain's lifespan.
If you aren't getting your bike put together by a professional bike mechanic, you can remove the chain yourself, and bath a couple of times with a gentle mineral cleaner, before drying and applying chain lube.
"Depending on what sort of riding you'll be doing, and mileage you'll be covering will dictate the lube you need," confirms Syme.
"Entry level lube will be cheaper, but you'll need to reapply more often, while top level race lube, such as ceramic or the Muc-Off Hydrodynamic Chain Lube, will cost a little more, but last for longer," Syme suggests.
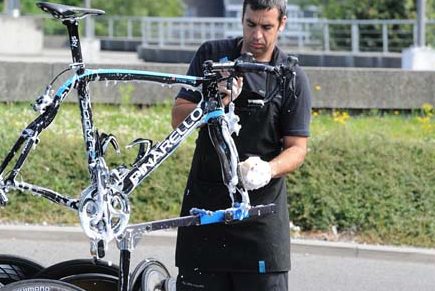
Wash you bike, even when it's not been outside!
"The number one way to extend the life of your bike is to clean it," says Martin Girdwood, Head Mechanic and owner of Velo-Tech.
"Seriously there are loads of biodegradable cleaning products out there. Spray down chain, cassette and derailleurs. Make sure you protect disc rotors for overspray. You can buy guards, but a piece of carboard over the axle is enough.
"Leave on then clean off, dry and then re-lubricate. Spray any moving parts, like the deraileur, springs and pivots with a multi-use lubricant spray, something like GT85 or Muc-Off MO94. This helps disperse moisture, to prevent rust and corrosion, it also helps repel dirt too, so will make it easier to clean after your next ride."
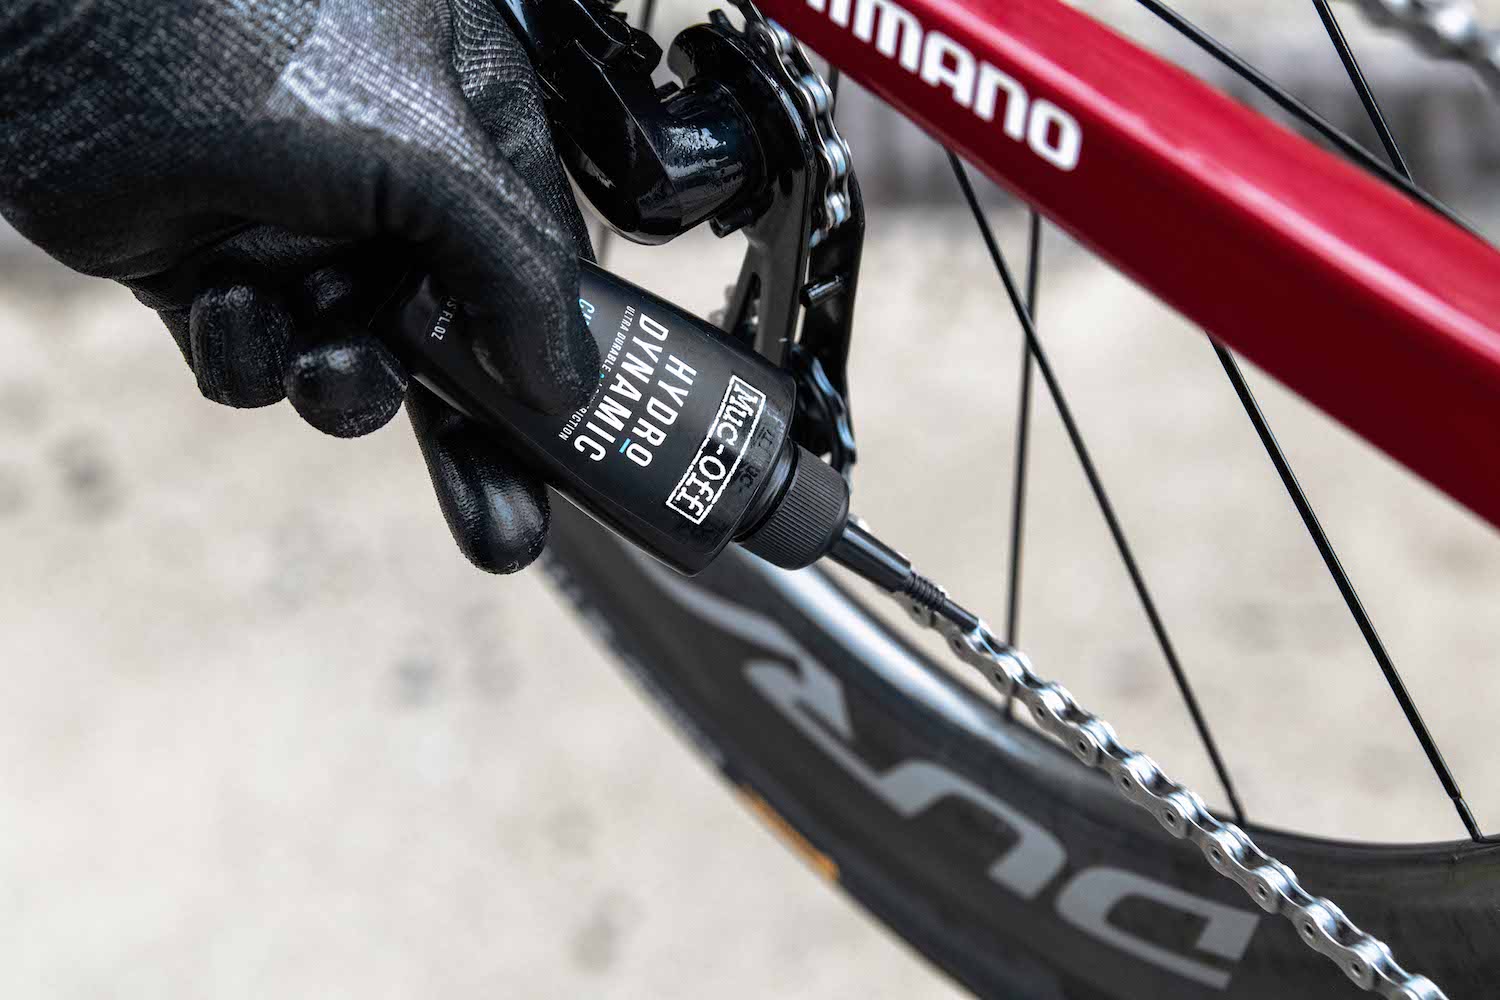
"If you're soaked, cold and too tired after your ride, just spray your bike's chain and cassette with multi-use lube to displace water, and come back to it once you've had a hot shower and are warm. Don't leave it too long as it doesn't take long for a chain to start rusting.
"Regular bike servicing is really important too. It can spot the cheaper things like brake pads, chains and cables wearing out, and get them replaced, preventing you from having to shell out for more expensive items like new drivetrains.
"Winter bike services are more important. All main bearings take a hammering with water, salt and general grit, especially on off road bikes like gravel getting in and eroding moving parts.
"Don't be tempted to take aim at your bike with an jet wash though. Unless you have a bike specific one, like the Muc-Off one, it can be all to easy to end up flushing the grease out of any bearings and hastening their demise".
"Another good tip is if you are lucky enough to have a winter and summer bikes, get each serviced at the end of the season, before you put it away. This stops any water having time to do damage and it will be all ready to ride for when you need it."
You're not off the hook from bike washing if you are stopping at home for an indoor session.
"Ideally get yourself an indoor training kit" Muc-Off's Syme tells me. "You need to make sure you spray your bike with an anti-bacterial and guard against sweat, which is really corrosive.
"Its especially important on the stem cap bolts and leave it on to act as a barrier. It's especially vital if you are riding outside on the bike too, as that corrosion build up can eventually attack the integrity of the bolts - and you really don't want bolts snapping on a ride".
5. Dos & Don'ts summary
Do
- Wash your bike and kit ASAP after a ride and re-lube the moving parts
- Use a gentle detergent, if it's kind to the environment it'll be kinder to your clothes
- Re-proof your waterproof and water resistant gear to make it perform like new
- Replace the part not the whole, especially when it comes to bike shoes
- Get your bike serviced, especially in winter
Don't
- Leave your damp used kit in the bottom of a wash pile/ kit bag. If you can't wash it immediately air dry it.
- Don't put your shoes or helmet next to direct heat, this can de-bond glues or dry out fabrics causing them to crack
- Leave your bike mucky and wet after a ride. Spray with a multi-use lube, get warm and then clean it
- Don't jet wash moving parts on a bike, it will flood the bearings
- Assume you new bike is ready to ride. A little time spend applying the correct products at the start will lengthen the life of your bike

Thank you for reading 20 articles this month* Join now for unlimited access
Enjoy your first month for just £1 / $1 / €1
*Read 5 free articles per month without a subscription

Join now for unlimited access
Try first month for just £1 / $1 / €1
Hannah is Cycling Weekly’s longest-serving tech writer, having started with the magazine back in 2011. She has covered all things technical for both print and digital over multiple seasons representing CW at spring Classics, and Grand Tours and all races in between.
Hannah was a successful road and track racer herself, competing in UCI races all over Europe as well as in China, Pakistan and New Zealand.
For fun, she's ridden LEJOG unaided, a lap of Majorca in a day, won a 24-hour mountain bike race and tackled famous mountain passes in the French Alps, Pyrenees, Dolomites and Himalayas.
She lives just outside the Peak District National Park near Manchester UK with her partner, daughter and a small but beautifully formed bike collection.