Is your bike race ready? Here's how to get your rig running perfectly ahead of any big event
We talk you through a pre-race check up as well as offer a few tips on how to fine-tune your bike for race conditions
If you’ve been training throughout the winter months in preparation for the racing season ahead, you’ll want to ensure that your bike is just as ready as you are.
A well-tuned bike can make a significant difference to your performance. Regular maintenance is always advisable of course, with the ‘prevention is better than a cure’ philosophy applicable to your bike as it is your body. However, it might be that your race bike has been hung up in a garage for a few months and needs a close inspection before you pin a number on again.
So what areas of the bike should you be looking at? And is there anything you can do that will help it to run more efficiently under the additional pressure of racing conditions?
General inspection
A general inspection of your bike is the best place to start. And to do this with confidence you’ll need to start with a clean bike.
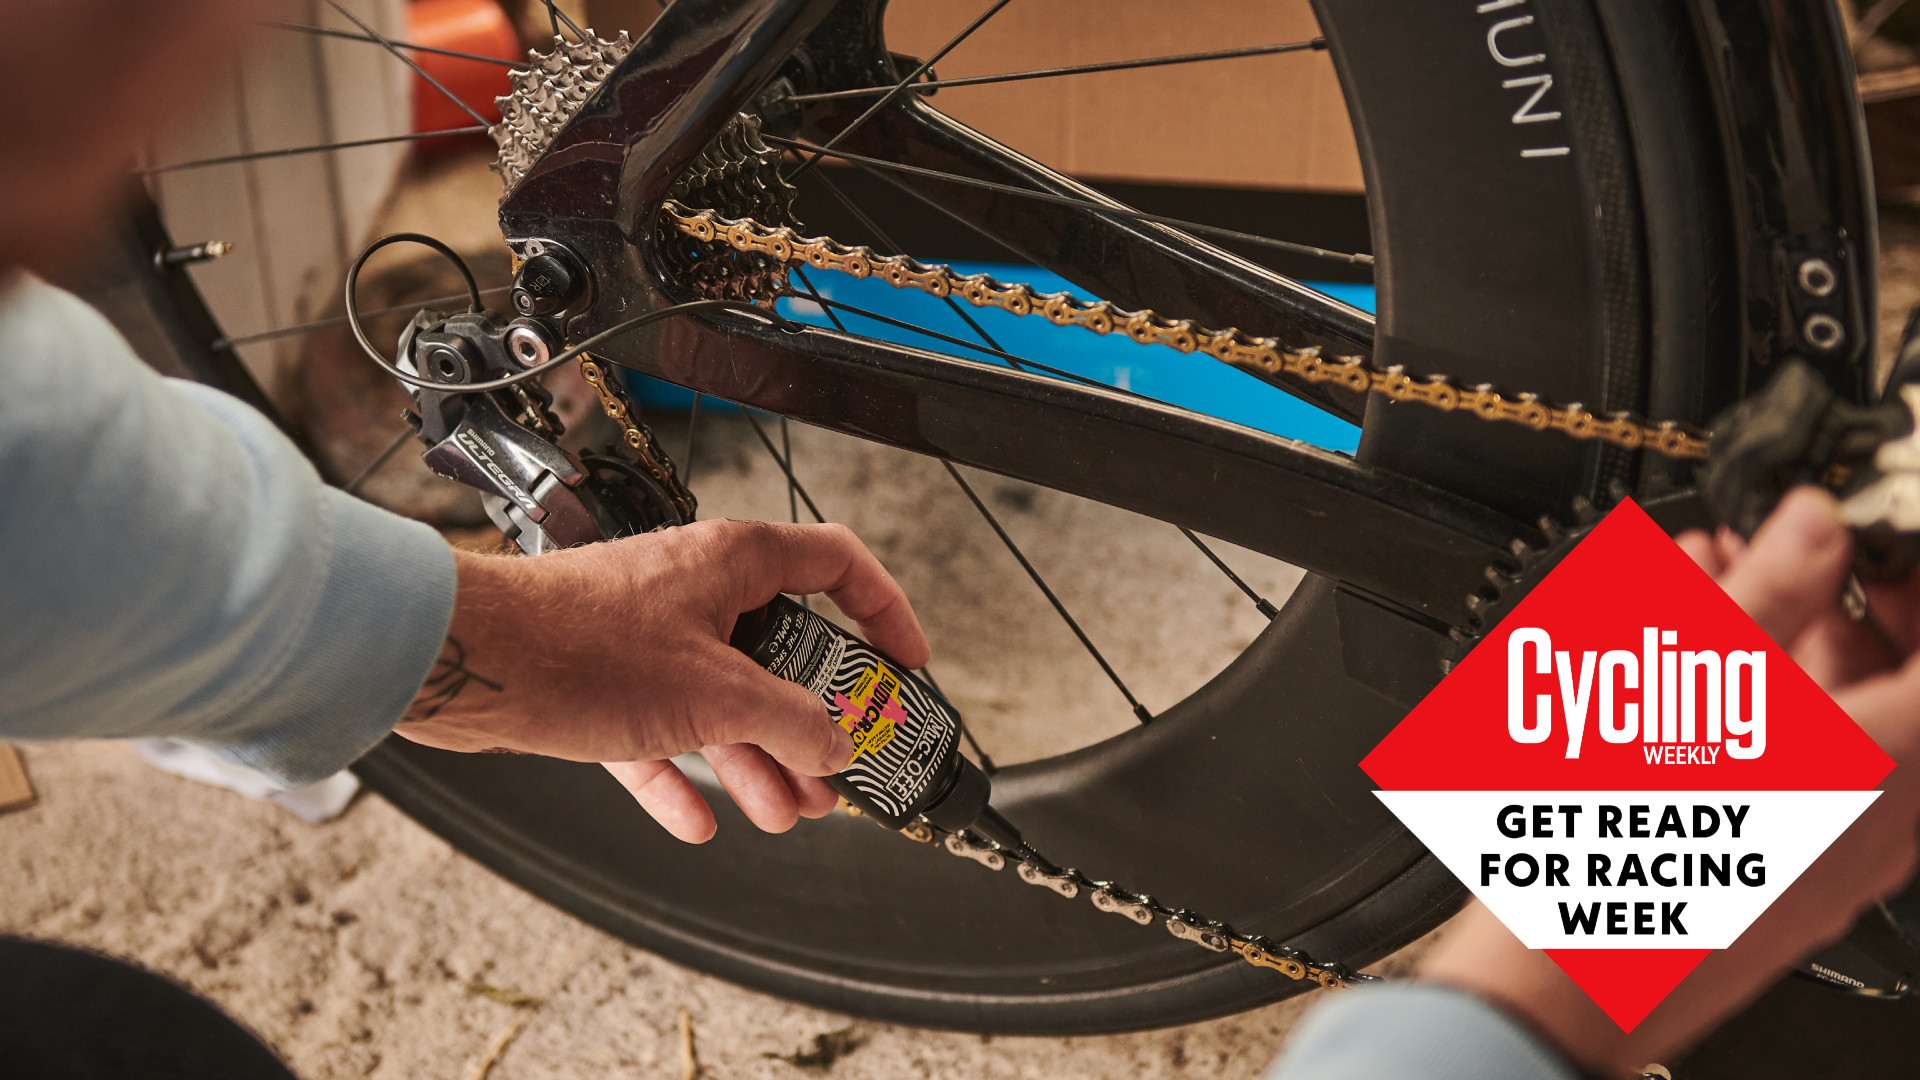
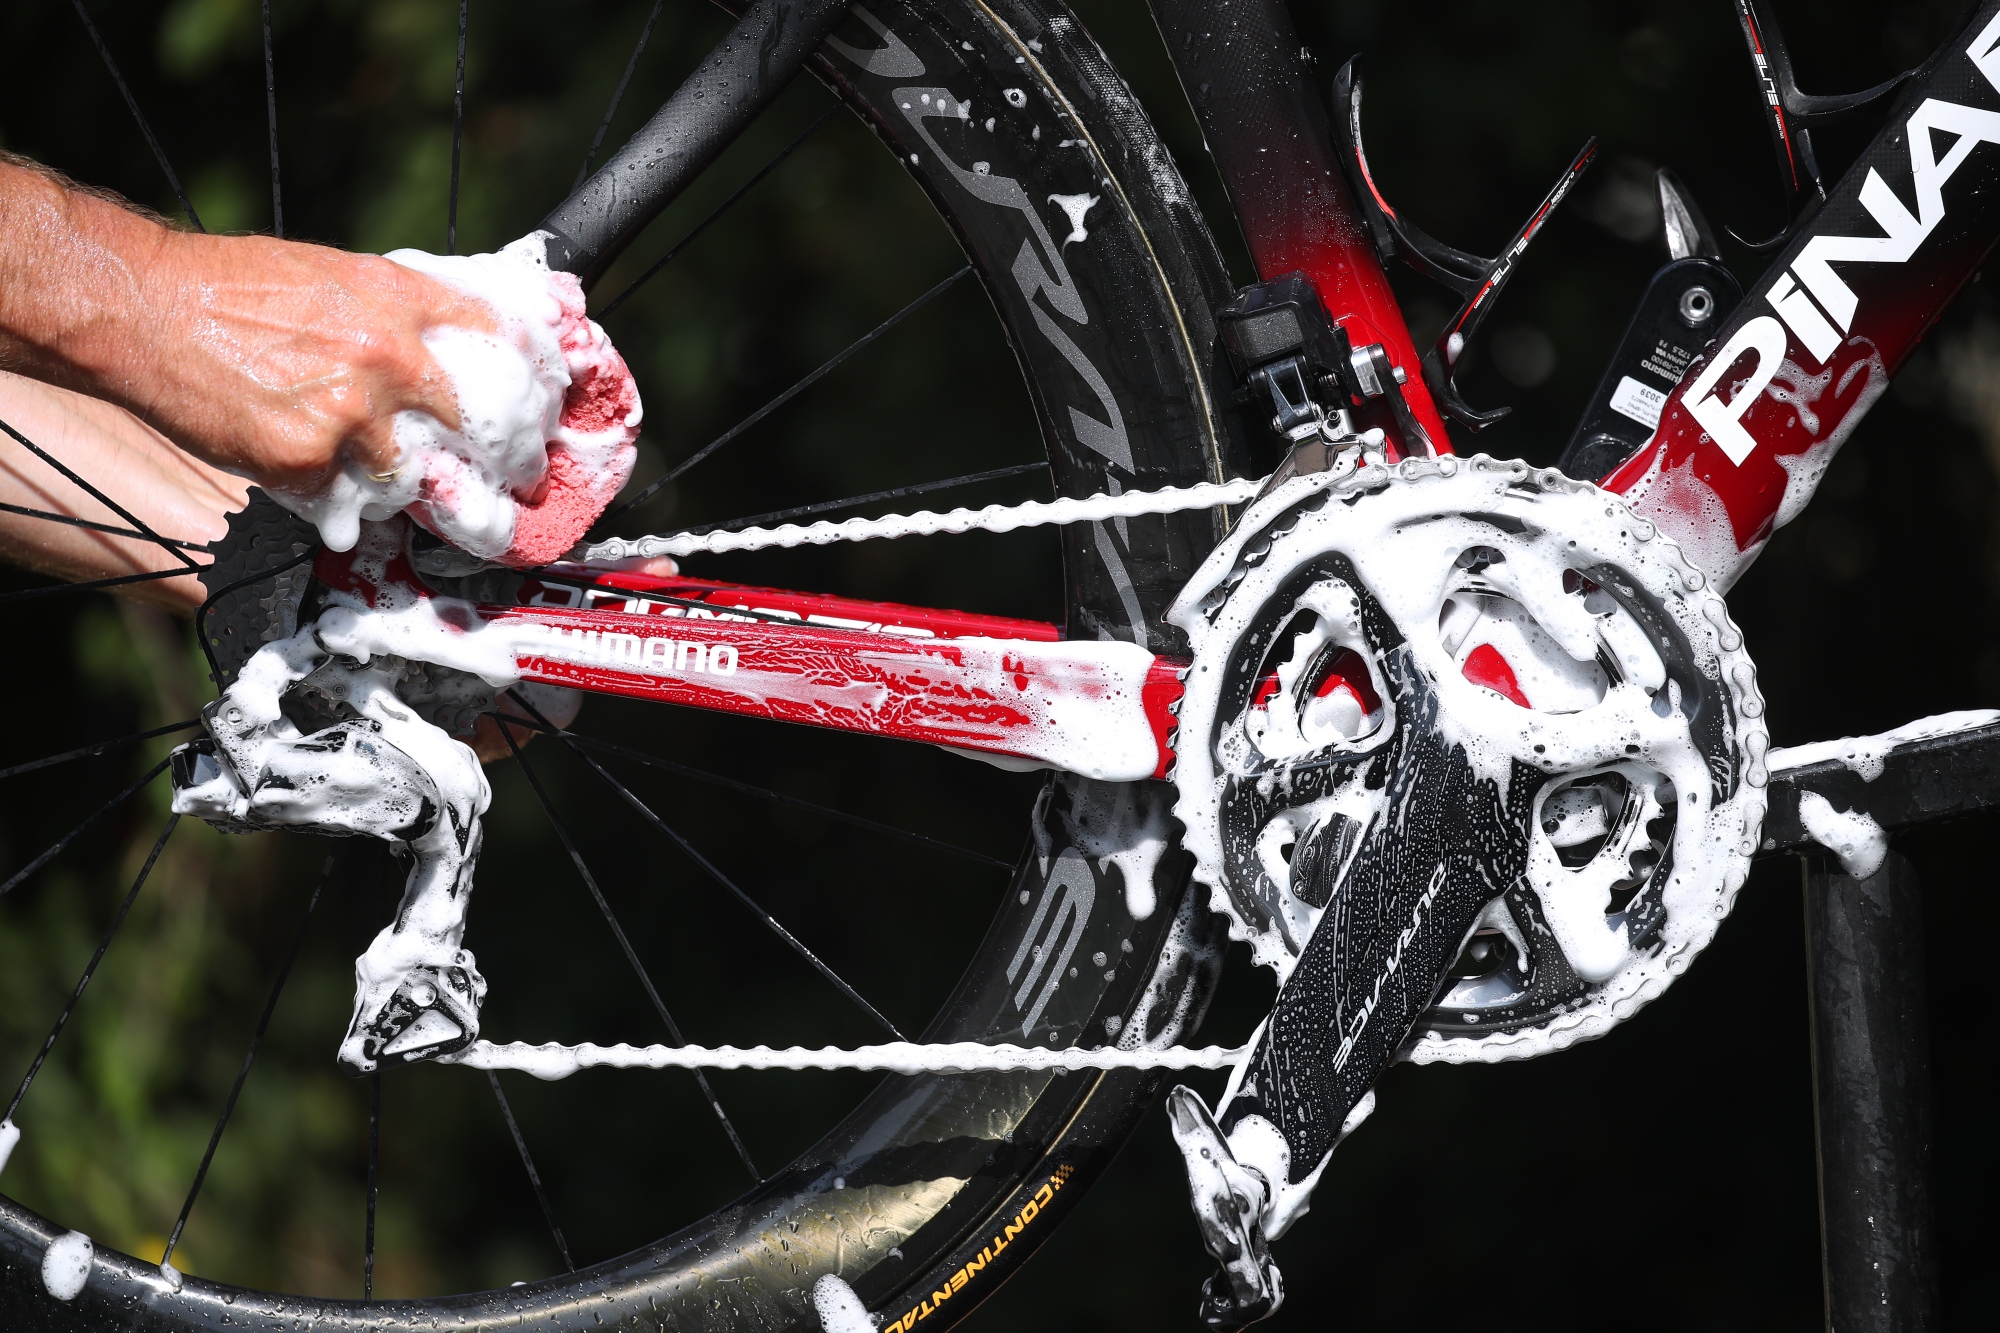
There’s a good chance that you will have cleaned and re-lubed your bike before putting it away for the winter. If this is the case then a wipe over with a cloth may be sufficient. However, if you’re new to racing, with your training bike perhaps doubling as your racing steed, then you’ll want to start by giving it a thorough clean, especially the drivechain.
Once clean you can check the bike for any signs of wear and tear.
Frame
Get The Leadout Newsletter
The latest race content, interviews, features, reviews and expert buying guides, direct to your inbox!
Check the frame for any noticeable damage. This is normally in the form of cracks, chips or dents and perhaps tube buckles as well. Pay particular attention to welding points. There’s a strong chance that most of the flaws are superficial but if you’re concerned it’s advisable to take it to a bike shop or local frame builder for a second opinion.
Bar tape
If your handlebar tape has seen better days then replacing it ahead of a race is a good idea. Its removal will allow you to check on the condition of the cables beneath it as well as the bars themselves. A fresh wrap of the best bar tape also helps to make your bike look race ready at the start line.
Cables
If you’re running mechanical gears and/or brakes you’ll want to check the condition of the cables. Frayed or damaged cables should be replaced as should cracked housing (the outer cable). If either the brake or gear cables feel sticky and sluggish when operated then you’ll also want to replace them to aid both shifting and braking (more on that later).
Tires
Naturally any bald or flat spots means that your tires are susceptible to punctures as well as providing less grip and should be replaced ahead of the race. Even if your tires still have plenty of life left, you’ll want to check them over for any shards of metal and glass. Once you’ve removed these, you’ll need to assess whether the damage caused is superficial or something more serious. In general, there’s a lot to be said for racing on new, or relatively new, rubber. If you're in need of new tires, over here you can find our top picks from the best road bike tires that we've tested.
Brake pads
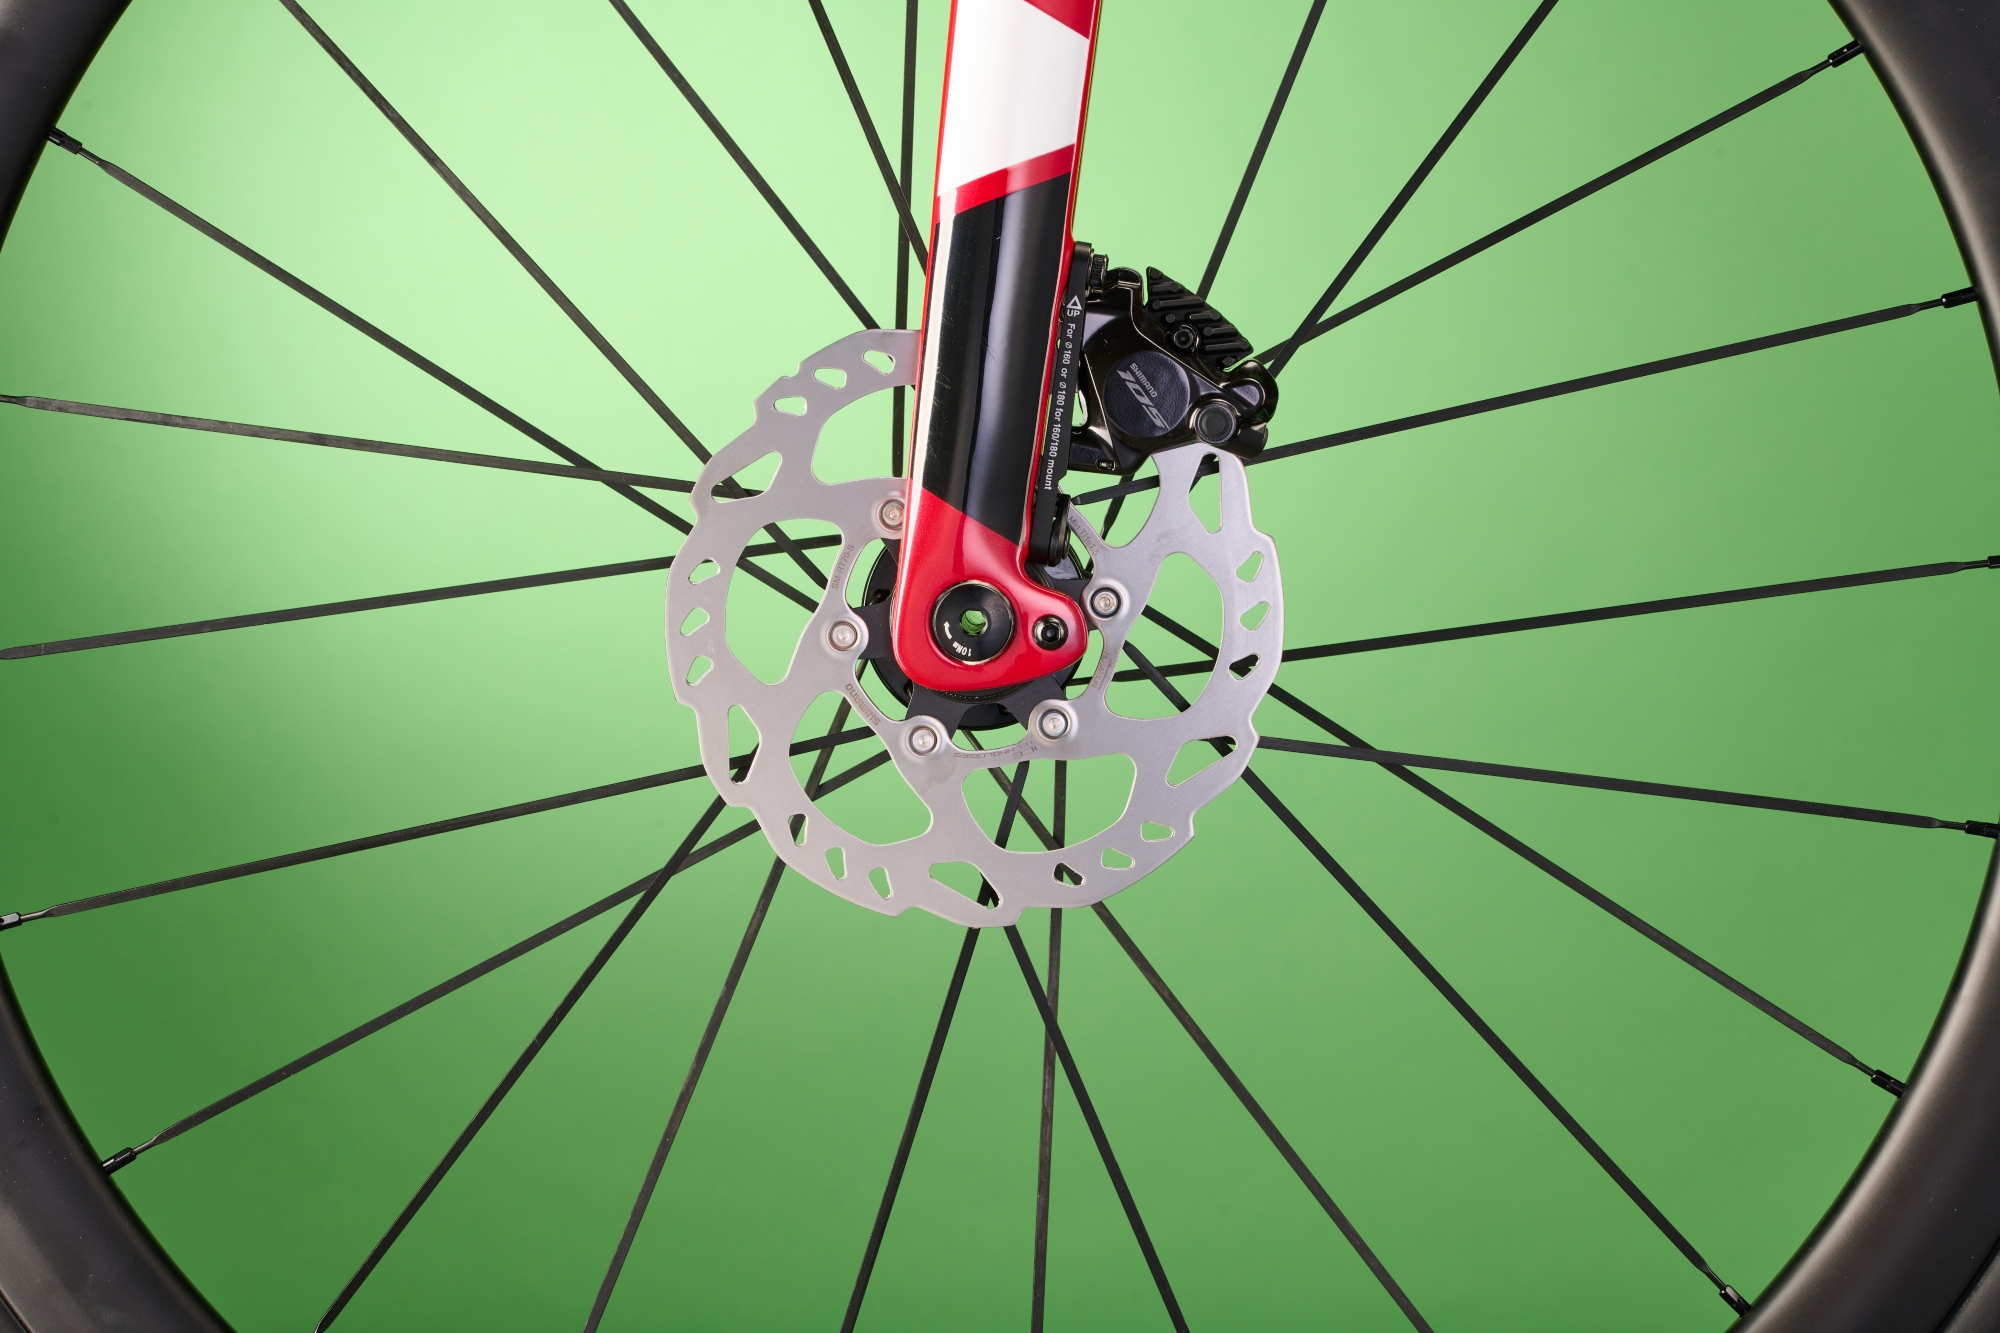
Whether your bike is equipped with rim or disc brakes, you’ll want to check on the condition of the brake pads before you race. Worn pads need to be replaced - rim brake pads usually have a wear indicator line, while disc brake pads should measure over 3mm thick. However, just as you did with the tires, you’ll also want to inspect them for any embedded shards that will negatively impact your braking performance. Disc brake pads are notorious for becoming contaminated by grease and oils too, so cleaning your pads and rotors with some isopropyl alcohol or disc brake cleaner makes sense - and should lead to a quieter ride, too.
Chain
Measuring the chain for wear is a starting point and this can be done with a relatively inexpensive chain wear indicator tool. If it’s worn you’ll need to replace it. The last thing you want is a chain that slips under load. You may need to also replace the cassette at this point. You’ll want to check for any stiff links too.
Wheels
Spinning your wheels will let you know if they’re running true. If there’s a perceivable wobble, check for any loose or broken spokes. It will also give you a good indication if the bearings are running smoothly too, which brings us on to…
Bearing systems
You’ll want to ensure that the bearings in your headset, bottom bracket and wheel hubs are not only running smoothly but are also adjusted correctly. With all of these bearings you want them to run as freely as possible but without any excess movement or ‘play’.
If the bearings are excessively noisy when you spin them, or they feel sticky, then there’s a good chance that the bearings are worn out and will need replacing. However, if they’re not crunchy but are either too loose or too tight, then you’ll need to make an adjustment to find the sweet spot.
If your wheel hubs use a cup and cone bearing system, you’ll be able to service them yourself with the help of some cone spanners. Even if the bearings aren’t worn - look for pitted, discolored or misshapen bearings - then you’ll be able to re-grease them ahead of the race. Look to use a grease that minimizes drag rather than something a little thicker that’s better suited to a winter training set-up.
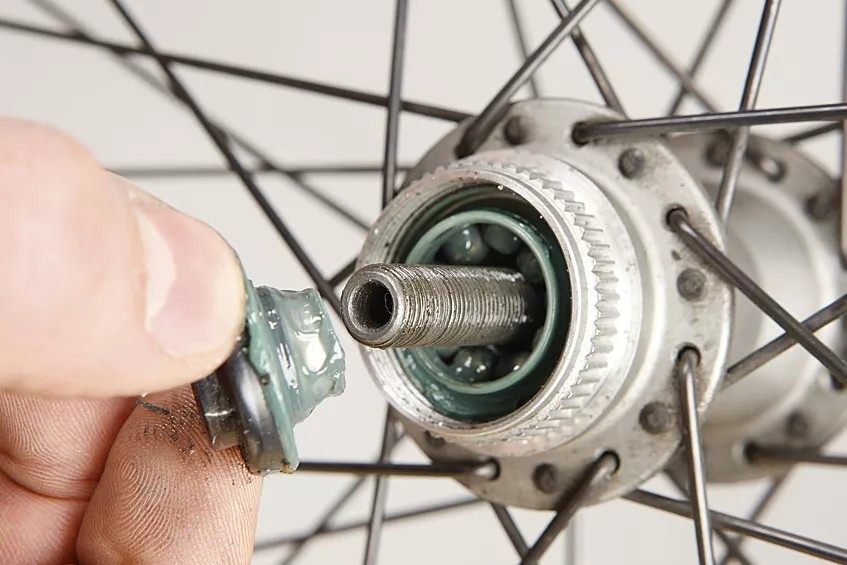
When it comes to the headset, check that your bars are moving freely from side to side. If they aren’t then your headset could be too tight and will need adjusting accordingly.
To detect play in the headset, apply the front brake and then rock the bike gently back and forward. If the headset feels lose, you’ll need to re-adjust it to eliminate this unwanted movement. You may also want to hold the headset and spacers when you do your check to ensure that it’s the headset that’s moving rather than the wheel slipping.
The principle is the same for finding play in the bottom bracket. Here though you’ll want to hold each of the crank arms and try to move them from side to side. Any rocking should be removed by a bearing adjustment. The same goes for cranks that aren’t turning freely. How you do this will depend on the make and model of chainset (they typically use pre-load adjusters) and you should consult the manufacturers guidelines before you start.
Once you’ve inspected your bike you can go ahead and re-lube the chain, with one of the best chain lubes, as well as the pivot points on both the front and rear derailleurs. If you use rim brakes, you’ll want to check the pivots on the calipers too. When lubricating these pivots only a drop or two of lube is required - overdoing it can cause you to contaminate the tires, rims and brake pads. As with the chain, wipe off any excess.
Shifting tune-up
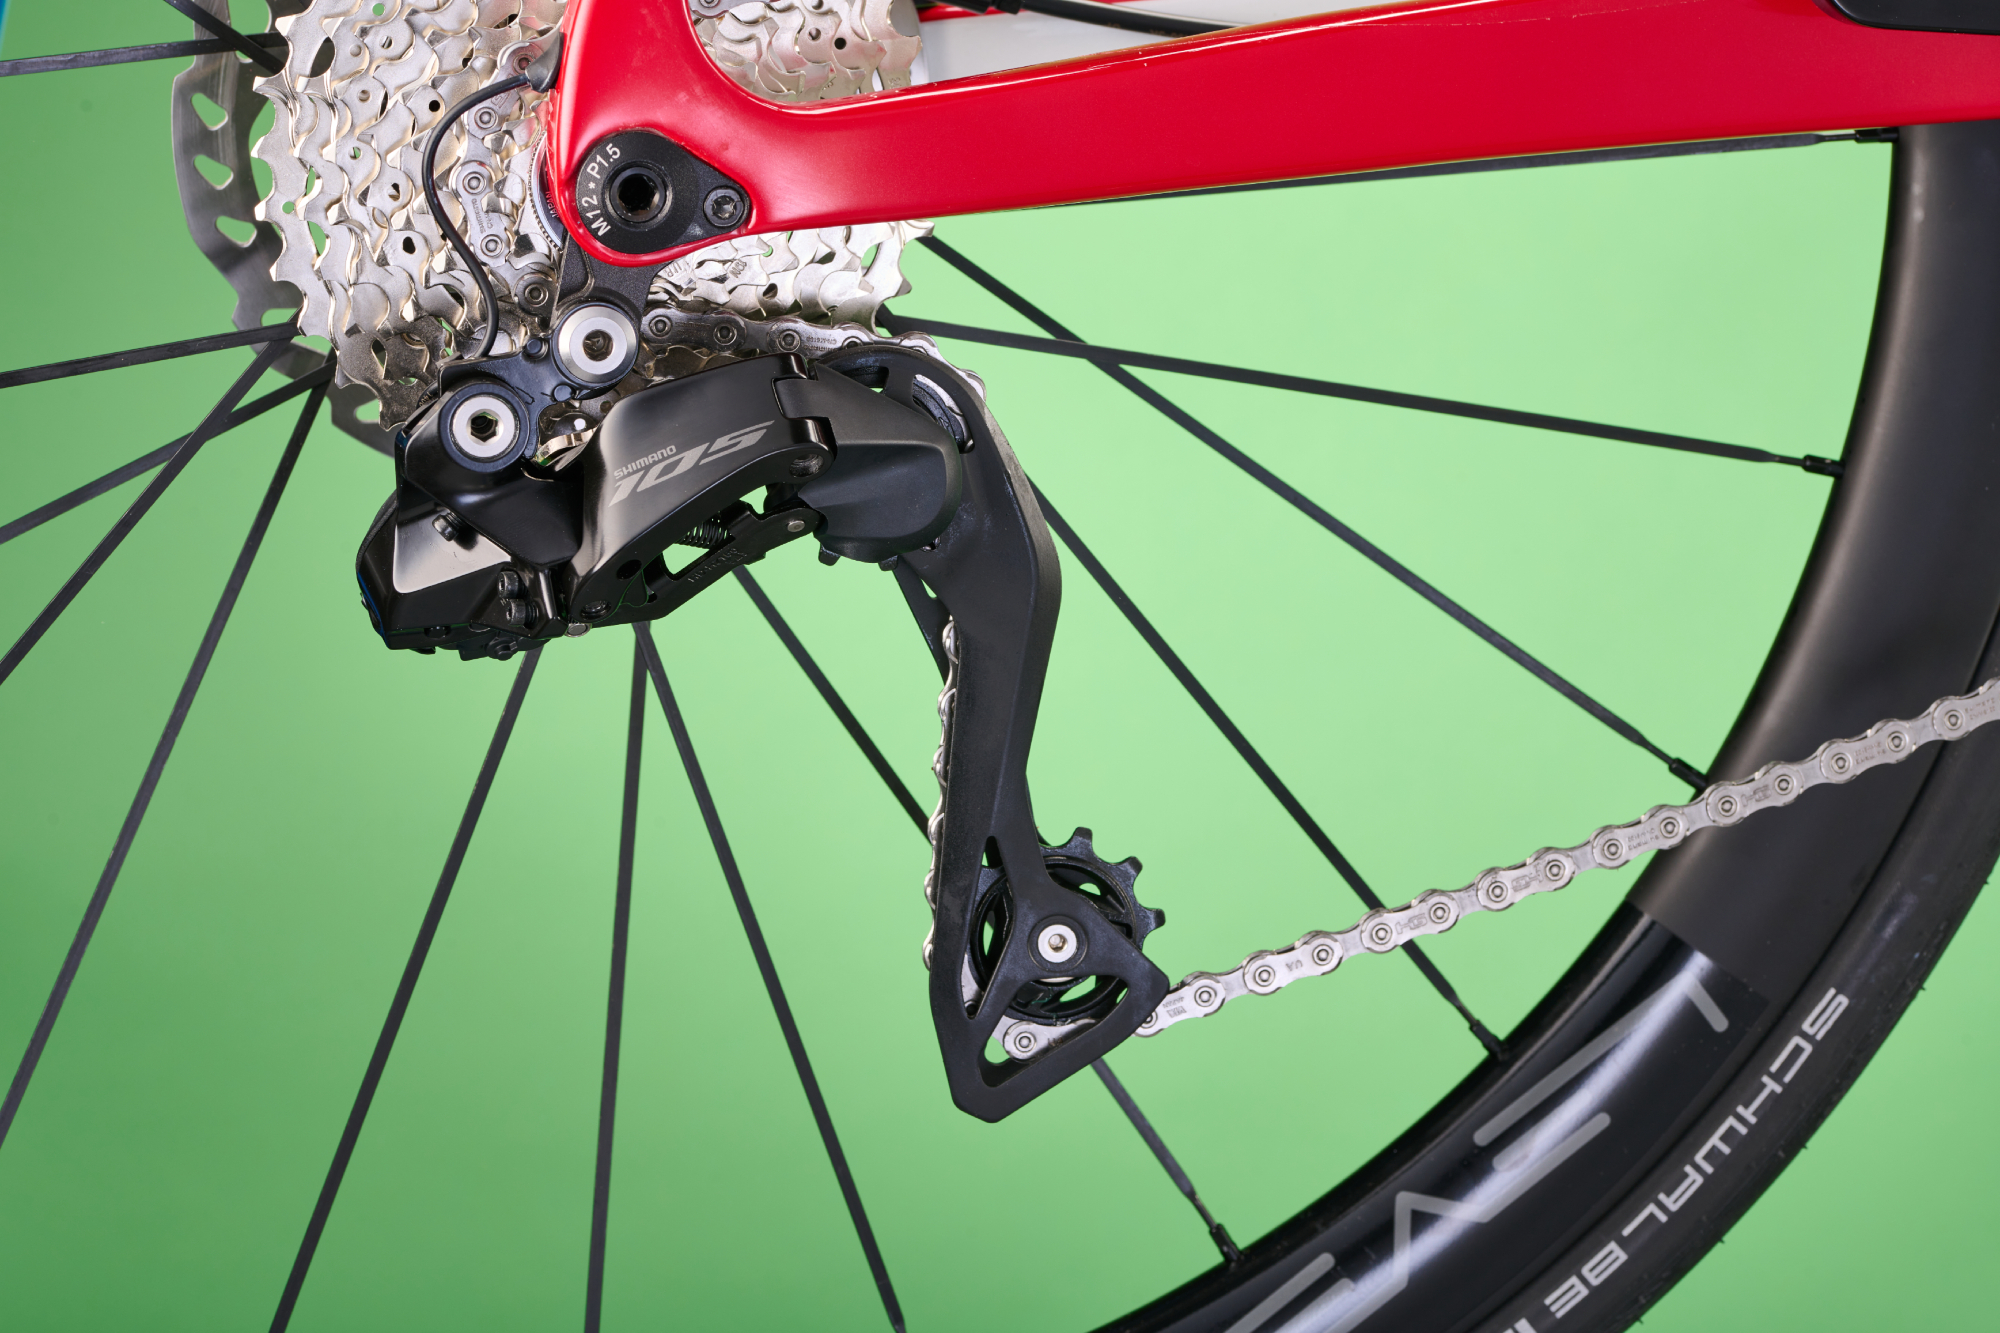
You’ll want your gears to be correctly indexed at all times, but precise and accurate shifting is paramount when you’re racing. Under the gun, a sluggish shift can prove costly, especially when sprinting.
If you’re unsure about how to index your gears we have a dedicated guide that takes you through the entire process on how to make your shifting smooth again. However, to tune your gears specifically for the demands of racing, we’d suggest indexing them from the middle of the cassette, rather than starting on the smallest sprocket, to help get accuracy across the block.
As for effectiveness in the sprints, winding the barrel adjuster on the rear derailleur a quarter of a turn clockwise will reduce cable tension a tad. The result? A slightly faster shift into the small sprockets, which you’ll need to increase, and hold, your speed as you head to line.
Braking tune-up
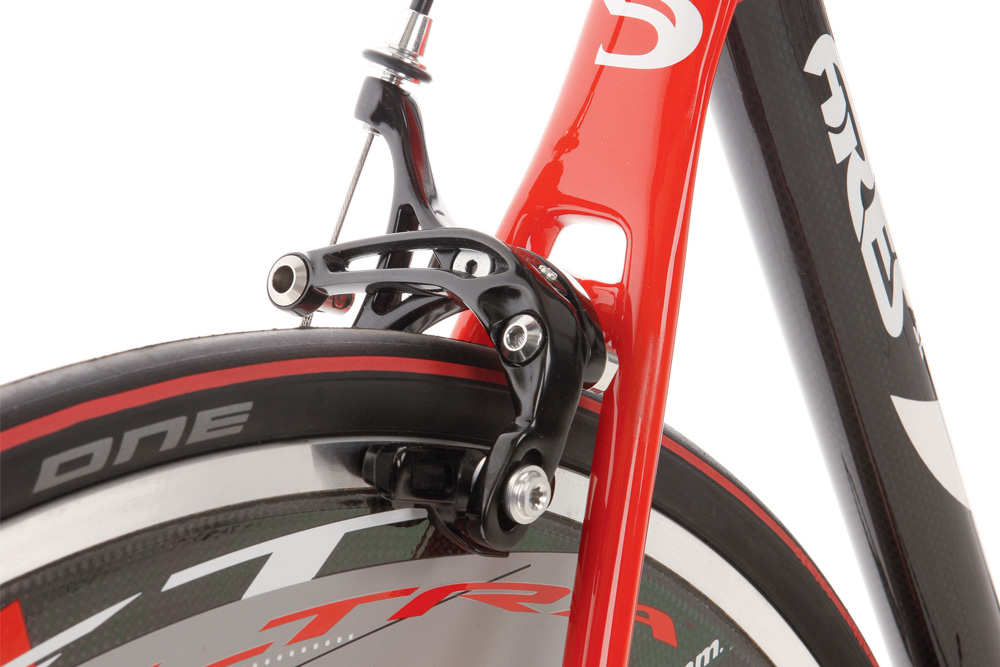
Feeling like your brakes are rubbing, and thus slowing you down, is no fun under any circumstance. But in a race situation it can really knock your confidence.
Before a race you’ll want to check the performance of your brakes. If you’re running rim brakes, make sure the calipers are centered and that the gap between pad and rim is pretty much equal on both sides. If the wheel is still rubbing after you’ve made an adjustment, check that it’s true. To fine-tune the lever feel you can add or take away a little tension on the cable via the barrel adjuster.
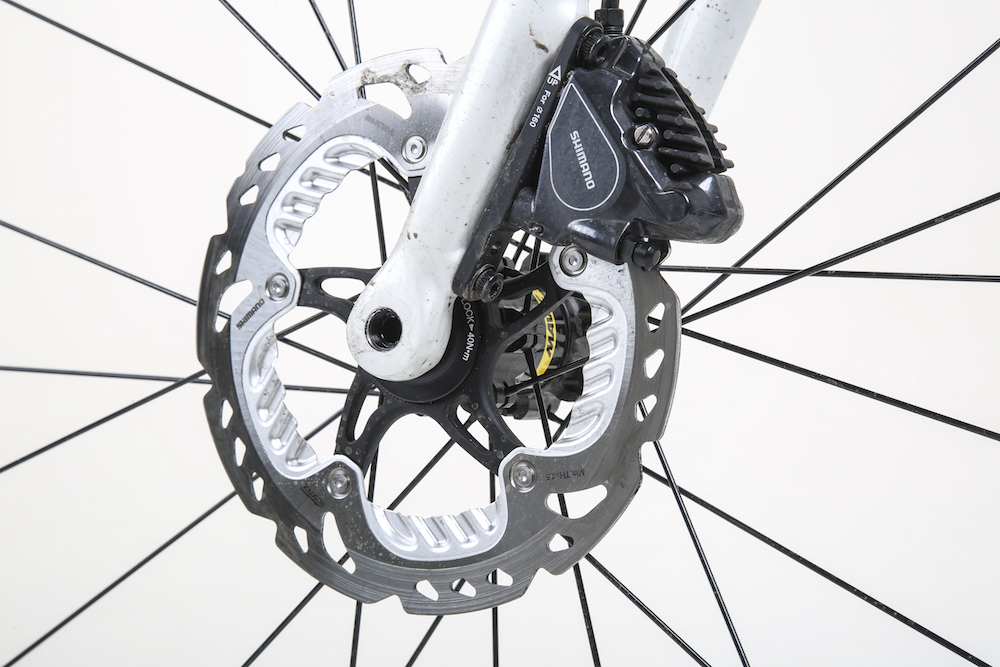
If your race bike is equipped with disc brakes, you’ll want to check that the rotor is true before you dial in the brakes. Once you’re happy with the condition of the rotor, spin the wheels and listen out for any rubbing. The gaps between pad and rotor can be small, so it sometimes helps to place a piece of white paper behind the caliper to help you see the gap more clearly.
To eliminate rubbing, check the disc brake caliper is centered. The easiest way to do this is to slightly loosen off the caliper mounting bolts, enough so the caliper can move a little. Then apply the brake, and while still holding down the lever, retighten the caliper bolts. This should have the effect of realigning the caliper.
Hydraulic disc brakes are self-adjusting , meaning that they automatically close the gap between pad and rotor as the brake pad wears. This should help the lever feel and the braking performance to remain crisp. However, if after adjustments the lever feel is slow and the brakes lack bite, it could mean that the fluid needs replacing. Unless you’re confident and have the correct bleed kit, a process like this, especially ahead of a race, is best left to a professional.
Final checks
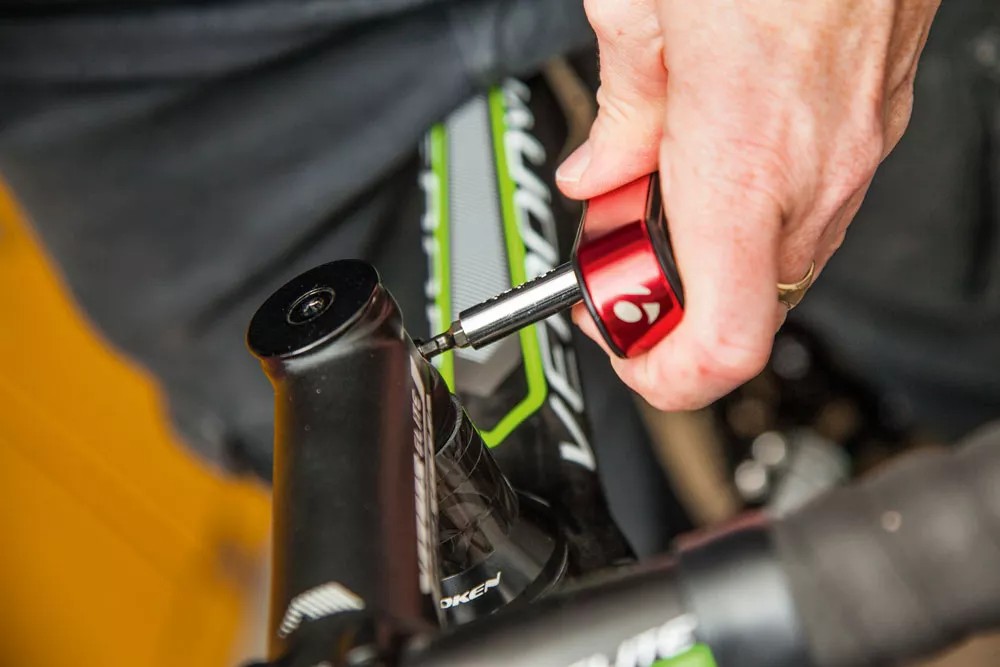
Having cleaned and lubed your bike, checked the parts for wear, and fine-tuned both the gears and the brakes, you’re almost good to go.
To ensure that your bike is race ready, you’ll want to check all the bolts are tight. If you’re riding carbon stem, bars, seatpost and saddle (rails) then using one of the best torque wrenches is advisable, checking that it's tightened to the manufacturer’s specified torque setting. Even if you’re using aluminium parts, if you have a torque wrench, it makes sense to use it and remove the guess work.
Other bolts to check include brake levers (the bolts that secure the levers to the handlebars), brake and derailleur cable pinch bolts, chainring bolts and disc rotor bolts. You’ll also want to check that your pedals are secure and that your QR or thru-axles are tightened correctly.
If you use an electronic groupset make sure that the batteries are charged.
Last, but not least, check your tire pressure and, if you’re running tubeless, that the sealant has been topped up.
Your bike is now ready to race - the rest is up to you!

Thank you for reading 20 articles this month* Join now for unlimited access
Enjoy your first month for just £1 / $1 / €1
*Read 5 free articles per month without a subscription

Join now for unlimited access
Try first month for just £1 / $1 / €1
Luke Friend has worked as a writer, editor and copywriter for twenty five years. Across books, magazines and websites, he's covered a broad range of topics for a range of clients including Major League Baseball, the National Trust and the NHS. He has an MA in Professional Writing from Falmouth University and is a qualified bicycle mechanic. He has been a cycling enthusiast from an early age, partly due to watching the Tour de France on TV. He's a keen follower of bike racing to this day as well as a regular road and gravel rider.
-
 'This is the marriage venue, no?': how one rider ran the whole gamut of hallucinations in a single race
Kabir Rachure's first RAAM was a crazy experience in more ways than one, he tells Cycling Weekly's Going Long podcast
By James Shrubsall
-
 Full Tour of Britain Women route announced, taking place from North Yorkshire to Glasgow
British Cycling's Women's WorldTour four-stage race will take place in northern England and Scotland
By Tom Thewlis
