Into the wild: What to know and pack when venturing into remote locations
From water filters to bear spray, here’s how to be prepared
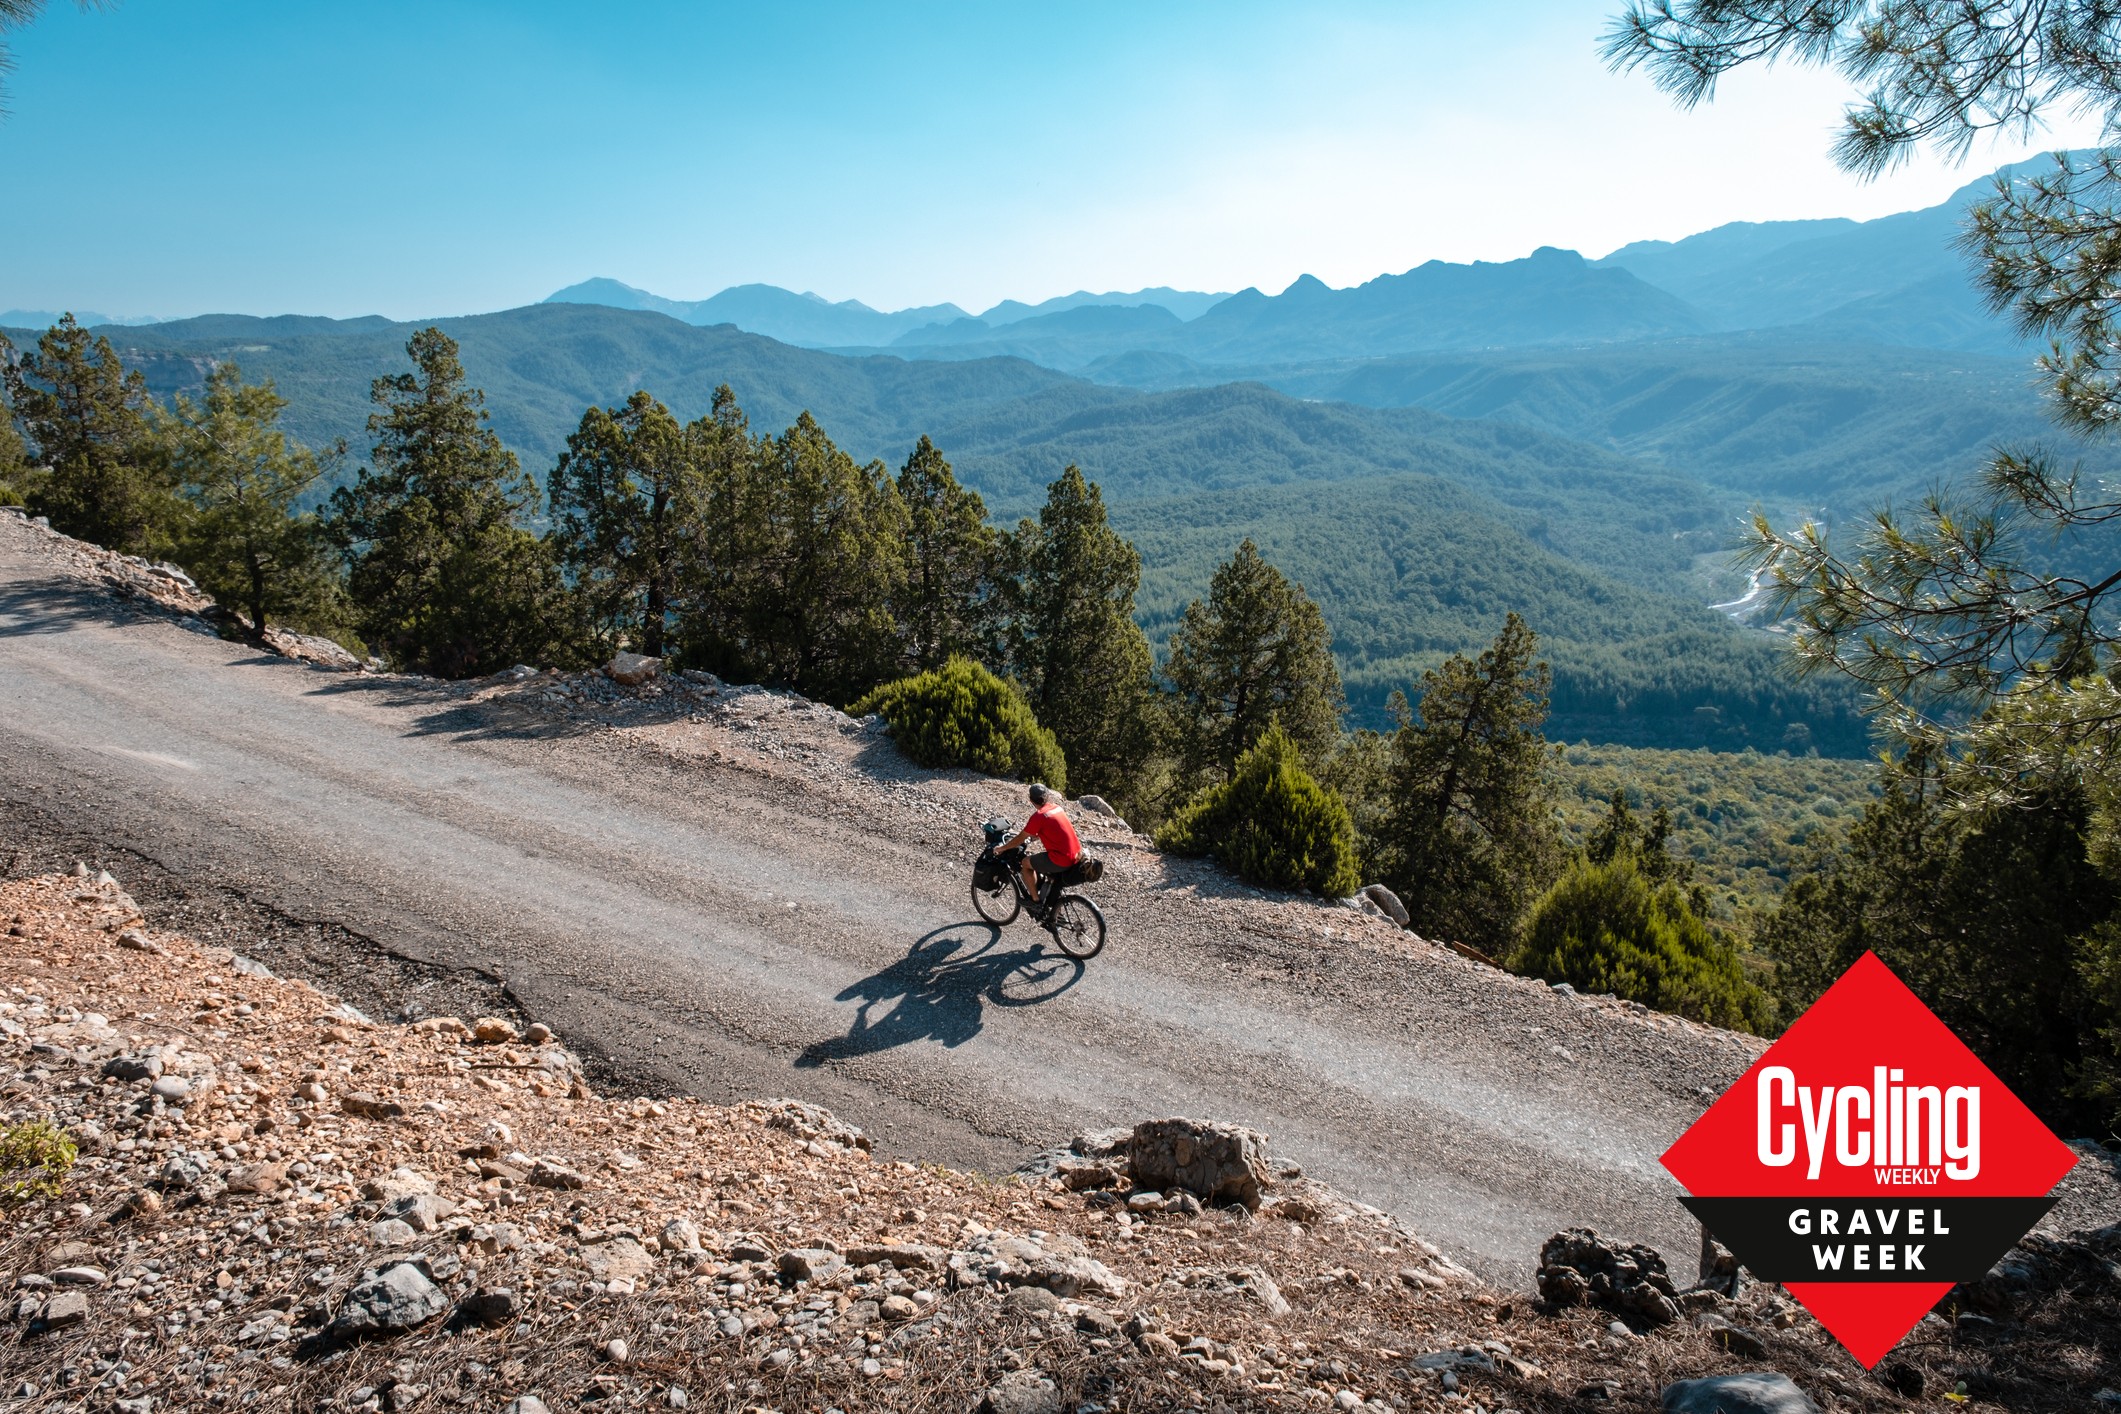
Escaping the city, camping under the stars, biking on paths and trails with few to no car interactions, stunning surroundings you can only see by foot or bike. Bikepacking and trips into the backcountry hold many attractions for riders of all ages and abilities, and it’s a wonderful way to explore places far and near. However, when venturing into the wilderness, where cell phones are useless and resources limited, there are a few precautions and considerations you should make to have a fun but safe adventure.
From water filters, to wildlife interactions and navigation, here’s what to know and bring on your trip into the wild.
Food and Water Resources
Food is probably easier than you think. Just follow these basic guidelines:
- Bring packable, non-perishable and calorie-dense foods like oatmeal, nut butters, rice, couscous, lentils, jerky meat, canned tuna, tortillas, dried fruits and nuts, hard-coated or gummy candies, instant coffee, dehydrated meals, Ramen, bars and gels — anything you can either eat as is or prepare in a JetBoil of camp stove.
- Pack a variety of food and spice it up with dehydrated herbs at home before you go. Some flavor will make these otherwise bland foods much more appealing.
- Pack an extra meal and some emergency gels, just in case
- Pro Tip: I always pack at least one thing that’s fresh like an apple or orange. It’s a nice, refreshing treat after a long day in the saddle
- Bring an extra ziplock baggy for your rubbish. Remember to pack out what you bring in!
- Don’t eat the berries or mushrooms! Unless you’re a foraging expert, it’s best to not experiment with wild berries or mushrooms.
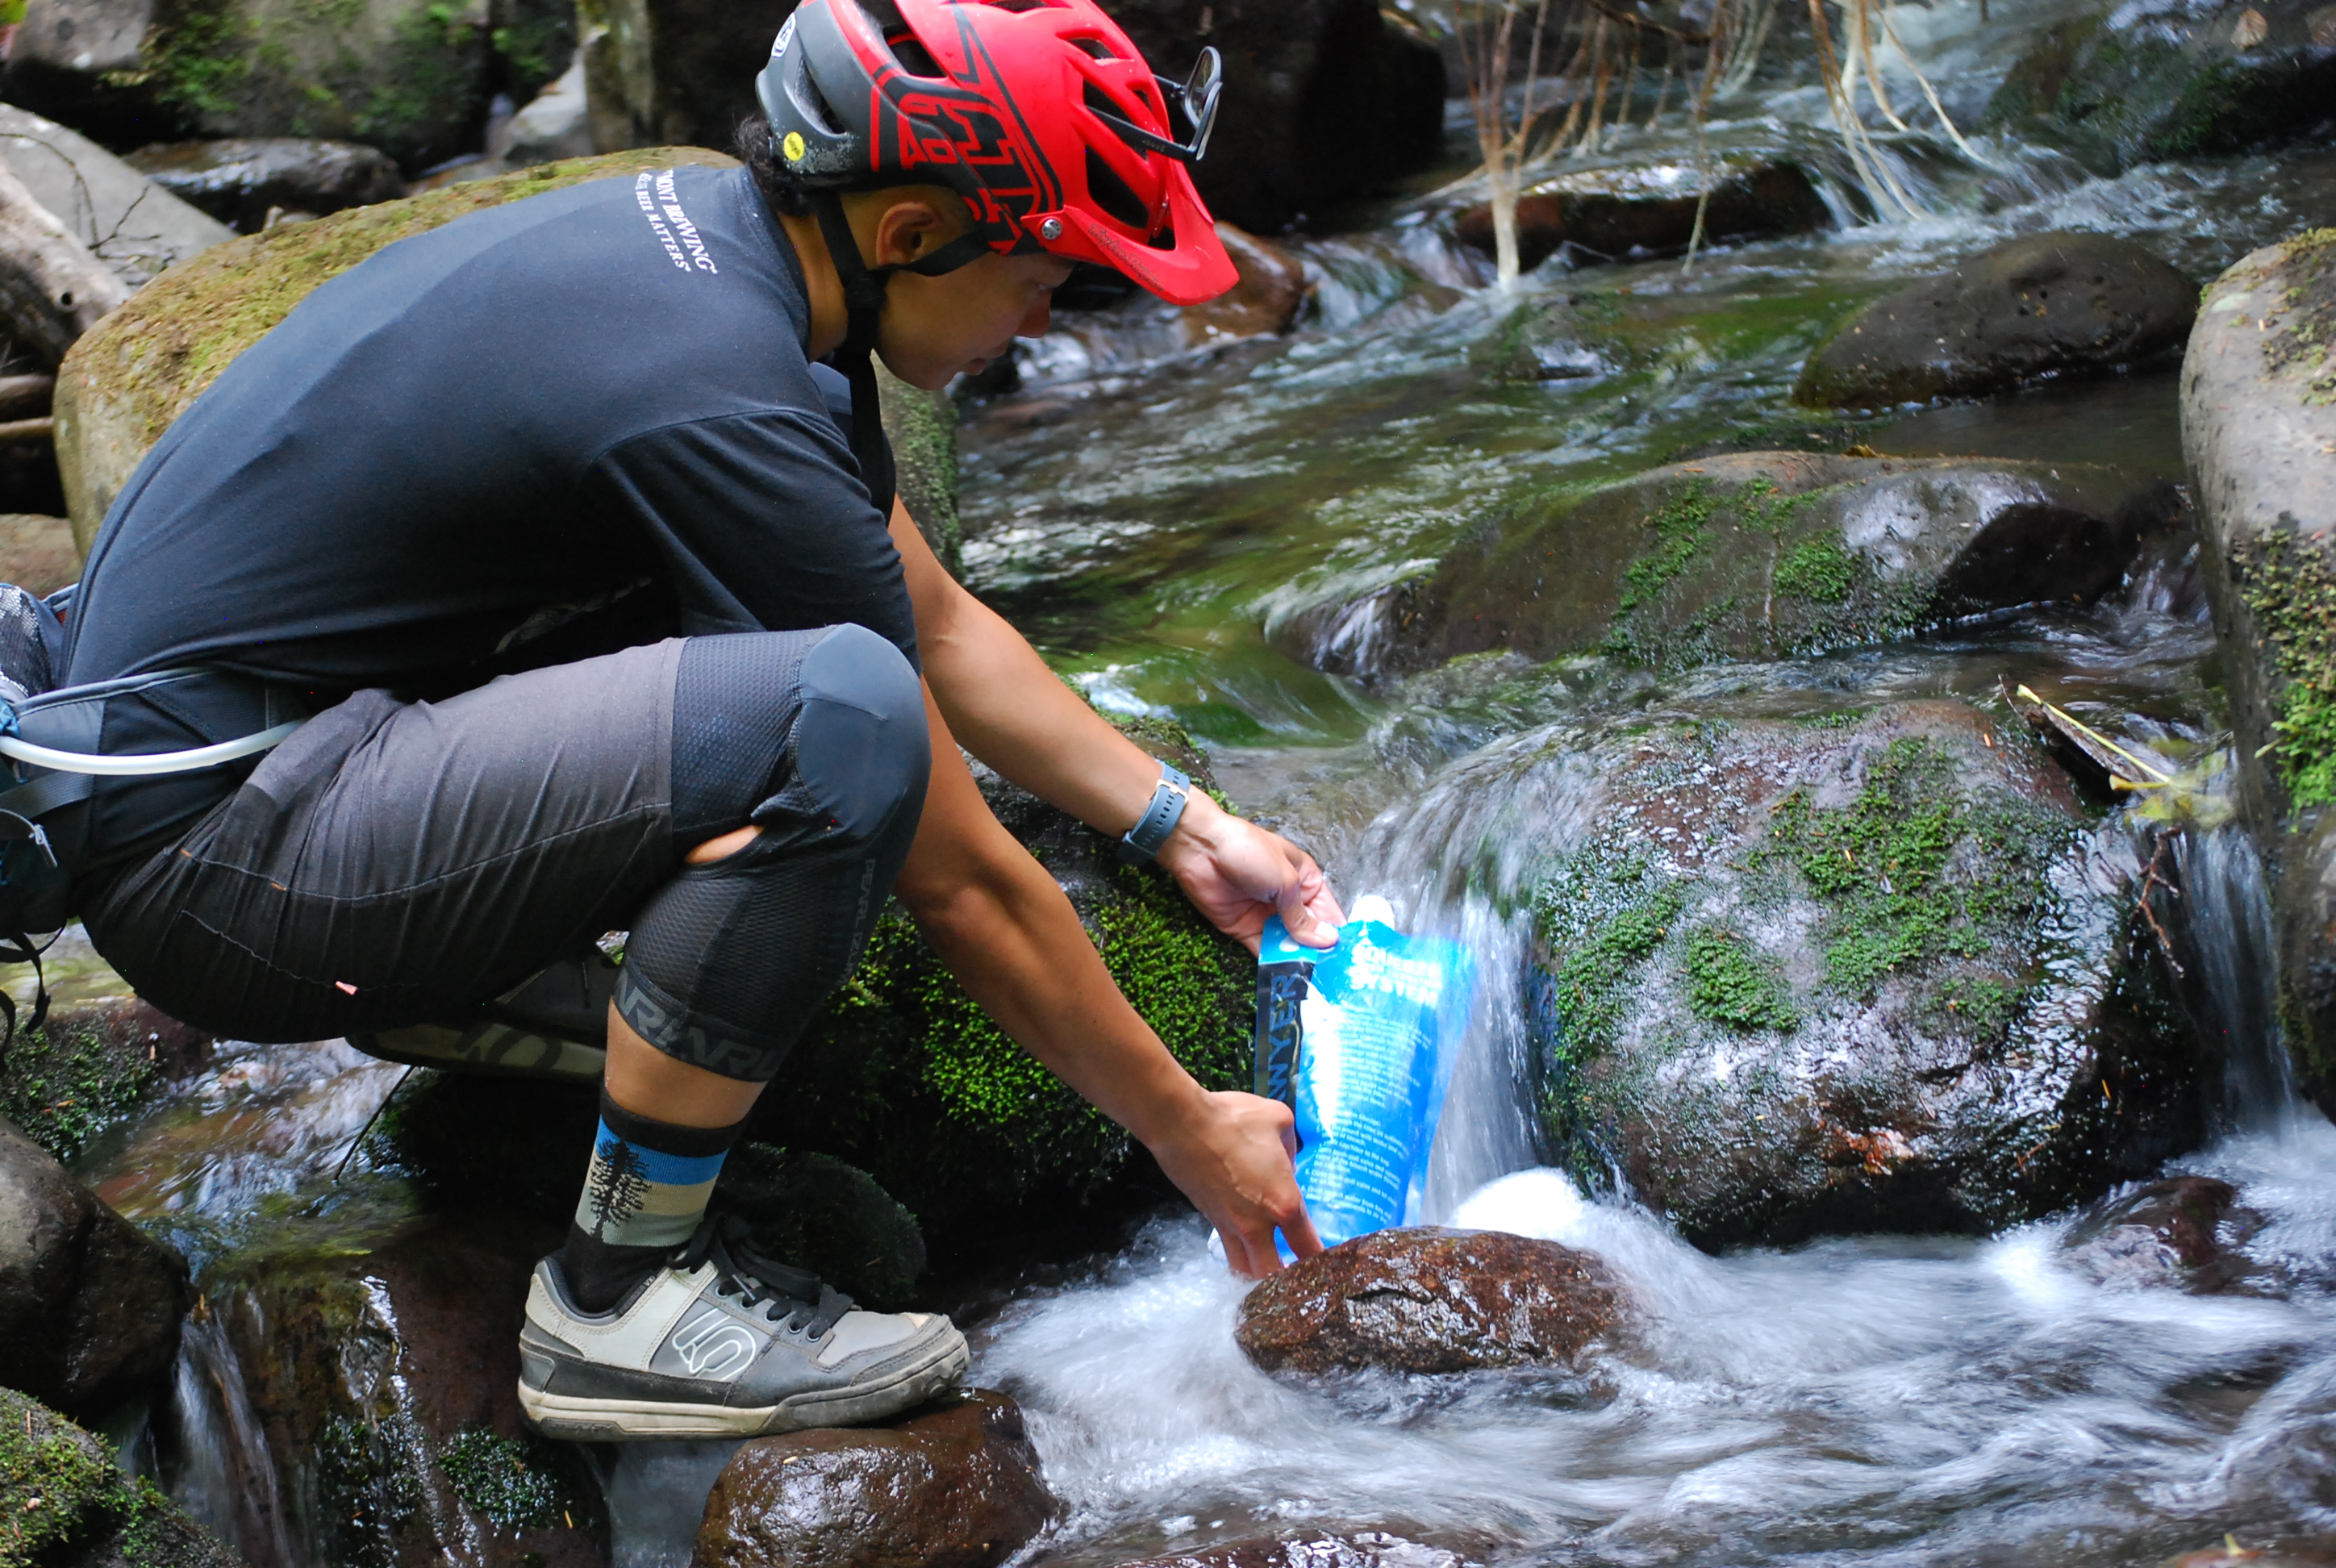
While you can bring plenty of bars and gels to hold you over food-wise, water gets heavy and bulky very quickly. When venturing out into the wilderness, it’s important to A: identify your water sources ahead of time, and B: carry a water purification tool of some kind to tap into nature’s natural resources. Drinking straight from a river, lake, or stream is ill-advised as even the clearest water can be teeming with bacteria.
Luckily, water filtration and purification systems are commonplace in the hiking market already, and there are lots of compact options to choose from.
Ultra-lite: Purification Tablets
Chlorine or iodine tablets are a good option for purifying water while adding minimal weight to your packs. However, it can be a bit of a time consuming process. It can take up to an hour for the effervescent tablet to have done its thing and for the water to be safe to drink. Iodine tablets themselves can leave an unpleasant taste but there are some taste neutralization tablets you can use after the water’s been purified. Note that this process won’t filter the water from any debris.
Lite: SteriPen UV Water Purifiers
SteriPens are about the size of a multitool and thus, easily fits in your hip pack, bag, or even jersey pocket. Like the tablets, the SteriPen’s UV light purifies the water by killing bacteria and protozoa but it won’t filter it. You simply fill up your water bottle or bladder with water from your sources, place the lamp in the water —the light will turn on automatically— and stir. After 90 seconds, your water is safe to drink.
Get The Leadout Newsletter
The latest race content, interviews, features, reviews and expert buying guides, direct to your inbox!
However, the SteriPen is battery-reliant and partially made of glass and therefore potentially fragile. If you run out of battery or somehow break the device, you’re well… S.O.L and left hoping for a strong stomach or someone with a different filtration system you can borrow.
Standard: Packable Water Filters
Nowadays there are loads of different packable water filters available on the market, and I have tried a fair share of them. They basically operate in one of four ways:
- A squeeze bag system in which you fill a bag with the unfiltered water and then squeeze it through the filter into your water bottle or hydration bladder;
- In line with a hose-based hydration system, where the filter gets connected to the hydration bladder and filters the water as you drink through the mouthpiece as usual;
- Hooked up to a gravity bag, a system in which you hang a water bag from a tree or rock and let gravity trickle the water through the hose and filter and into another bladder or bottle;
- Or as a straw so you can drink straight from a stream or from your bottle.
While effective in filtering large quantities of water at a time, I found the gravity system a tad too bulky to carry on a bike trip. Instead, I tend to carry a squeeze bag system as well as a SteriPen.
Also, a quick note on the difference between purification and filtration. Water filters will effectively filter out 99.99% of bacteria (like E. coli) and protozoa (like Giardia). They won’t, however, filter out viruses (like hepatitis). If you’re traveling in North America or Western Europe, this isn’t a concern. But in some developing countries, you’re going to want to back up your filtration with tablets or a SteriPen.
Shelter
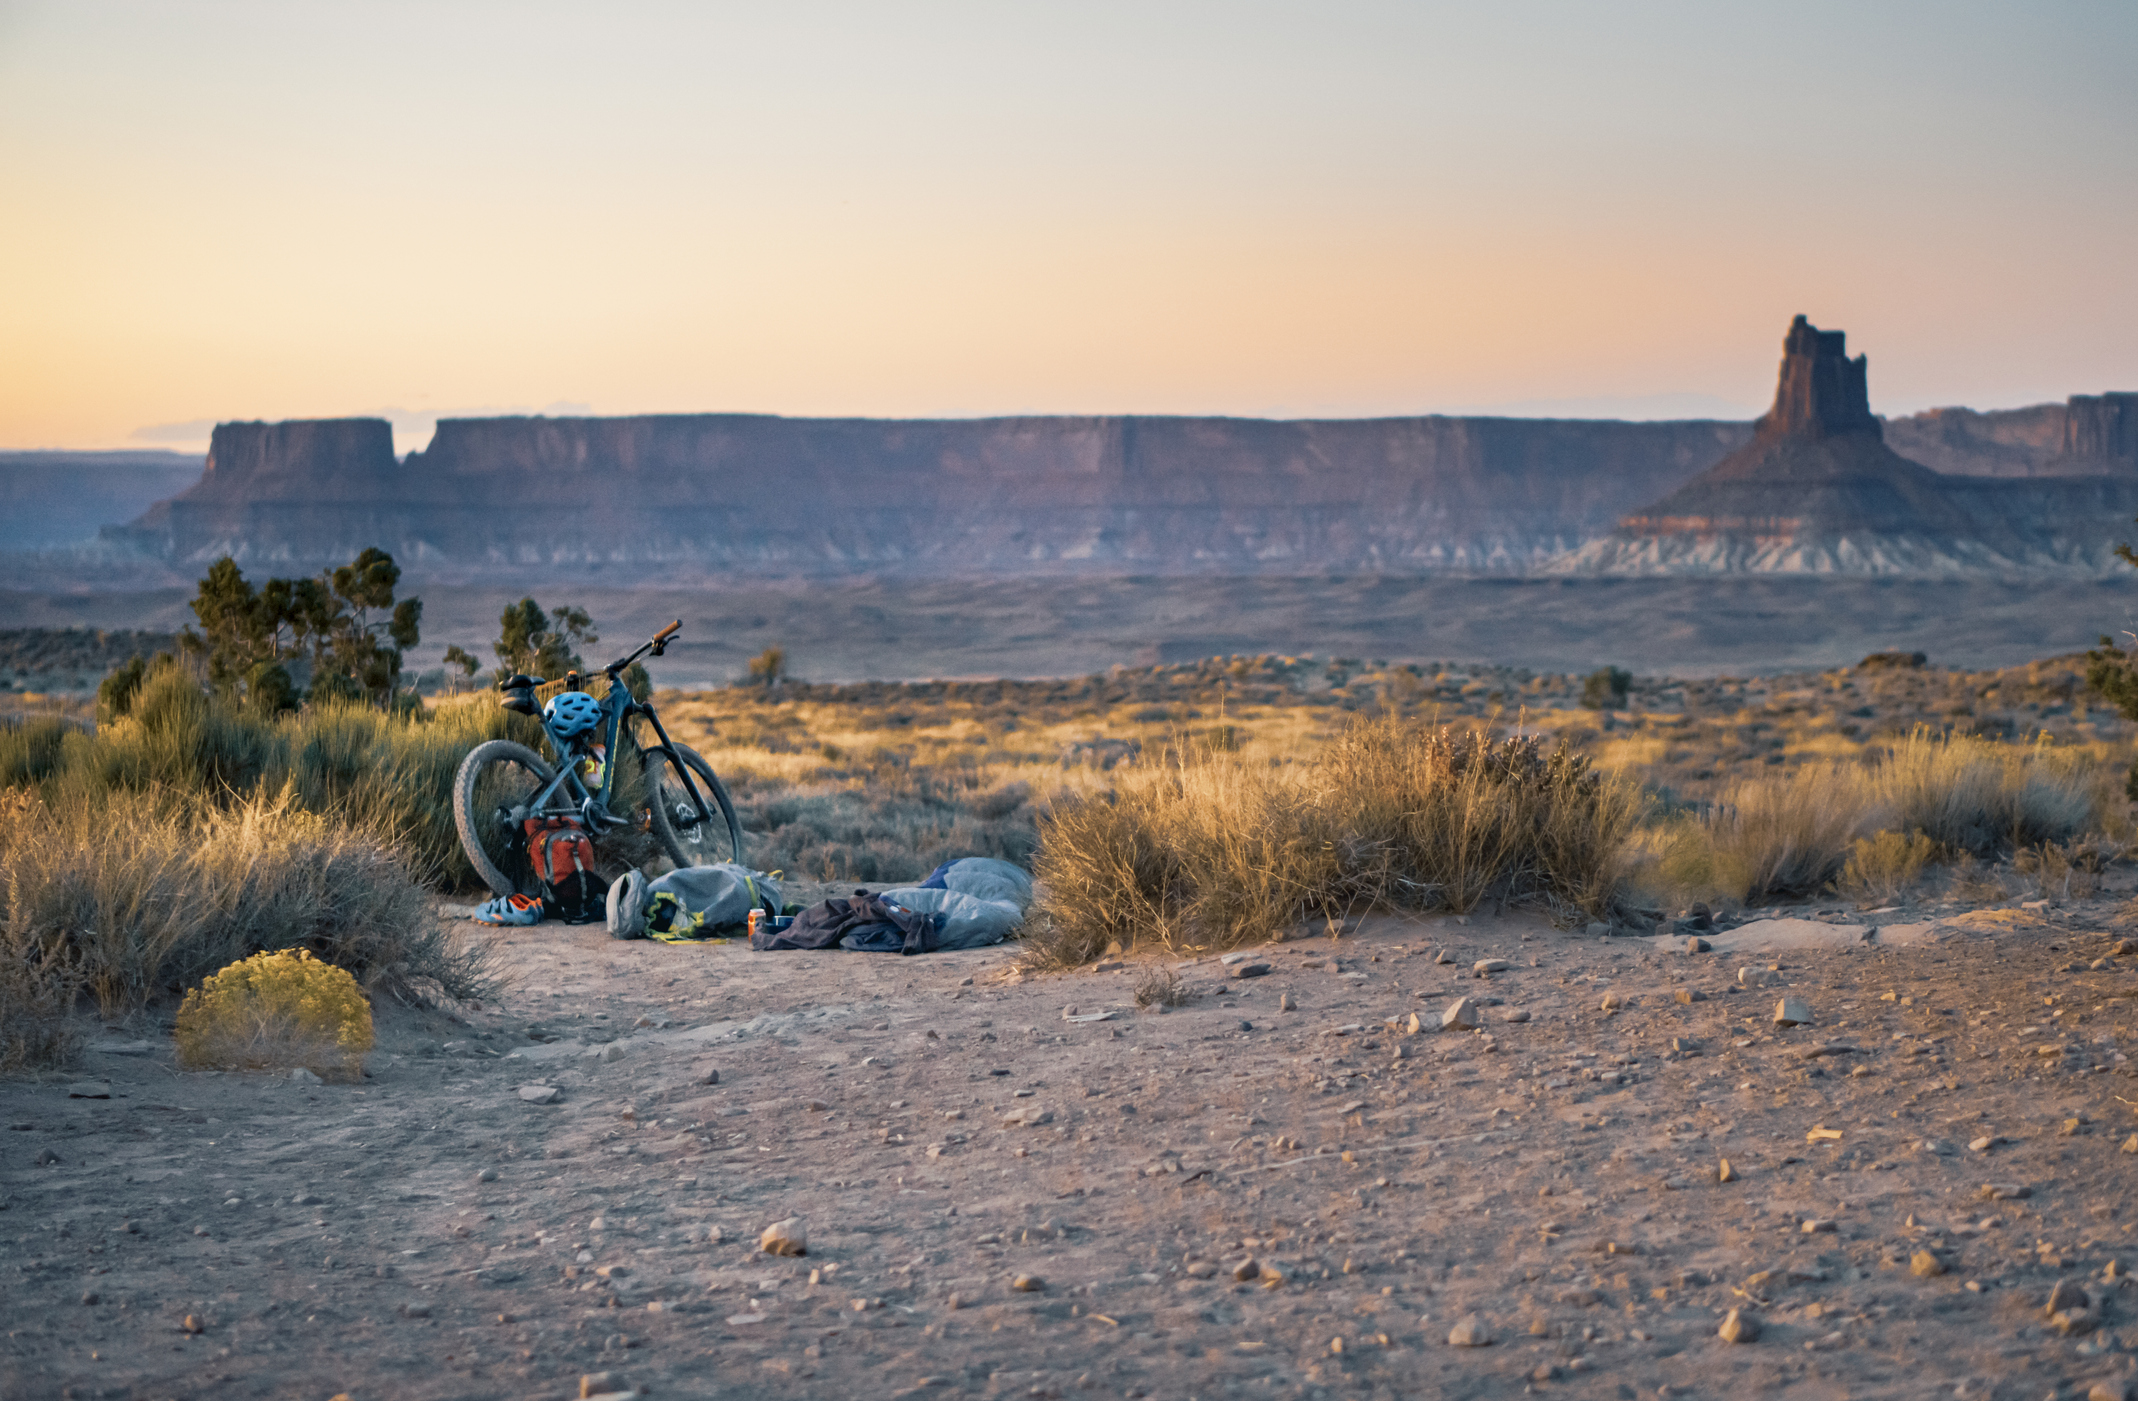
I’ve tried many different setups to see where one can skimp on gear and often, comfort. I’ve come to the conclusion that if you’re not racing or going for a minimalist setup, a good night’s sleep is important to maximize your bikepacking enjoyment and to feel ready for another long day in the saddle. What’s more, your sleep setup can also provide shelter in case of inclement weather.
Ultra-lite: Bivy sack + sleeping bag/ blanket (+ sleeping pad, optional + extra tarp if conditions call for rain)
On really warm trips, you can do with a light, packable down blanket instead of a full sleeping bag for significant space saving. And if comfort is of little concern, you can forgo a sleeping pad.
Benefits:
- Lightweight
- Packs down really small
Downsides:
- It can feel a tad claustrophobic for some
- you’re exposed to the elements
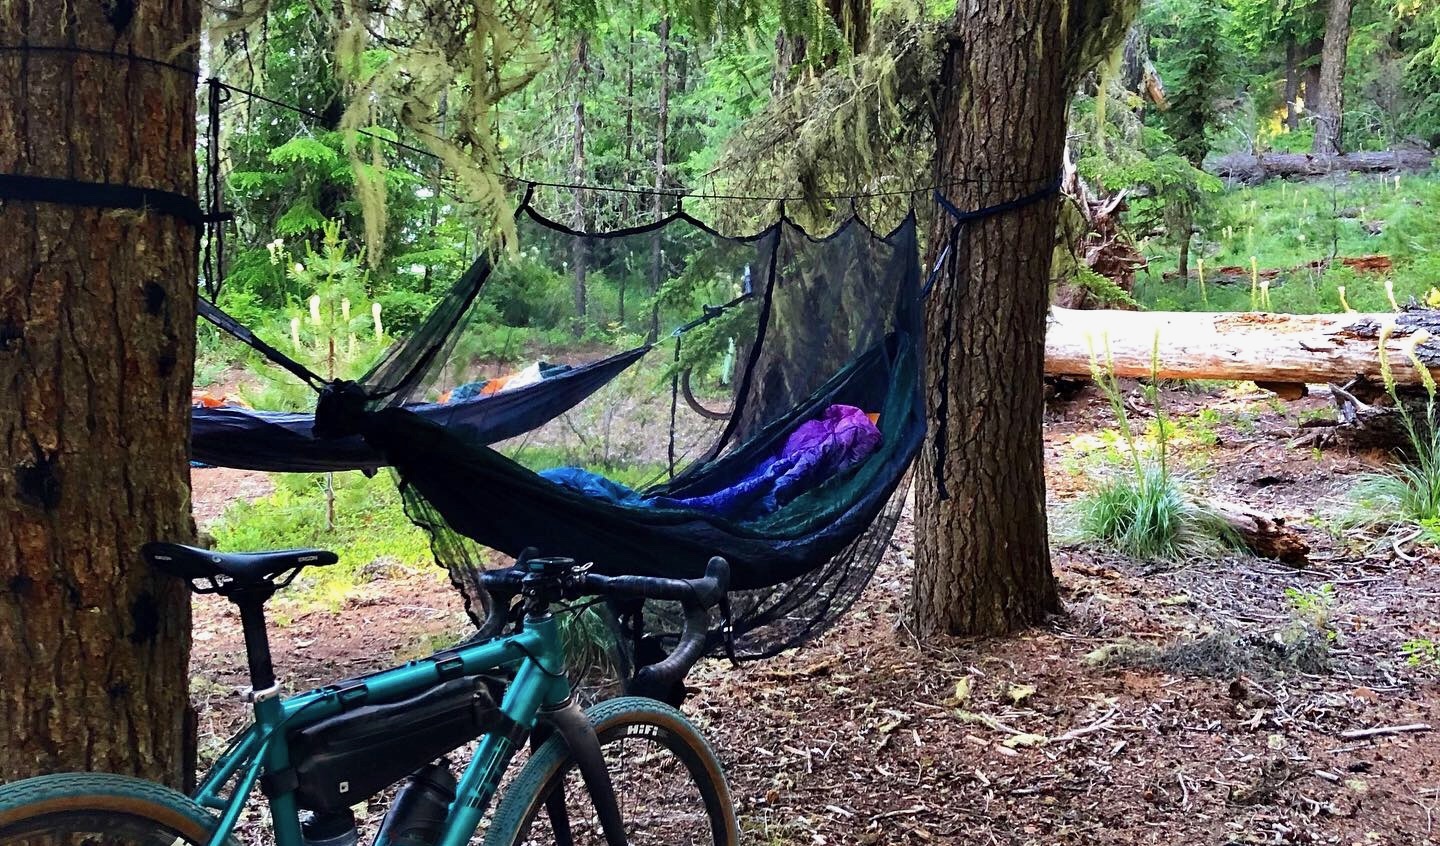
Lite: Hammock + bug netting + sleeping pad + sleeping bag/ blanket (+ rain tarp for cool or dewy nights)
Despite the hammock acting like a mattress, a sleeping pad is still necessary — more for warmth than for comfort. Without another layer to protect you from the surrounding cool air, your body heat will disperse quickly, and it gets quite chilly. If you want to skimp on a pad, at least bring a space blanket for some warmth underneath your body.
Benefits:
- Lightweight,
- Packs down in separate small items you can distribute across your bike,
- Pretty cozy.
Downsides:
- You need to know in advance that you’ll have trees or structures to attach the hammock to,
- The hammock tends to force you to sleep in one position, on your back, which isn’t for everyone,
- It’s exposed (and you may get curious wildlife visitors).
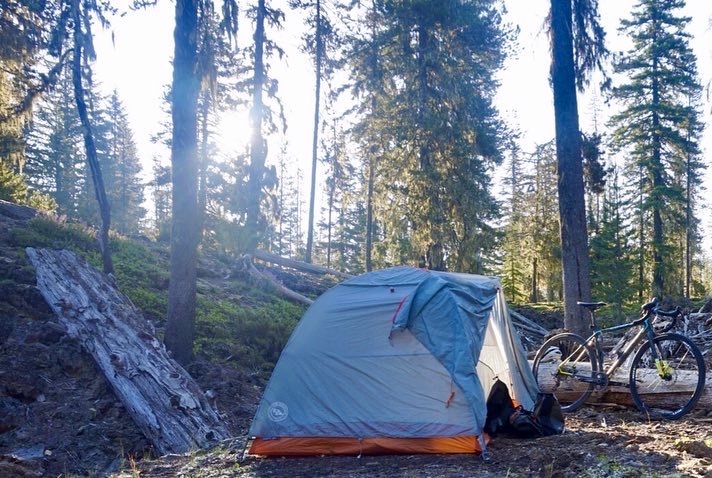
Standard: Tent + sleeping pad + sleeping bag/blanket (+ rain fly, optional)
You can skimp on the pad if you’re foregoing comfort or are short on space, but the pad will add comfort and warmth. While this may be the bulkiest of setups, there are quite a few bikepacking-specific tents out there now that are super lightweight and as compact as possible.
Benefits:
- It can be bulky
- When sleeping outside, a tent will provide the most shelter. It will keep the bugs out, the warmth in and you and your gear dry.
Downsides:
- It can be bulky
- You need some level ground to set up
Wayfinding
These might sound obvious but they should be said nonetheless:
- Plan your route ahead of time
- Tell a loved one, who’s not on the trip with you, where you’re going and share the route with them
- Have your route loaded to your GPS device(s) before you go, and make sure everything is charged
- Bring a backup battery
- Stick to the route where possible
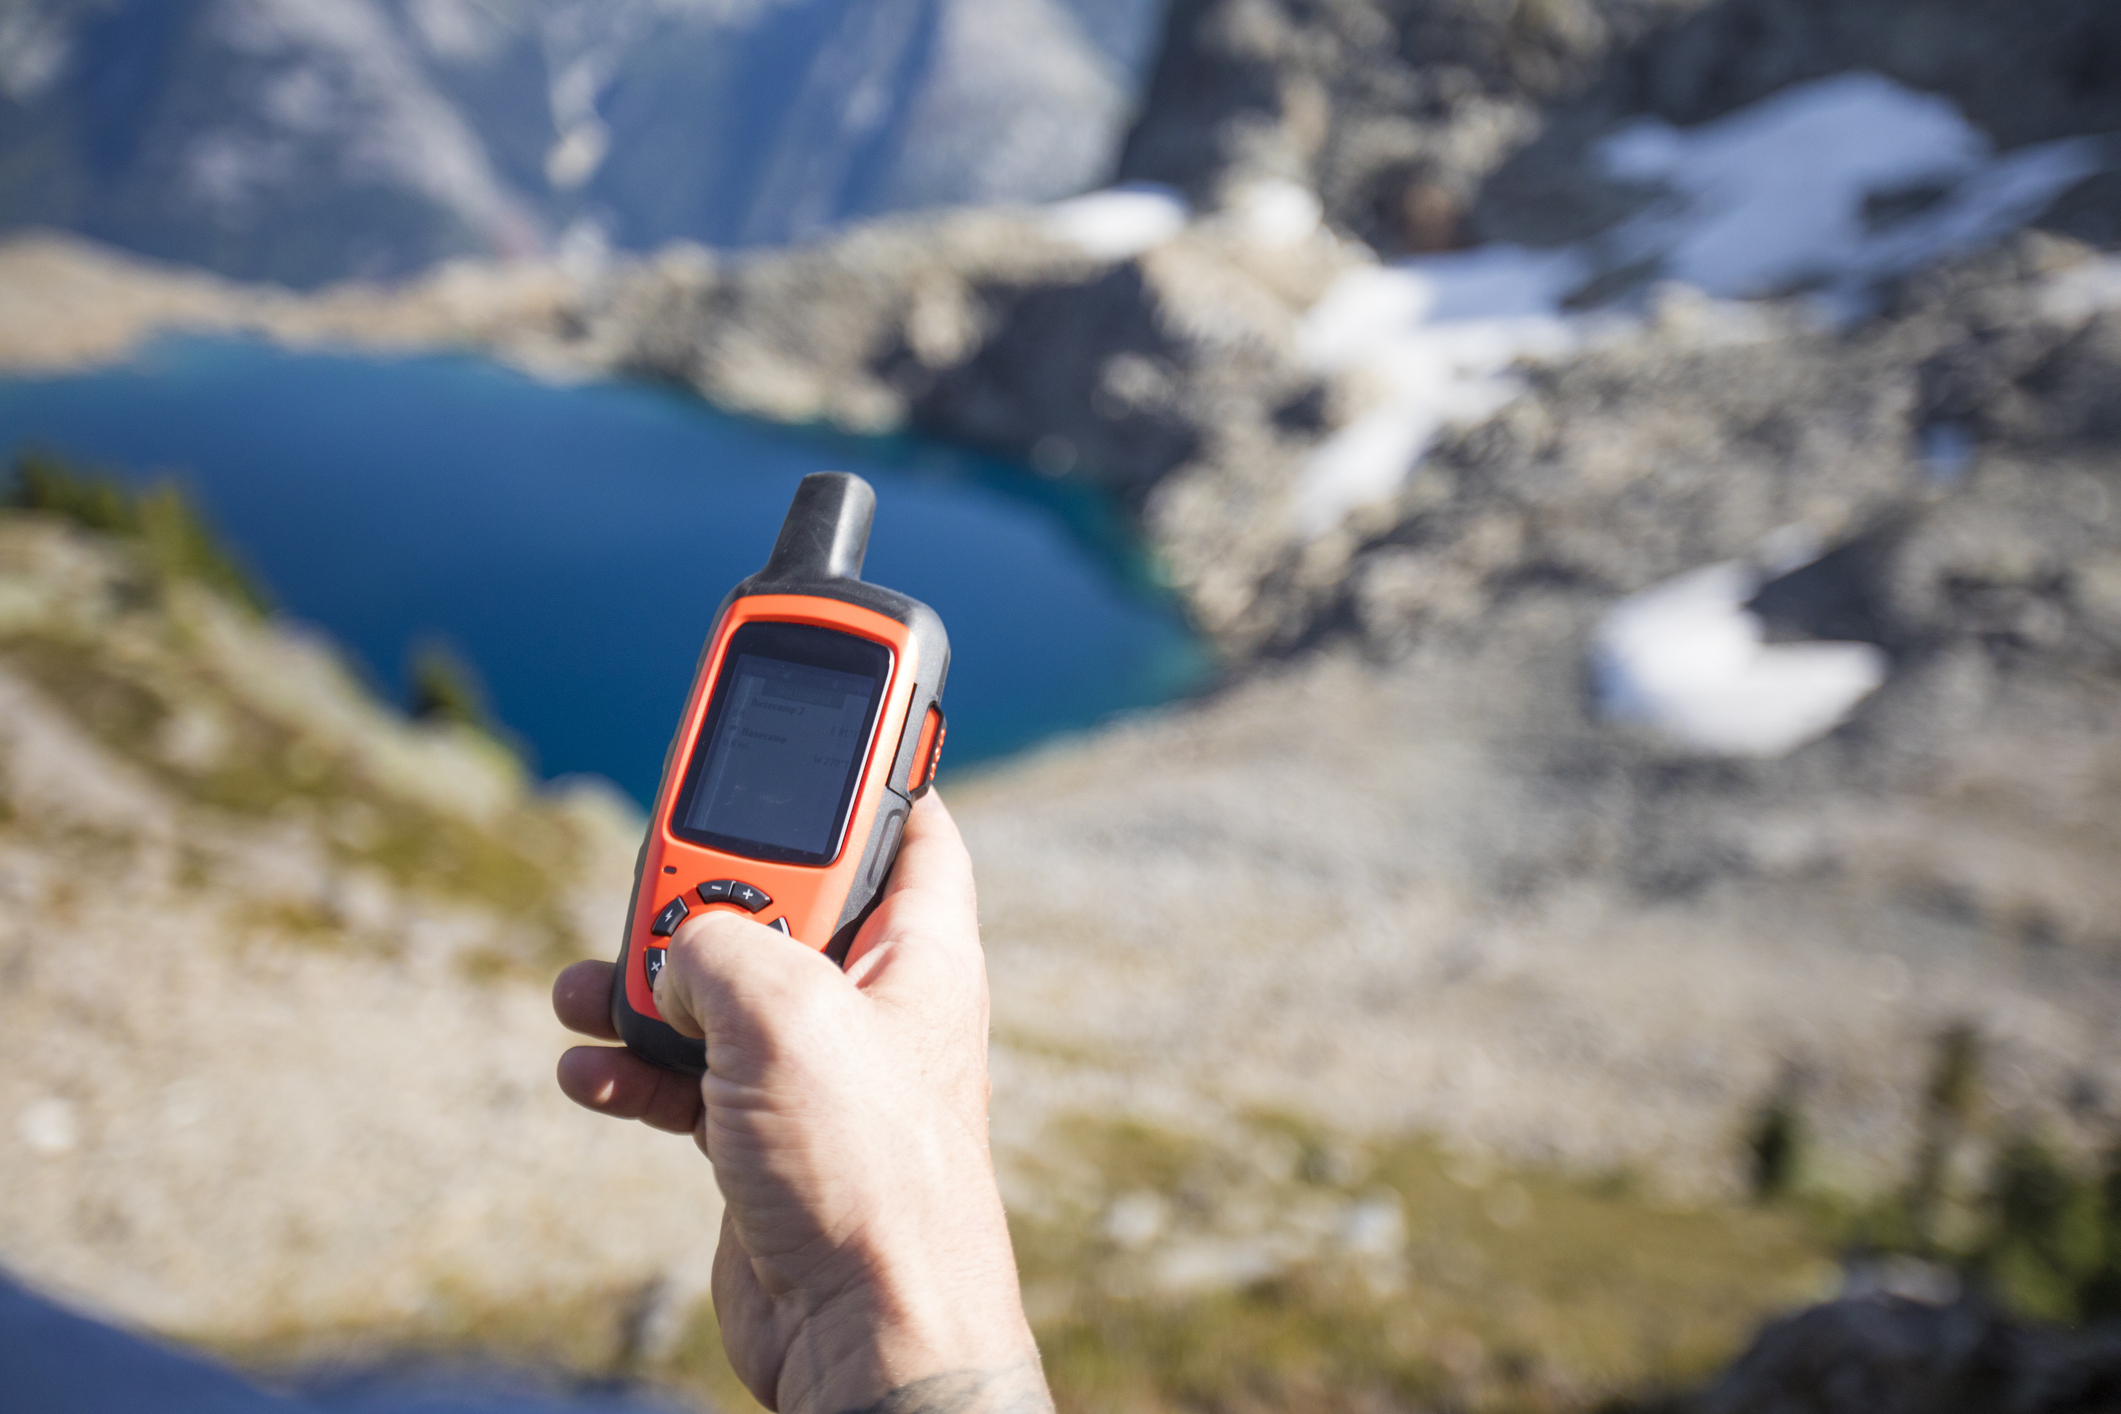
- If you venture into the land of no cellphone reception often, consider buying a satellite tracker. I personally use a Garmin InReach, which allows me to track and share my location, send messages, call for help and even get weather updates.
Bug, Critter and Wildlife Encounters
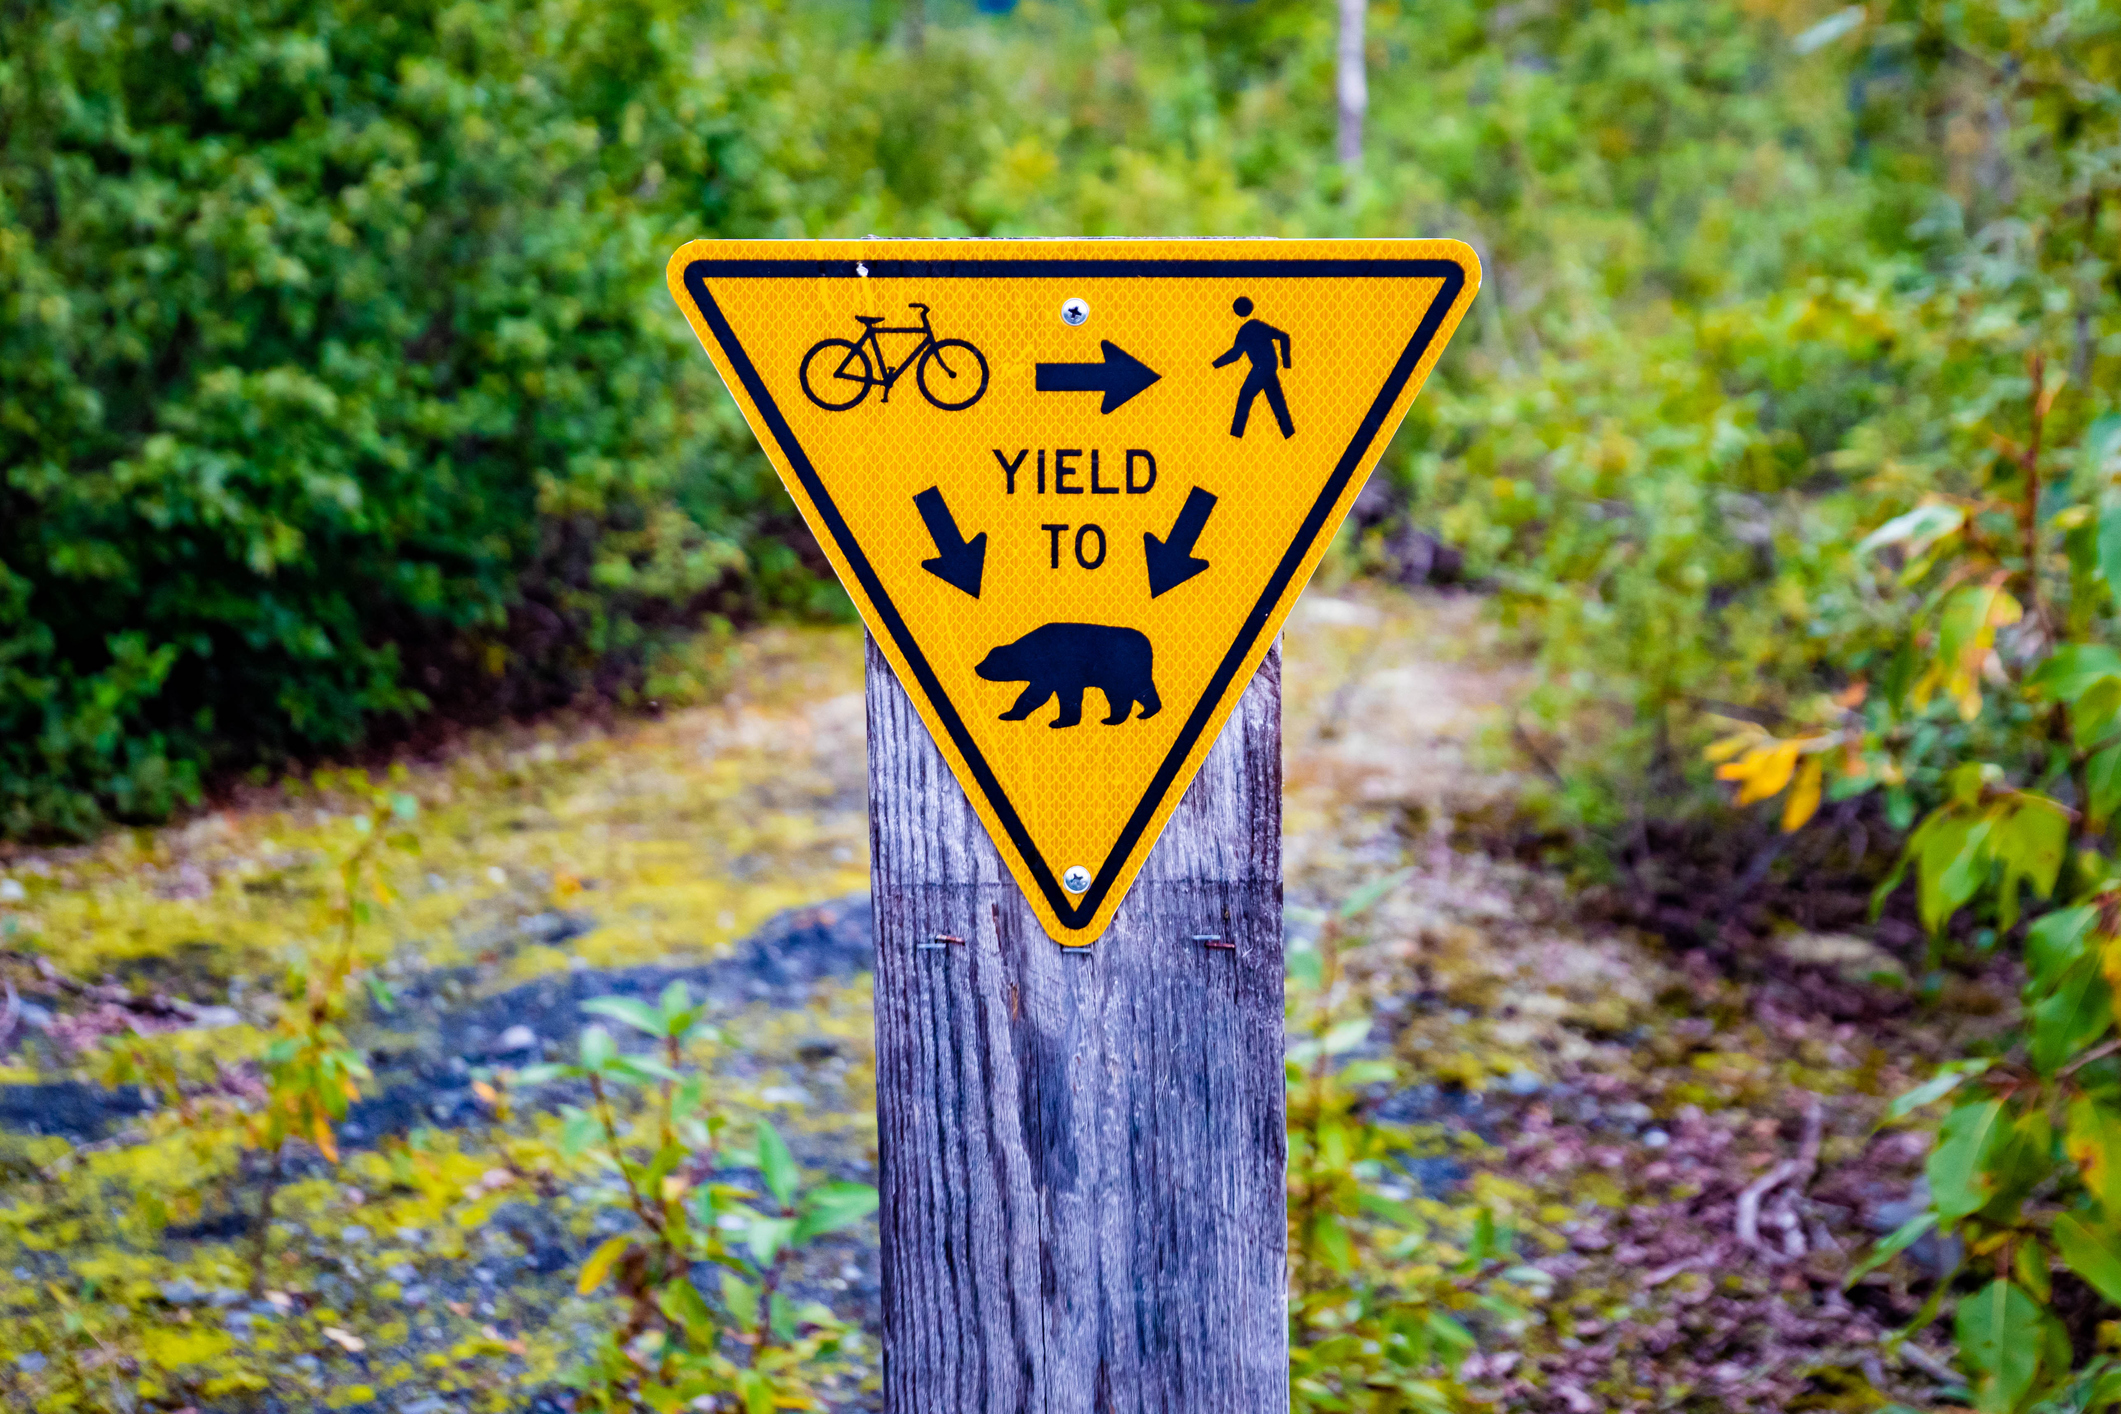
Now I grew up in cities in The Netherlands where the wildest thing I ever saw was a pissed off swan. But nowadays, when I head out for a long gravel ride or a bikepacking trip in America’s Pacific Northwest, I have to be prepared for wildlife encounters like mountain lions, snakes, bears, raccoons, elk and moose.
Even in the UK, you can come across the occasional deer or find critters like mice and badgers rifling through your stuff.
What to pack:
Bug repellent:
While most innocuous and annoying, bug bites can potentially lead to bigger problems. Scratch an itchy bite long enough and you’ll end up with an open wound at risk of infection. Additionally, mosquitoes are known to transmit diseases. So they’re best avoided. Pack a travel size Deet and bug netting if you’re sleeping in a hammock or unprotected bivy sack.
Big animal repellent:
Where I live there are quite a few big cats around: mountain lions, cougars, bobcats. As humans, we tend to outweigh these cats by well over 100 pounds and therefore these cats tend to be more afraid of us than we are of them. Still, cougar attacks have been too common for my liking, which is why I tend to carry a small canister of pepper spray that conveniently mounts on the side of my bottle cage.
Likewise, in many regions of Montana and Canada, off-road cyclists will commonly carry bear spray with them.
There are various straps and mounts available that ensure secure but accessible attachment of the spray to your bike frame. As always, read the instructions and teach yourself how to use the spray before venturing out.
A Bear Bell
The best way of dealing with bears and other larger animals is to avoid encounters altogether. A bear bell with a consistent jingle that announces your presence to other trail users and wildlife. Timber! make a really nice one that attaches to your handlebars and can be turned off when you’re no longer wanting to announce your presence to the world.
A Rope
When you prepare for sleep at night, take a minute to stuff all your food and scented items like toothpaste, deodorant and screen into a dry bag —your handlebar bag or seatpack will do the trick!— and seal it tightly. Then attack a rope and hang the bag a ways away from your sleeping location. This keeps small foraging animals from getting into your food and/or into your tent, while also keeping you safe from larger animals.
The 10 Essentials Packlist for Bikepacking
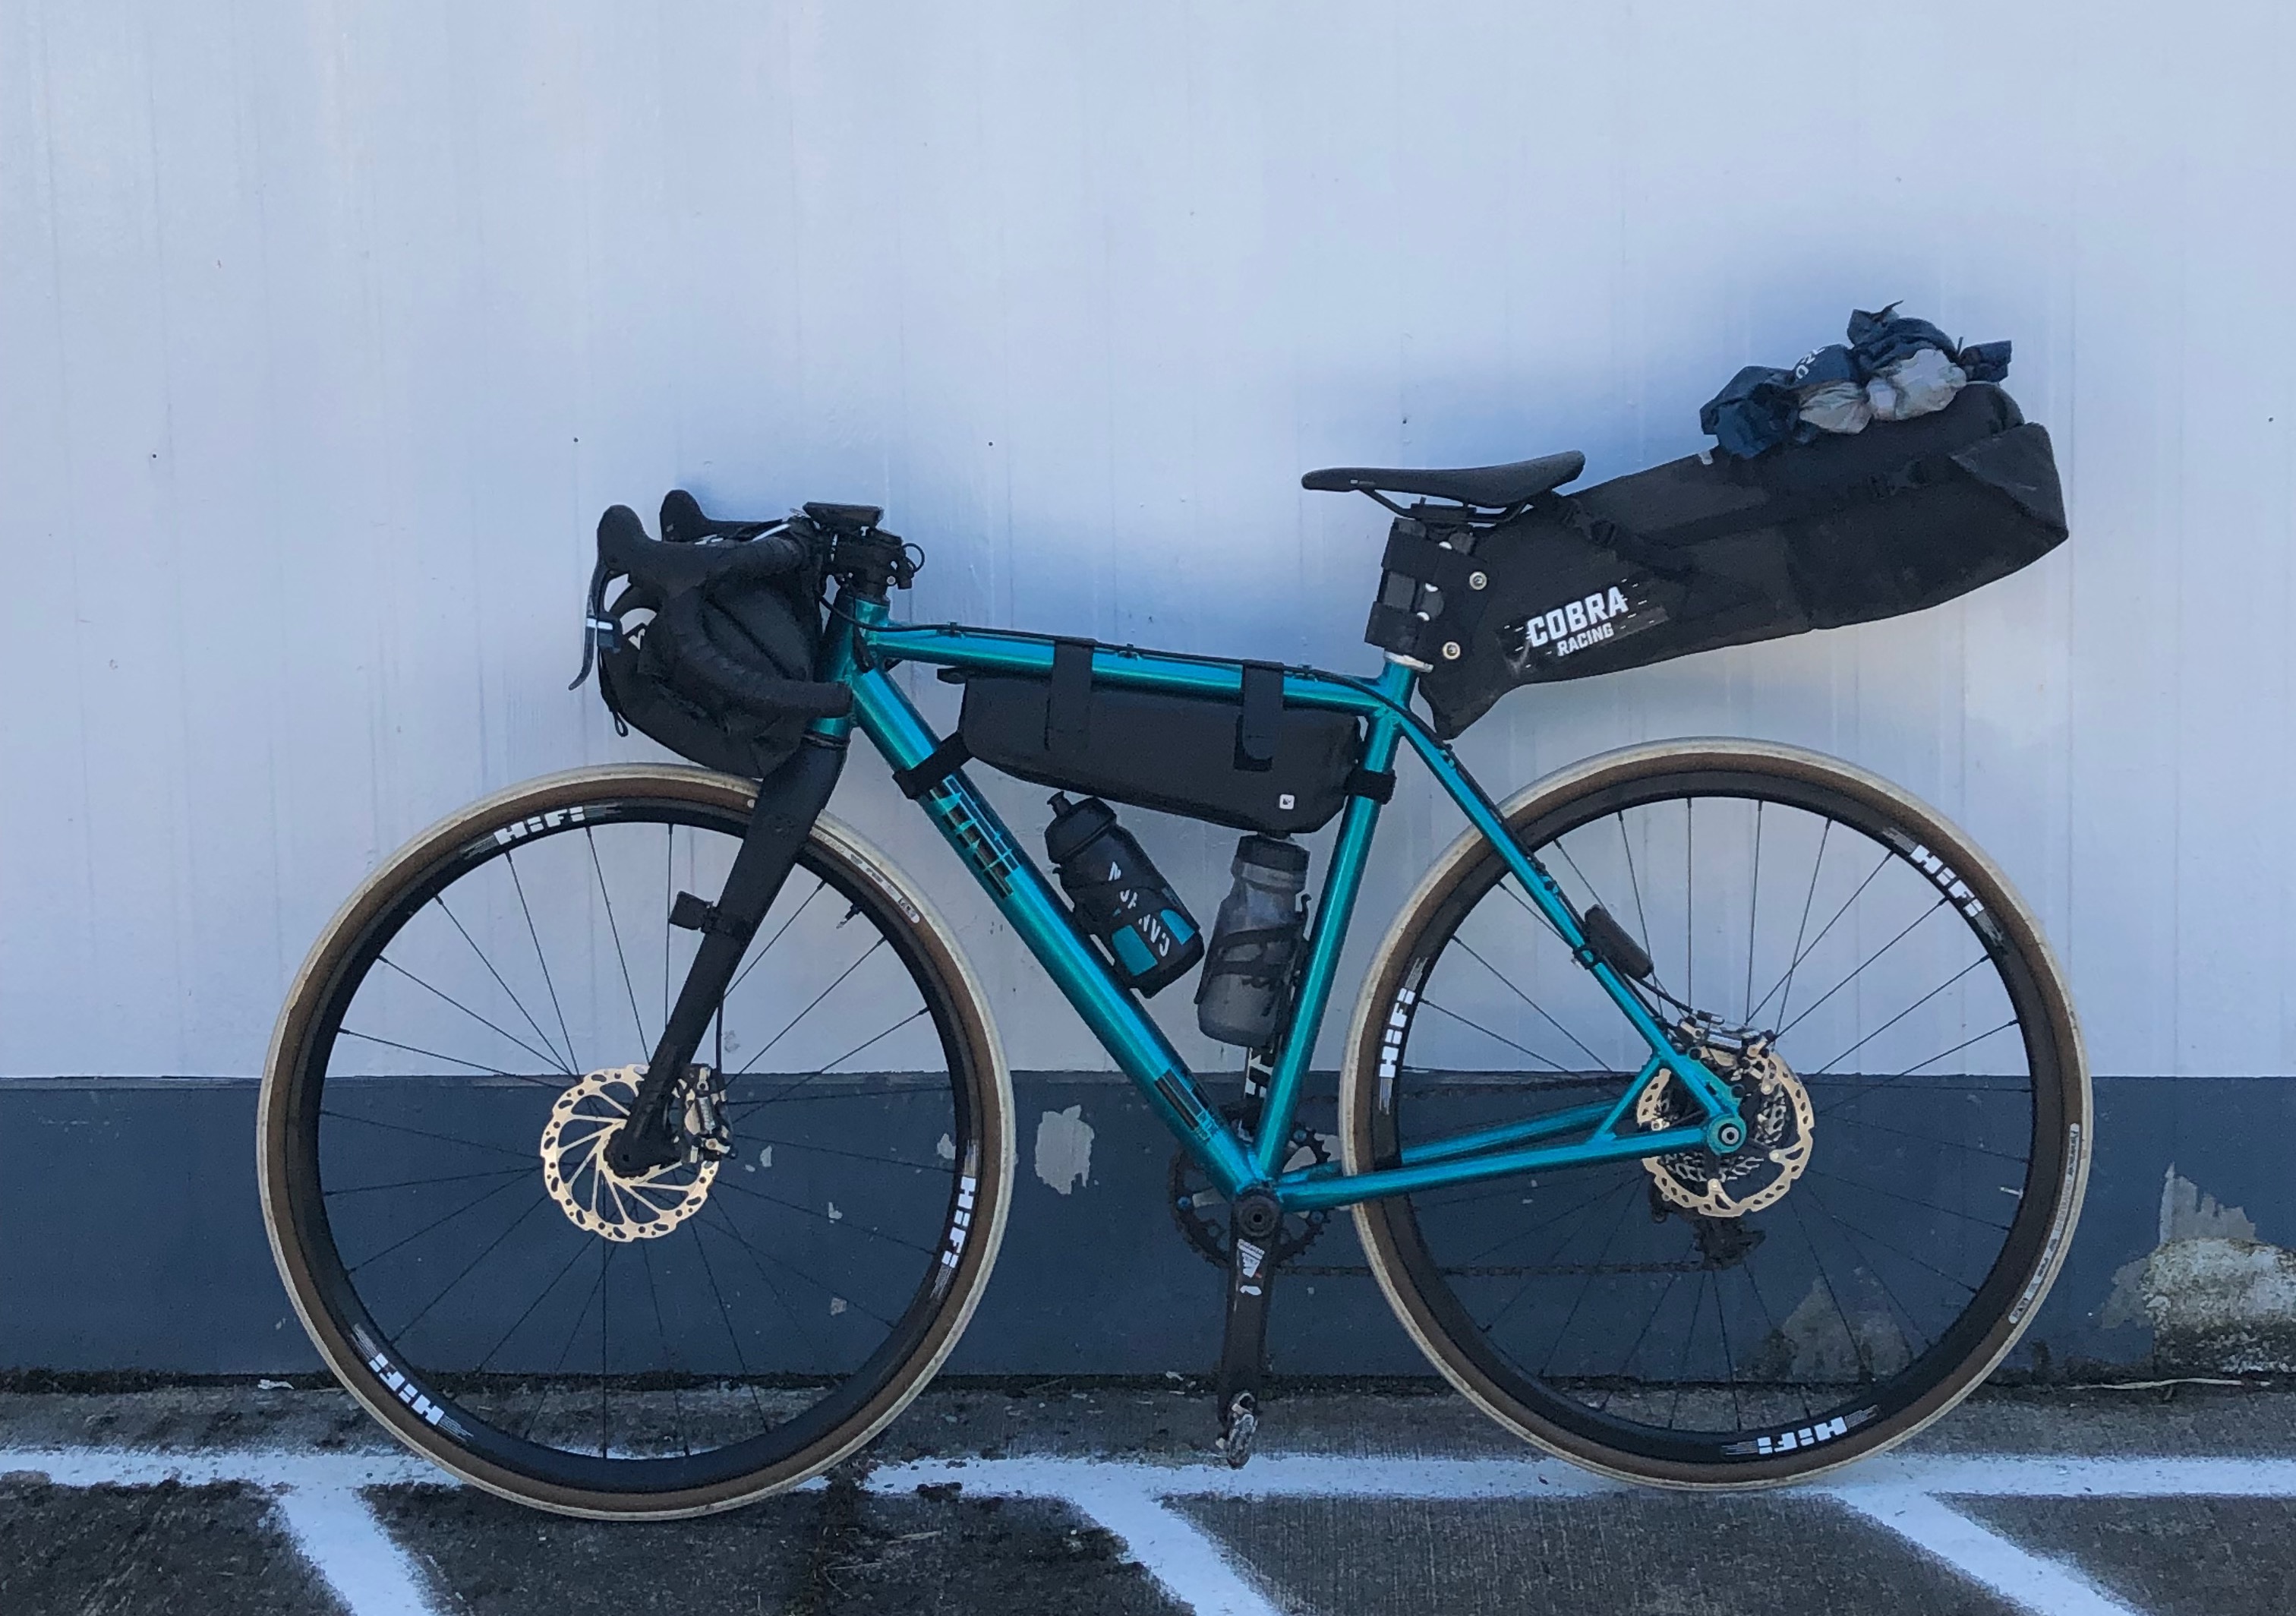
These essentials will help you in case of inclement weather, bike mechanicals or equipment failure, the trip taking longer than expected, and injury.
- First aid kit: bandages, butterfly stitches, alcohol wipes, tampons, antibacterial ointment, emergency blanket, whistle
- Navigation: GPS device and backup battery
- Sun protection: sunglasses and sunscreen
- Insulation: rain jacket and extra layers for warmth
- Illumination: bike lights and/or a headlamp
- Fire: matches or a lighter
- Repair kit:
- Fix-a-flat essentials including a tire boot
- Spare tubes, even if set up tubeless
- Multi-tool
- Zip Ties or ski straps in case your bag straps fail
- Electrical or duct tape and some rope
- Swiss army knife
- Nutrition: pack one extra meal and some spare gels
- Hydration: pack a water purification or filtration device
- Emergency shelter: your sleeping setup. I’d also highly recommend a tarp.

Thank you for reading 20 articles this month* Join now for unlimited access
Enjoy your first month for just £1 / $1 / €1
*Read 5 free articles per month without a subscription

Join now for unlimited access
Try first month for just £1 / $1 / €1

Cycling Weekly's North American Editor, Anne-Marije Rook is old school. She holds a degree in journalism and started out as a newspaper reporter — in print! She can even be seen bringing a pen and notepad to the press conference.
Originally from the Netherlands, she grew up a bike commuter and didn't find bike racing until her early twenties when living in Seattle, Washington. Strengthened by the many miles spent darting around Seattle's hilly streets on a steel single speed, Rook's progression in the sport was a quick one. As she competed at the elite level, her journalism career followed, and soon, she became a full-time cycling journalist. She's now been a journalist for two decades, including 12 years in cycling.