Rehook Tyre Glider review – an interesting development which mostly succeeds but has a couple of flaws
An intriguing take on a workshop essential: the tyre lever
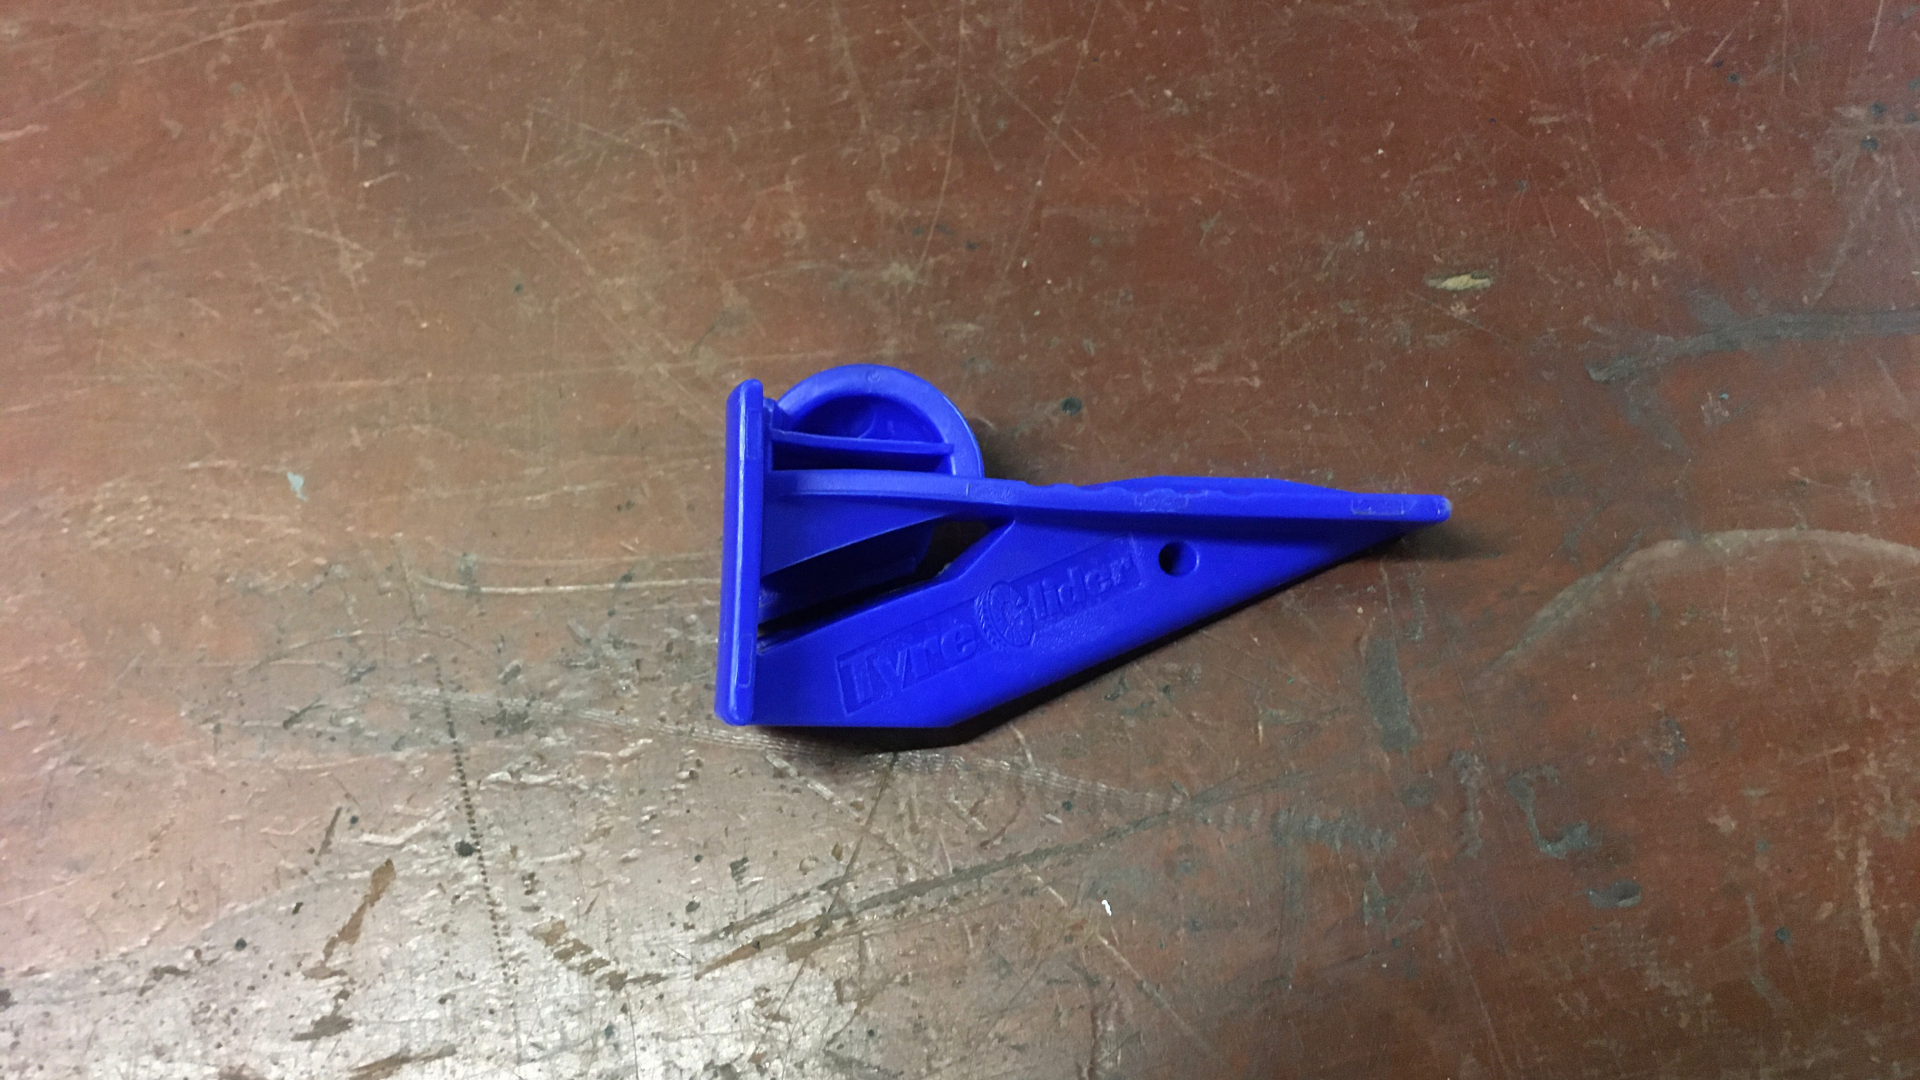
At 21g it is roughly the weight of a single tyre lever and is pretty compact so that is good, and represents reasonable value for money. It has lasted my testing without any significant marking or any breakage. It certainly works well with a tight tyre. Will it replace my Pedros levers? No. However it is a great addition to my toolbox as the functions it does well, it does really well. For me, I found most impressive the way that it dealt with tight tyres and I really liked its stability once located. For the odd job a straight tyre lever is still superior, however.
-
+
Deals with a tight tyre well
-
+
Tool locates securely and stays so
-
+
Just need one!
-
-
The 'L' shape of the tool can hinder awkward procedures
You can trust Cycling Weekly.
The Rehook Glider Tyre Lever (note singular) came to our attention recently. We were intrigued whether the claims made about it would match in use - and how it'd stack up against the more traditional designs included in our guide to the best tyre levers.
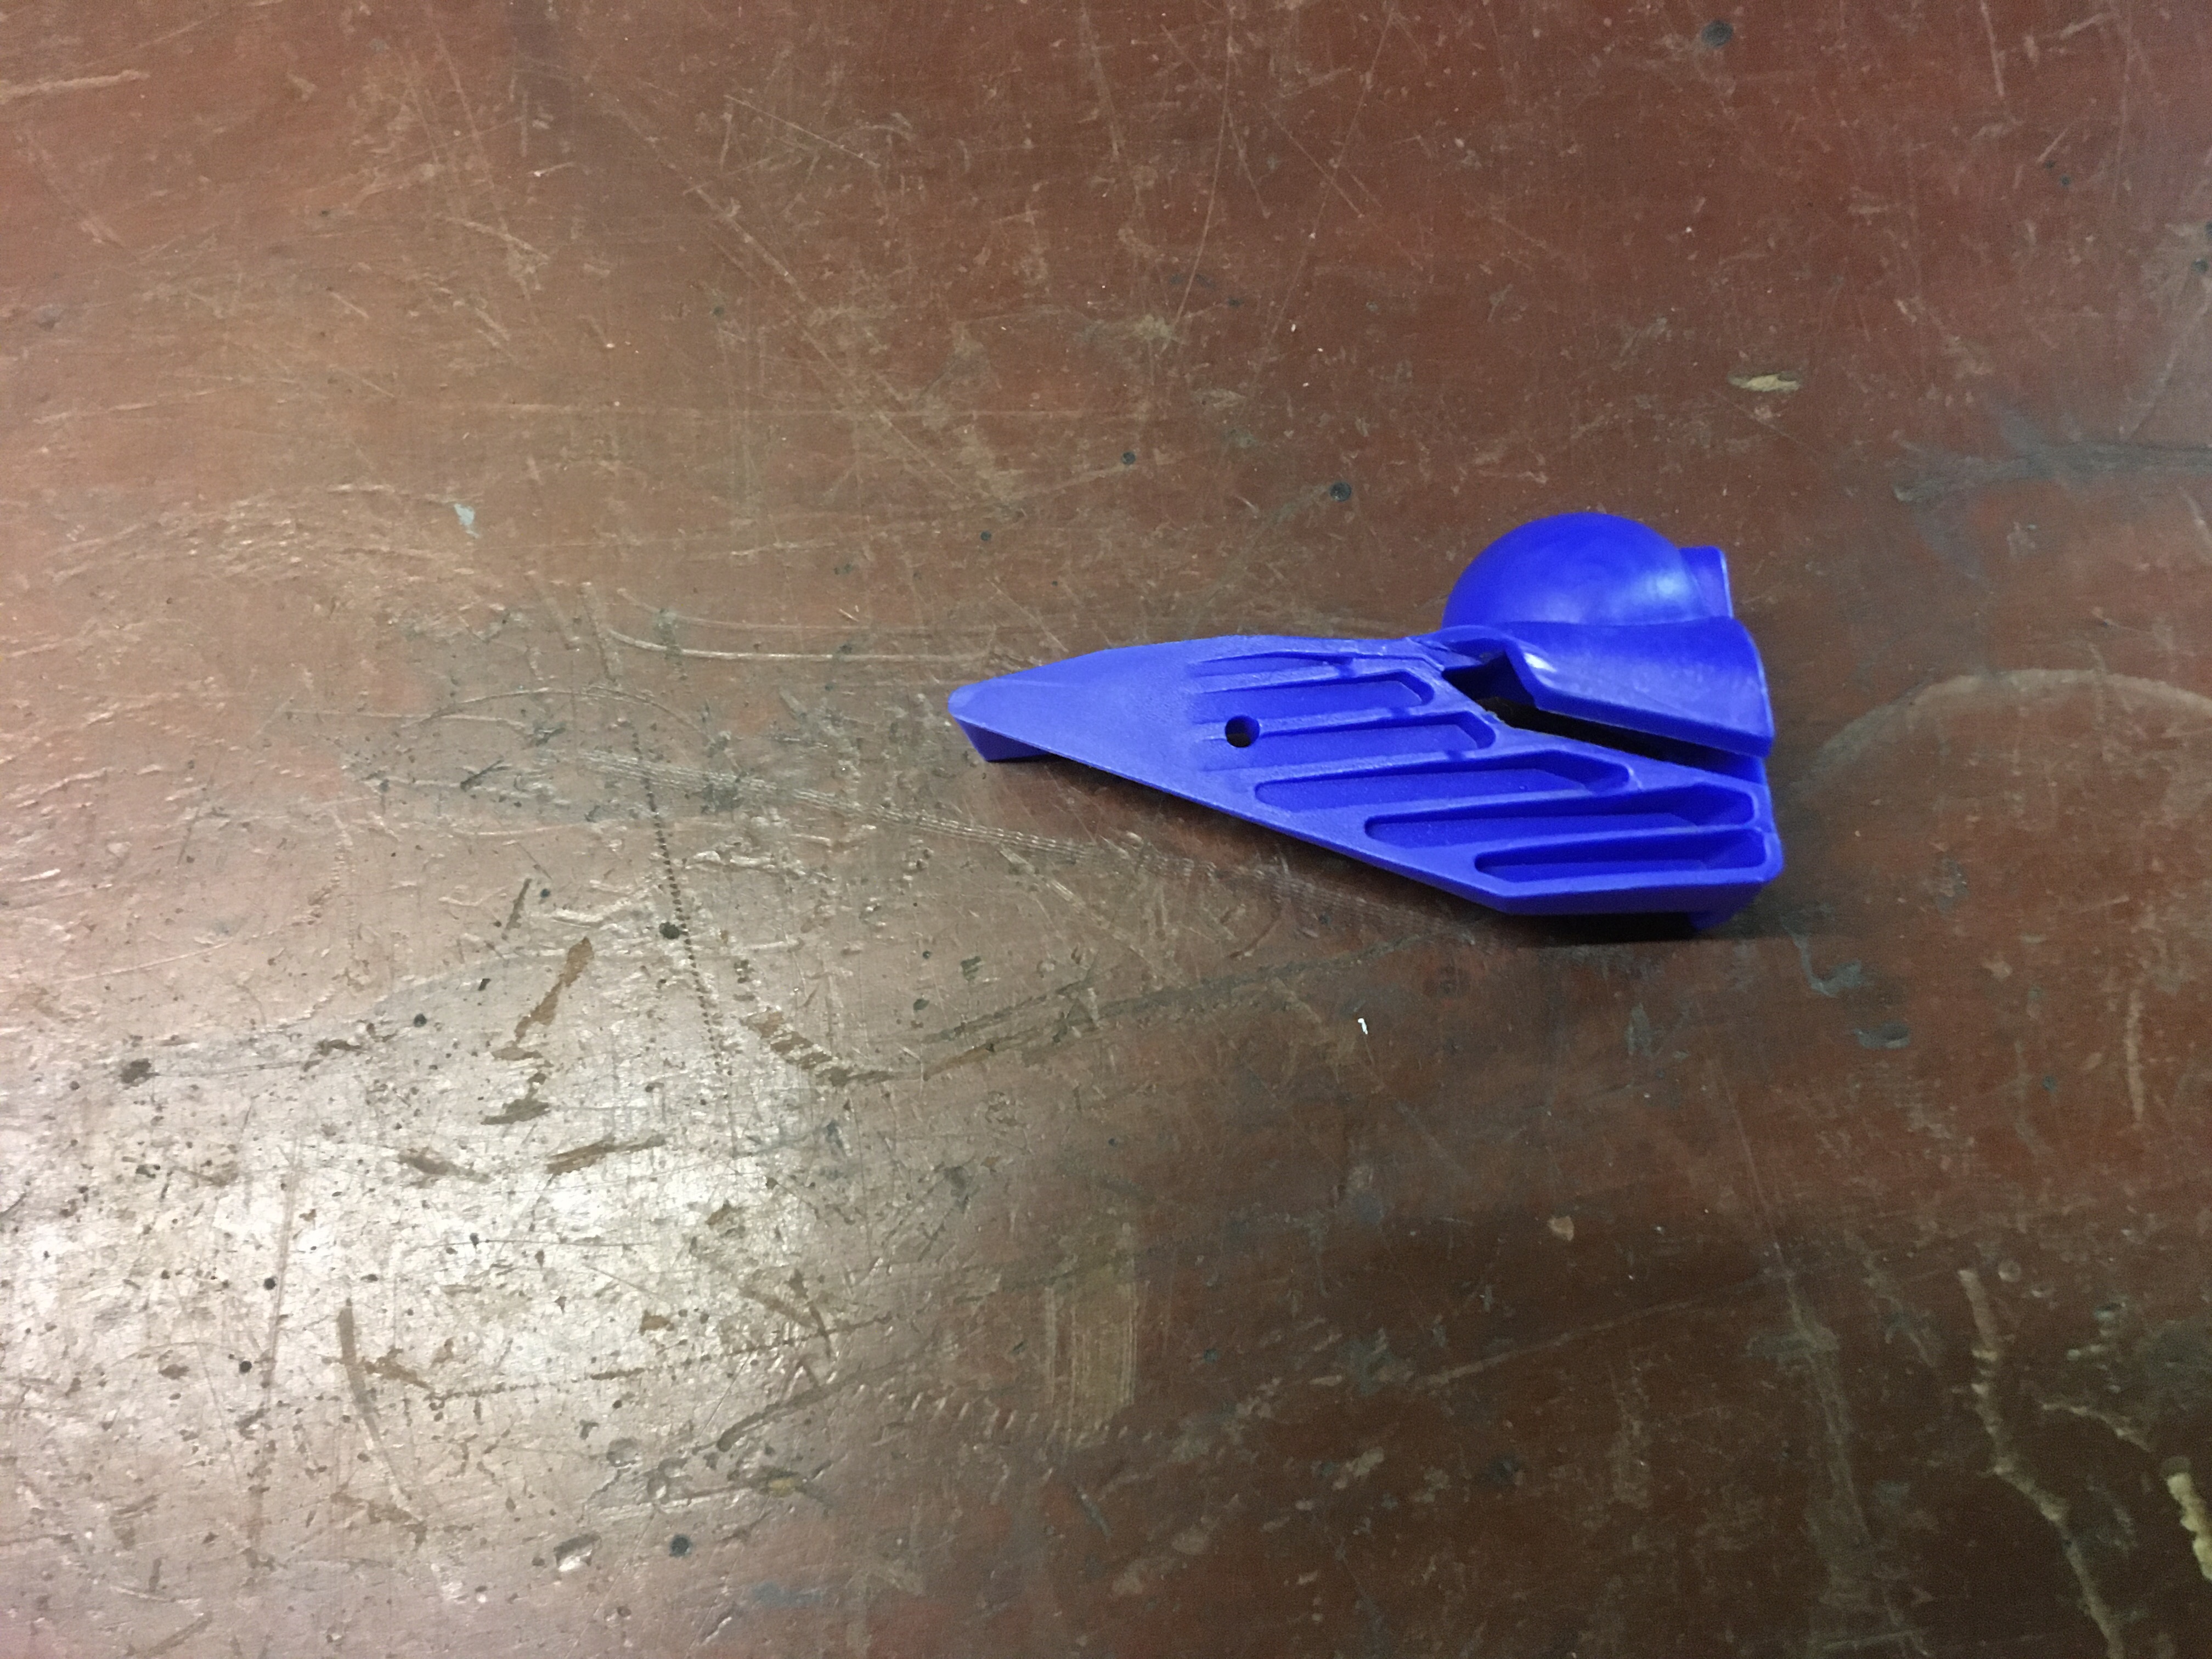
It is made in the UK from a blue plastic (polypropylene?), weighs 21 grams and is roughly 78mm long and 40mm x 32mm (height x width). It has 2 modes for operation i.e. removing a tyre and then refitting it. Each mode uses a different part of the tool.
Rehook says that the Glider is "quicker, more robust and simpler to use. The compact and lightweight design works across all bike disciplines, allowing swift removal and installation of tight fitting tyres."
So how did we get on...?
Rehook Tyre Glider: in use
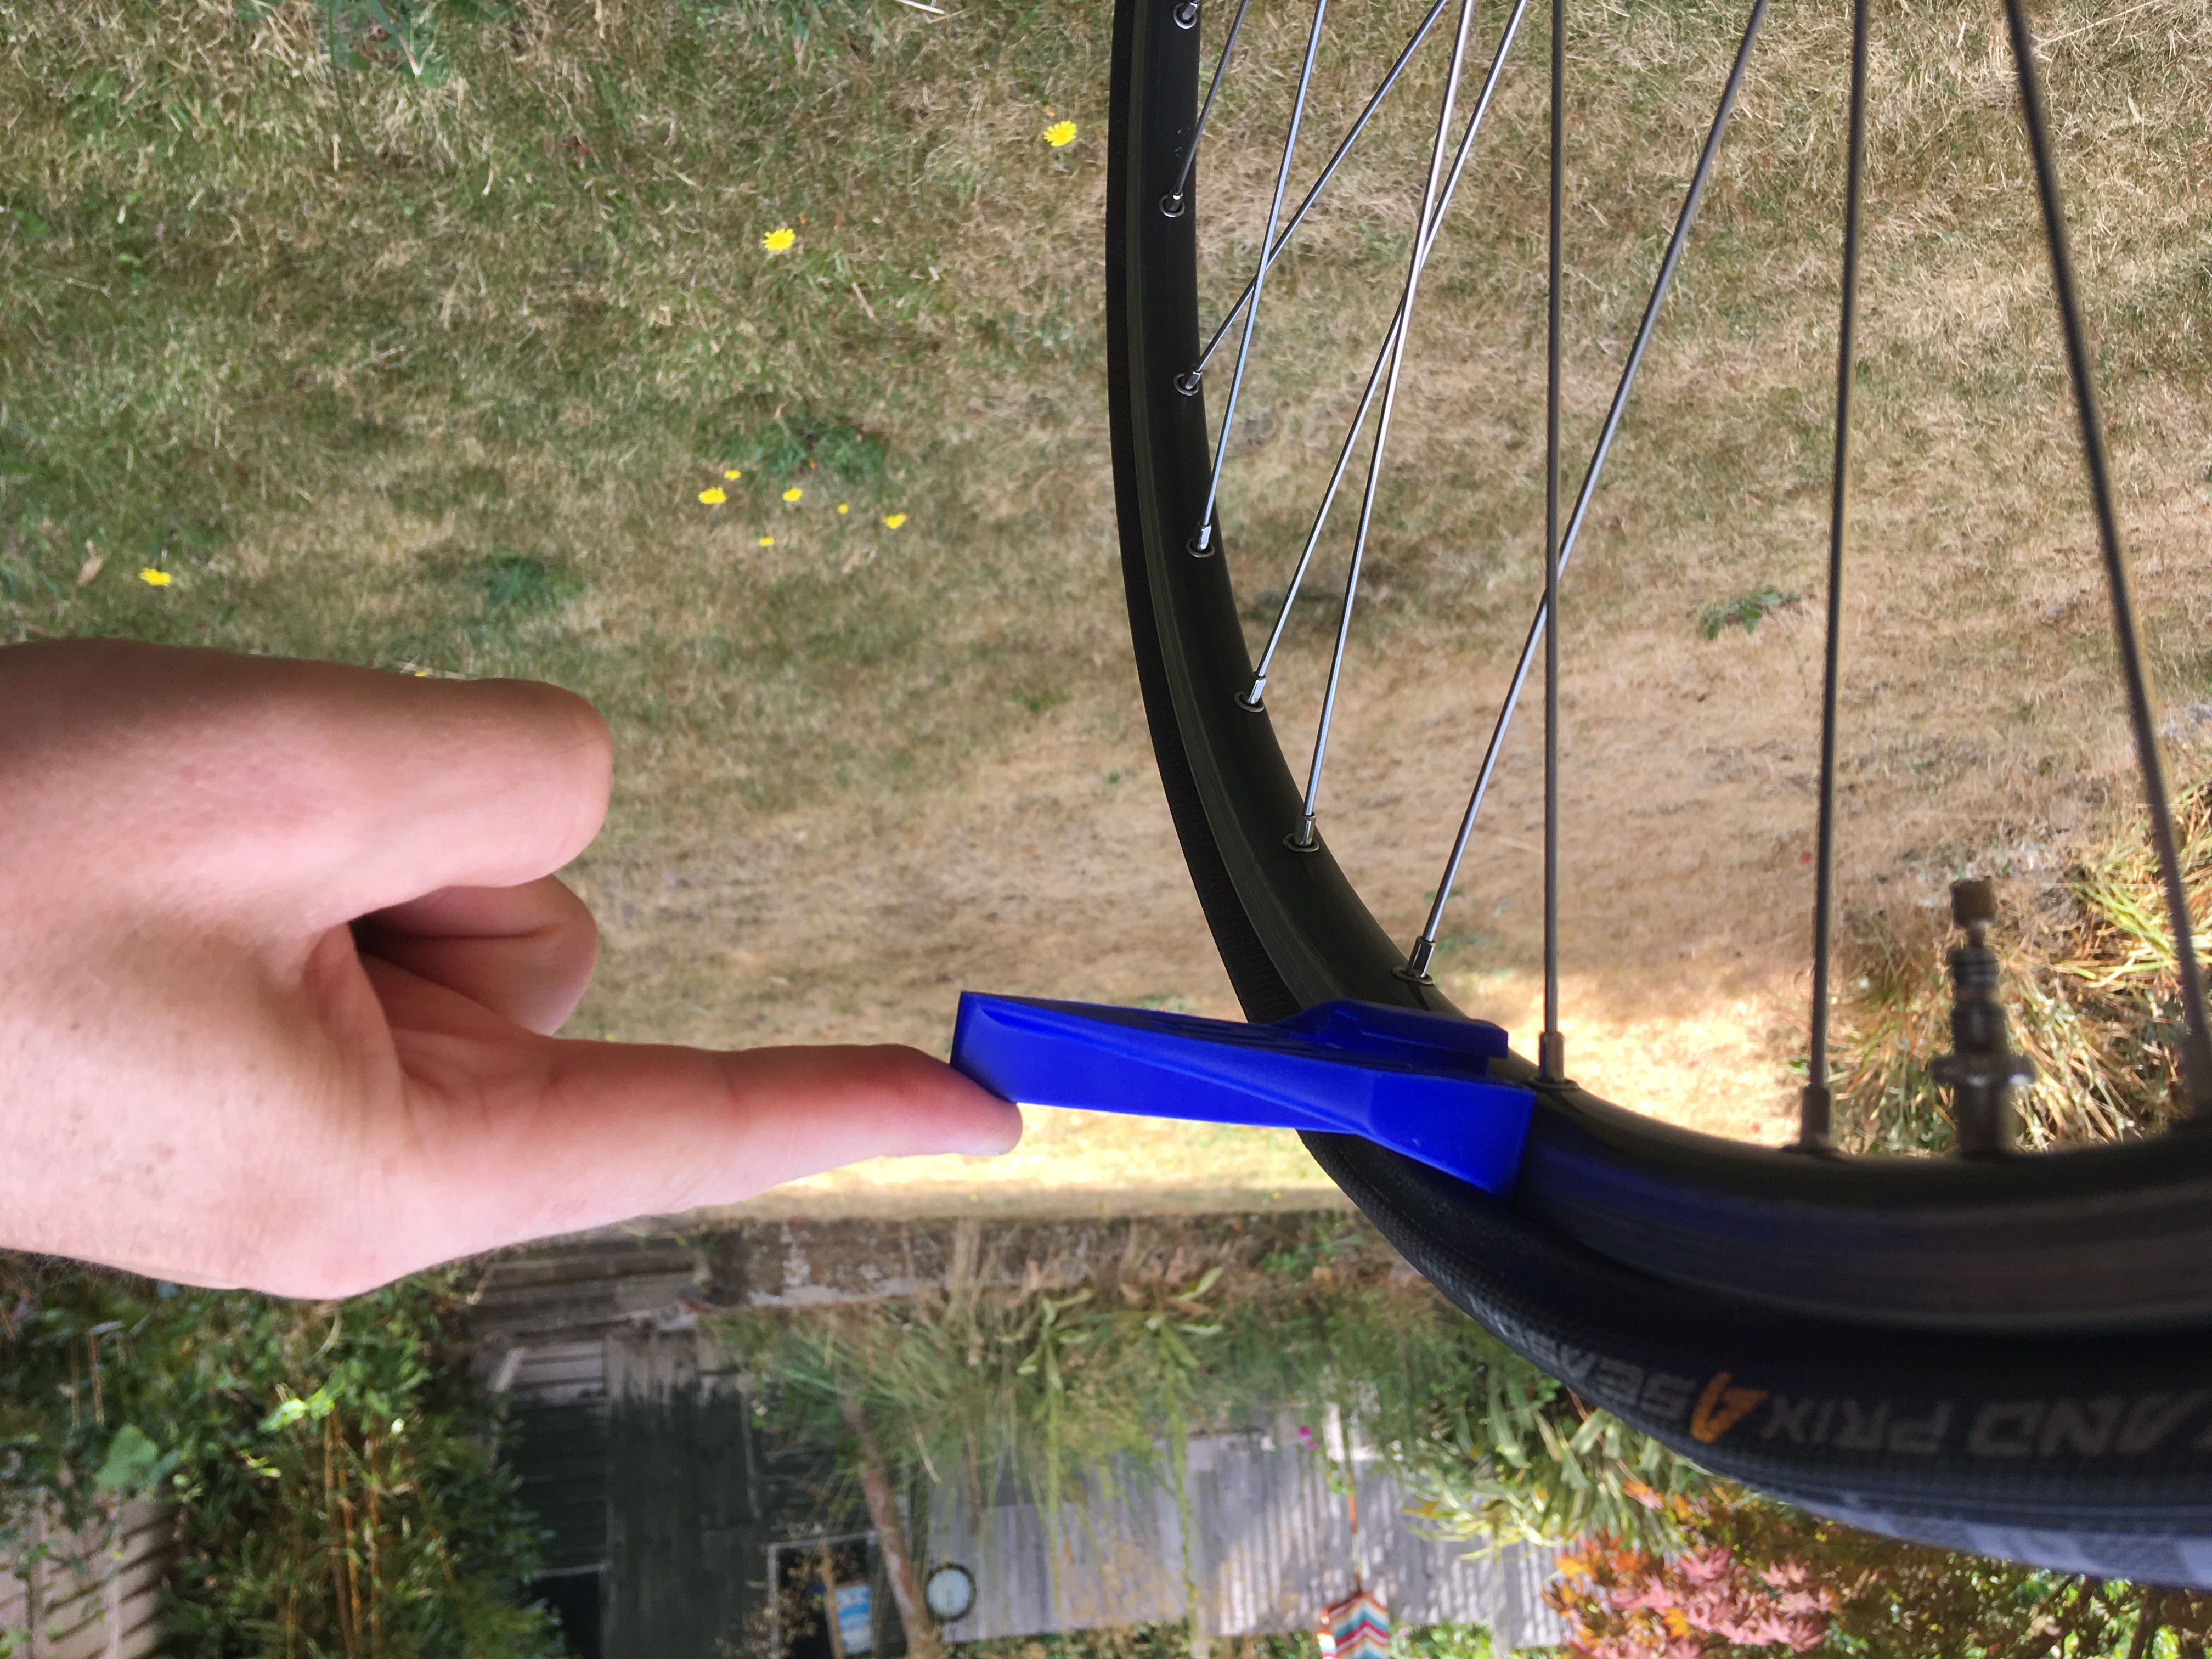
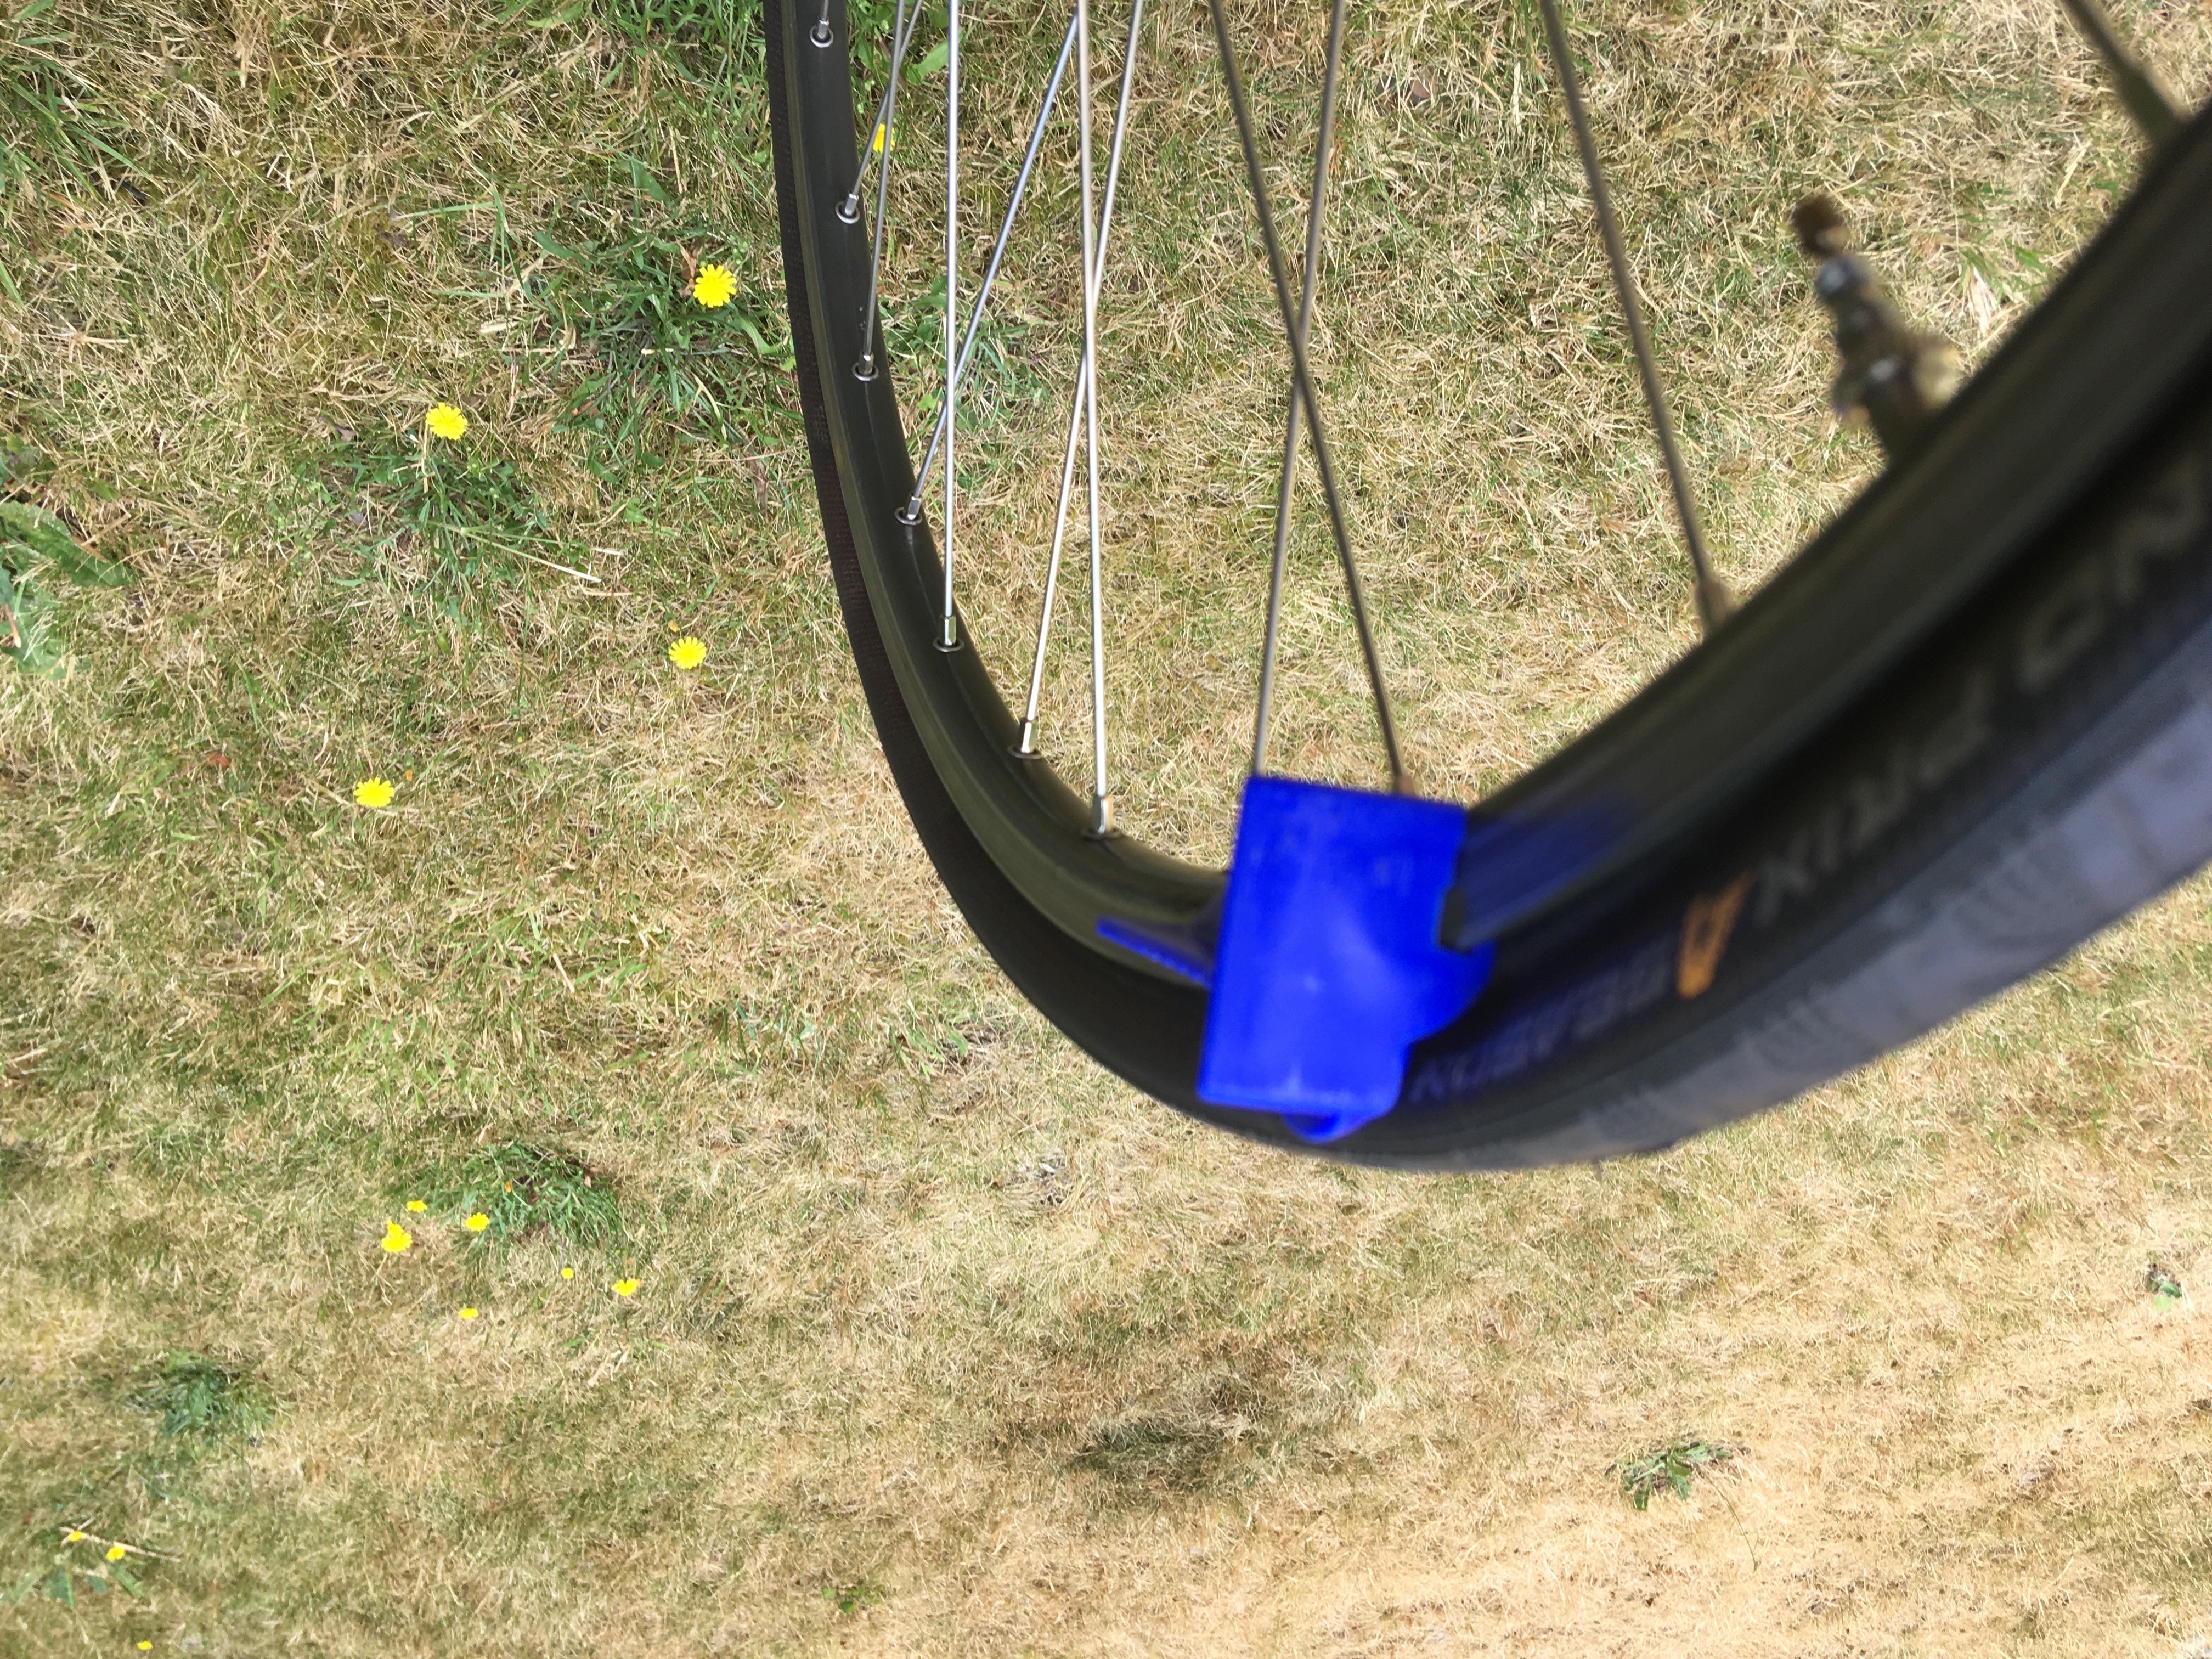
I decided initially to try the Tyre Glider with a classic Mavic Open Pro rim & Continental GP 4S tyre combination, which is not a tight fit, to see how it would perform. Sure enough, it popped the tyre over the rim with ease. It also refitted the tyre (once the tool had been turned around) easily too.
I then moved onto the BORG26 wheels which are tubeless ready but fitted with Pirelli P Zero Race 4S tyres (tubed). I've found that all the tyres tried with these rims are pretty tight which may be down to a TLR feature. Again, I popped the tab under the tyre bead, levered the handle and pushed away from me. It needed a bit more force than before but it came away easily.
Before, with the two tyre lever system, I needed to judge the correct gap to get enough bead over the rim. Too small a gap and you'd struggle to get the next lever under the bead to release fully, too wide a gap and you'd put enough force to potentially break a tool...
Next up was refitting the tyre. This time you place the handle against the rim and hook the slot over the rim and push the large postage stamp sized rectangle around the rim. The tool picks up the tyre bead and feeds it up and over into place. A point to note is that although the Glider should also feed the inner tube up and over, I preferred to pause, push the tube into the tyre with a finger and then continue – to stop any potential for pinching.
Both wheel and tyre choices worked well. You need a certain amount of pressure to keep it flowing particularly for the final quarter of the wheel circumference. I was keen to see whether the would be any damage or marking to either the rim, tyre or tool. They were all unmarked.
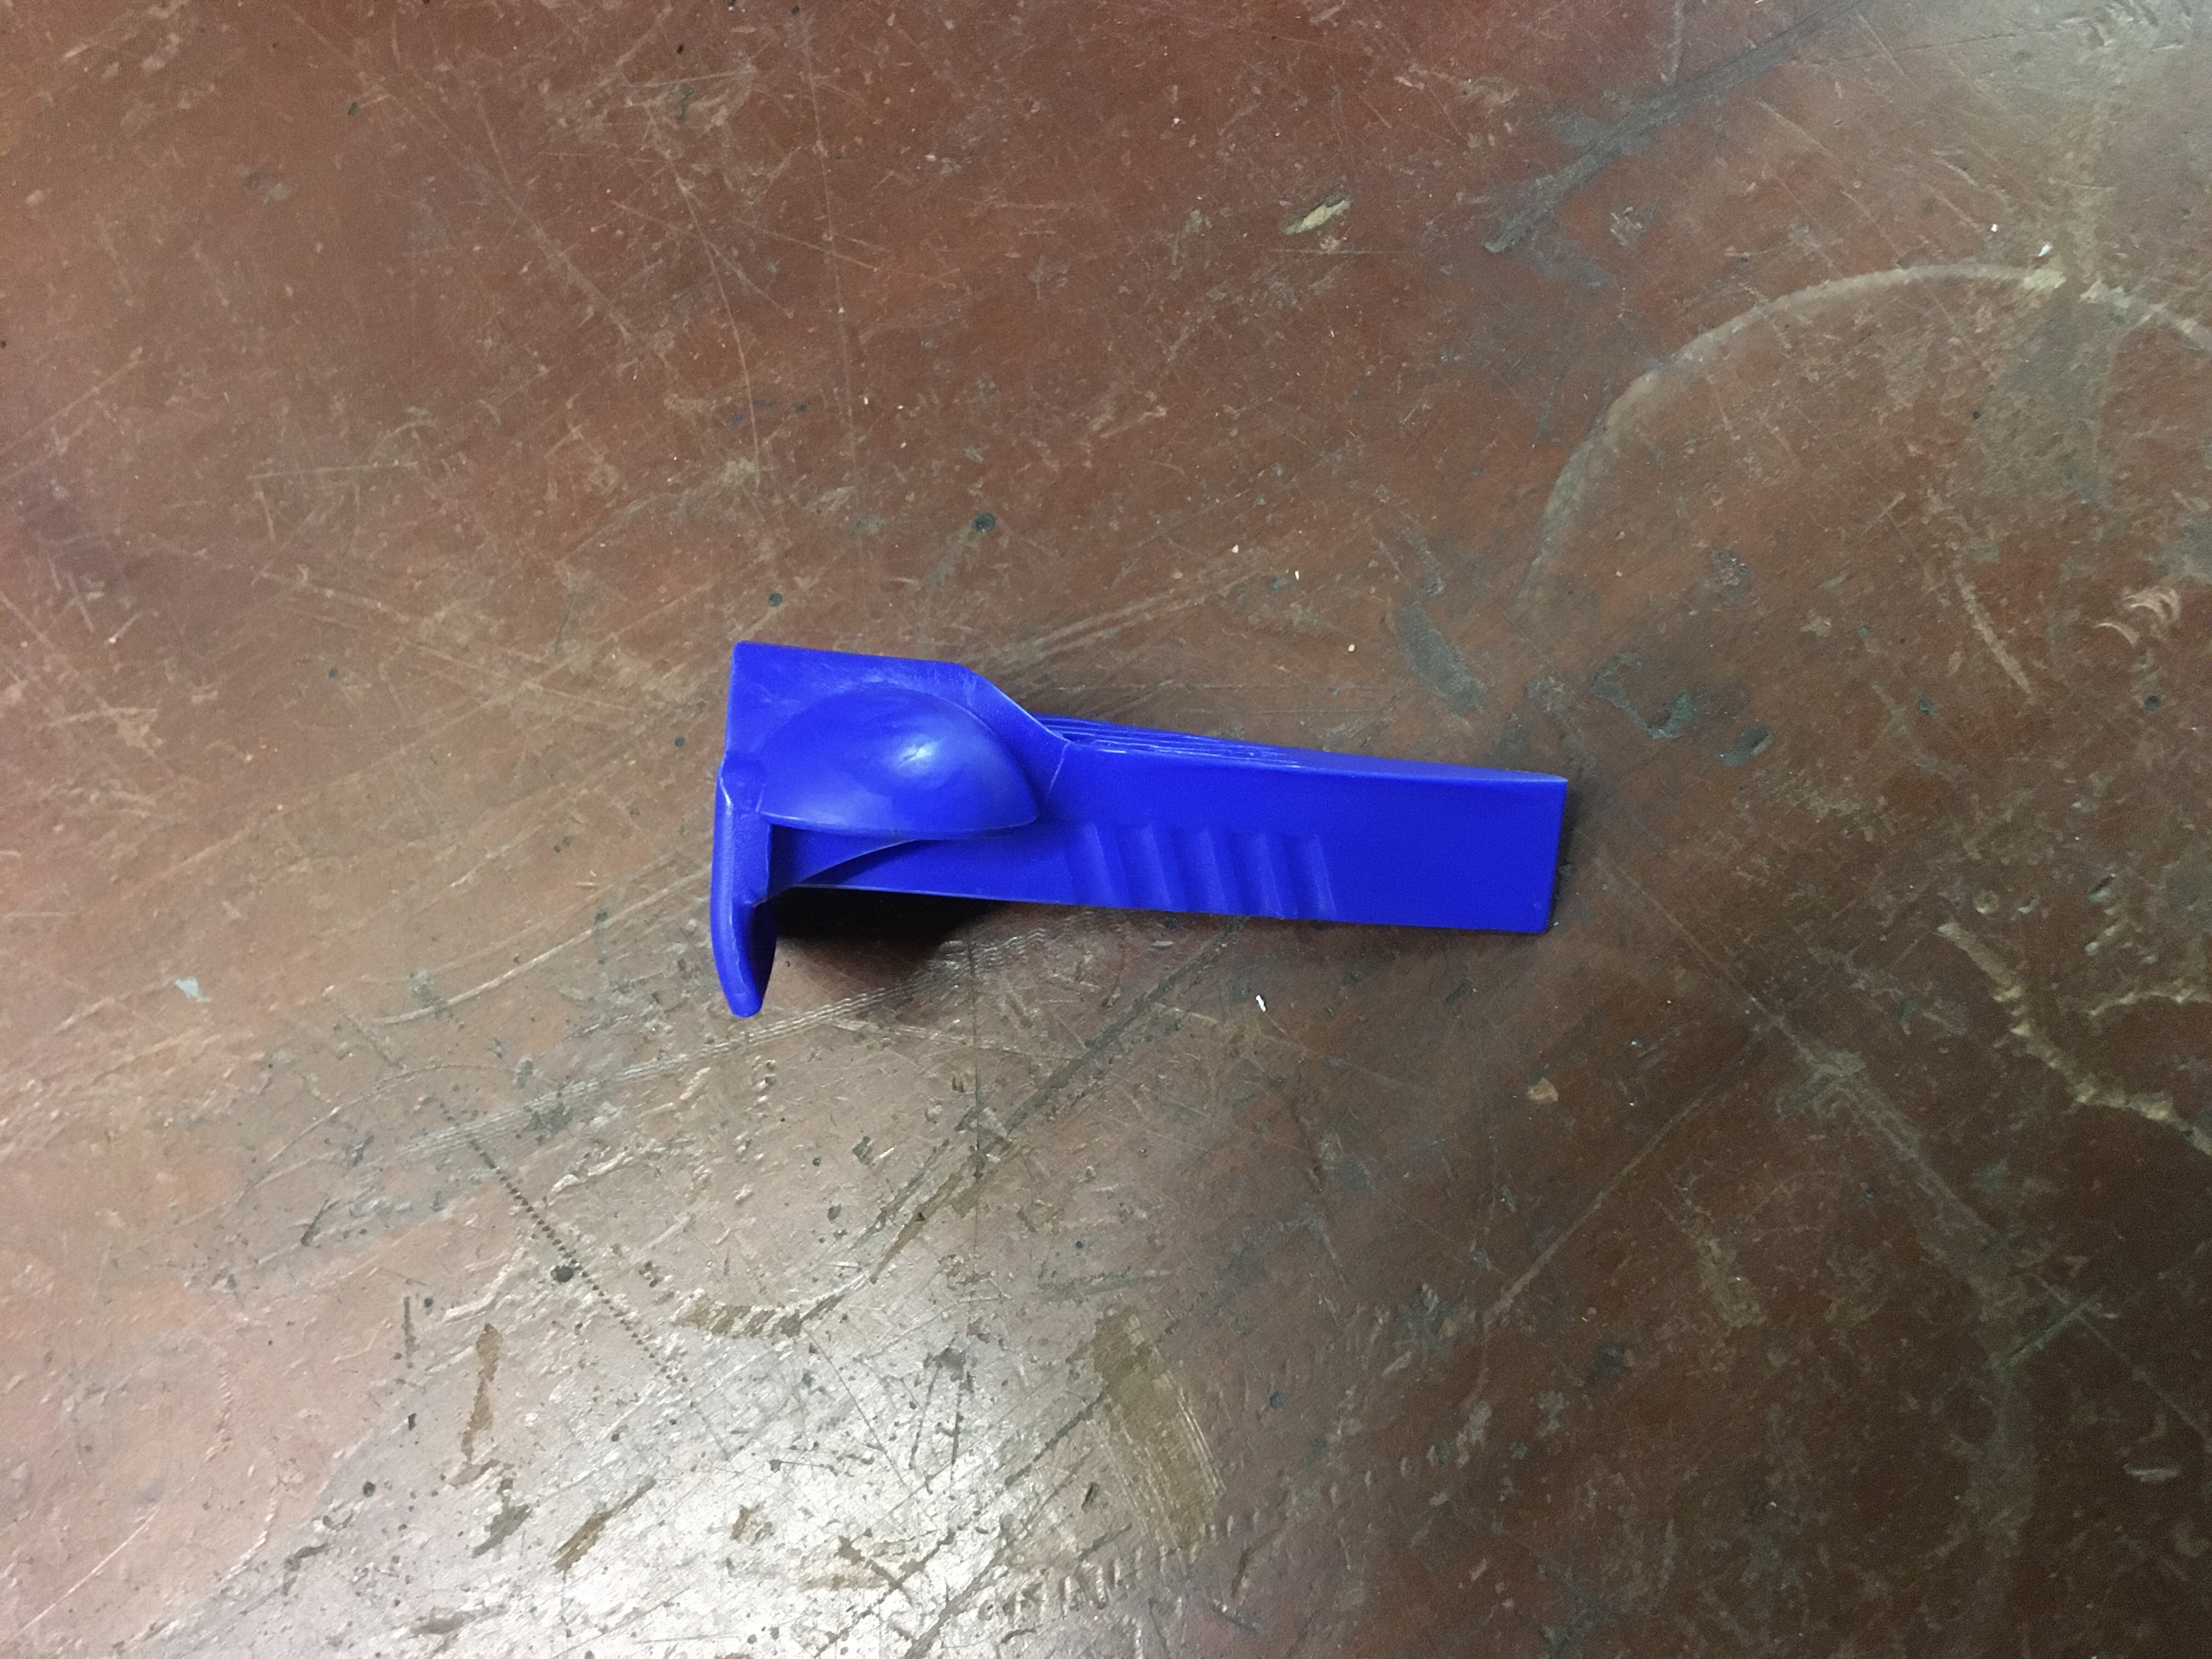
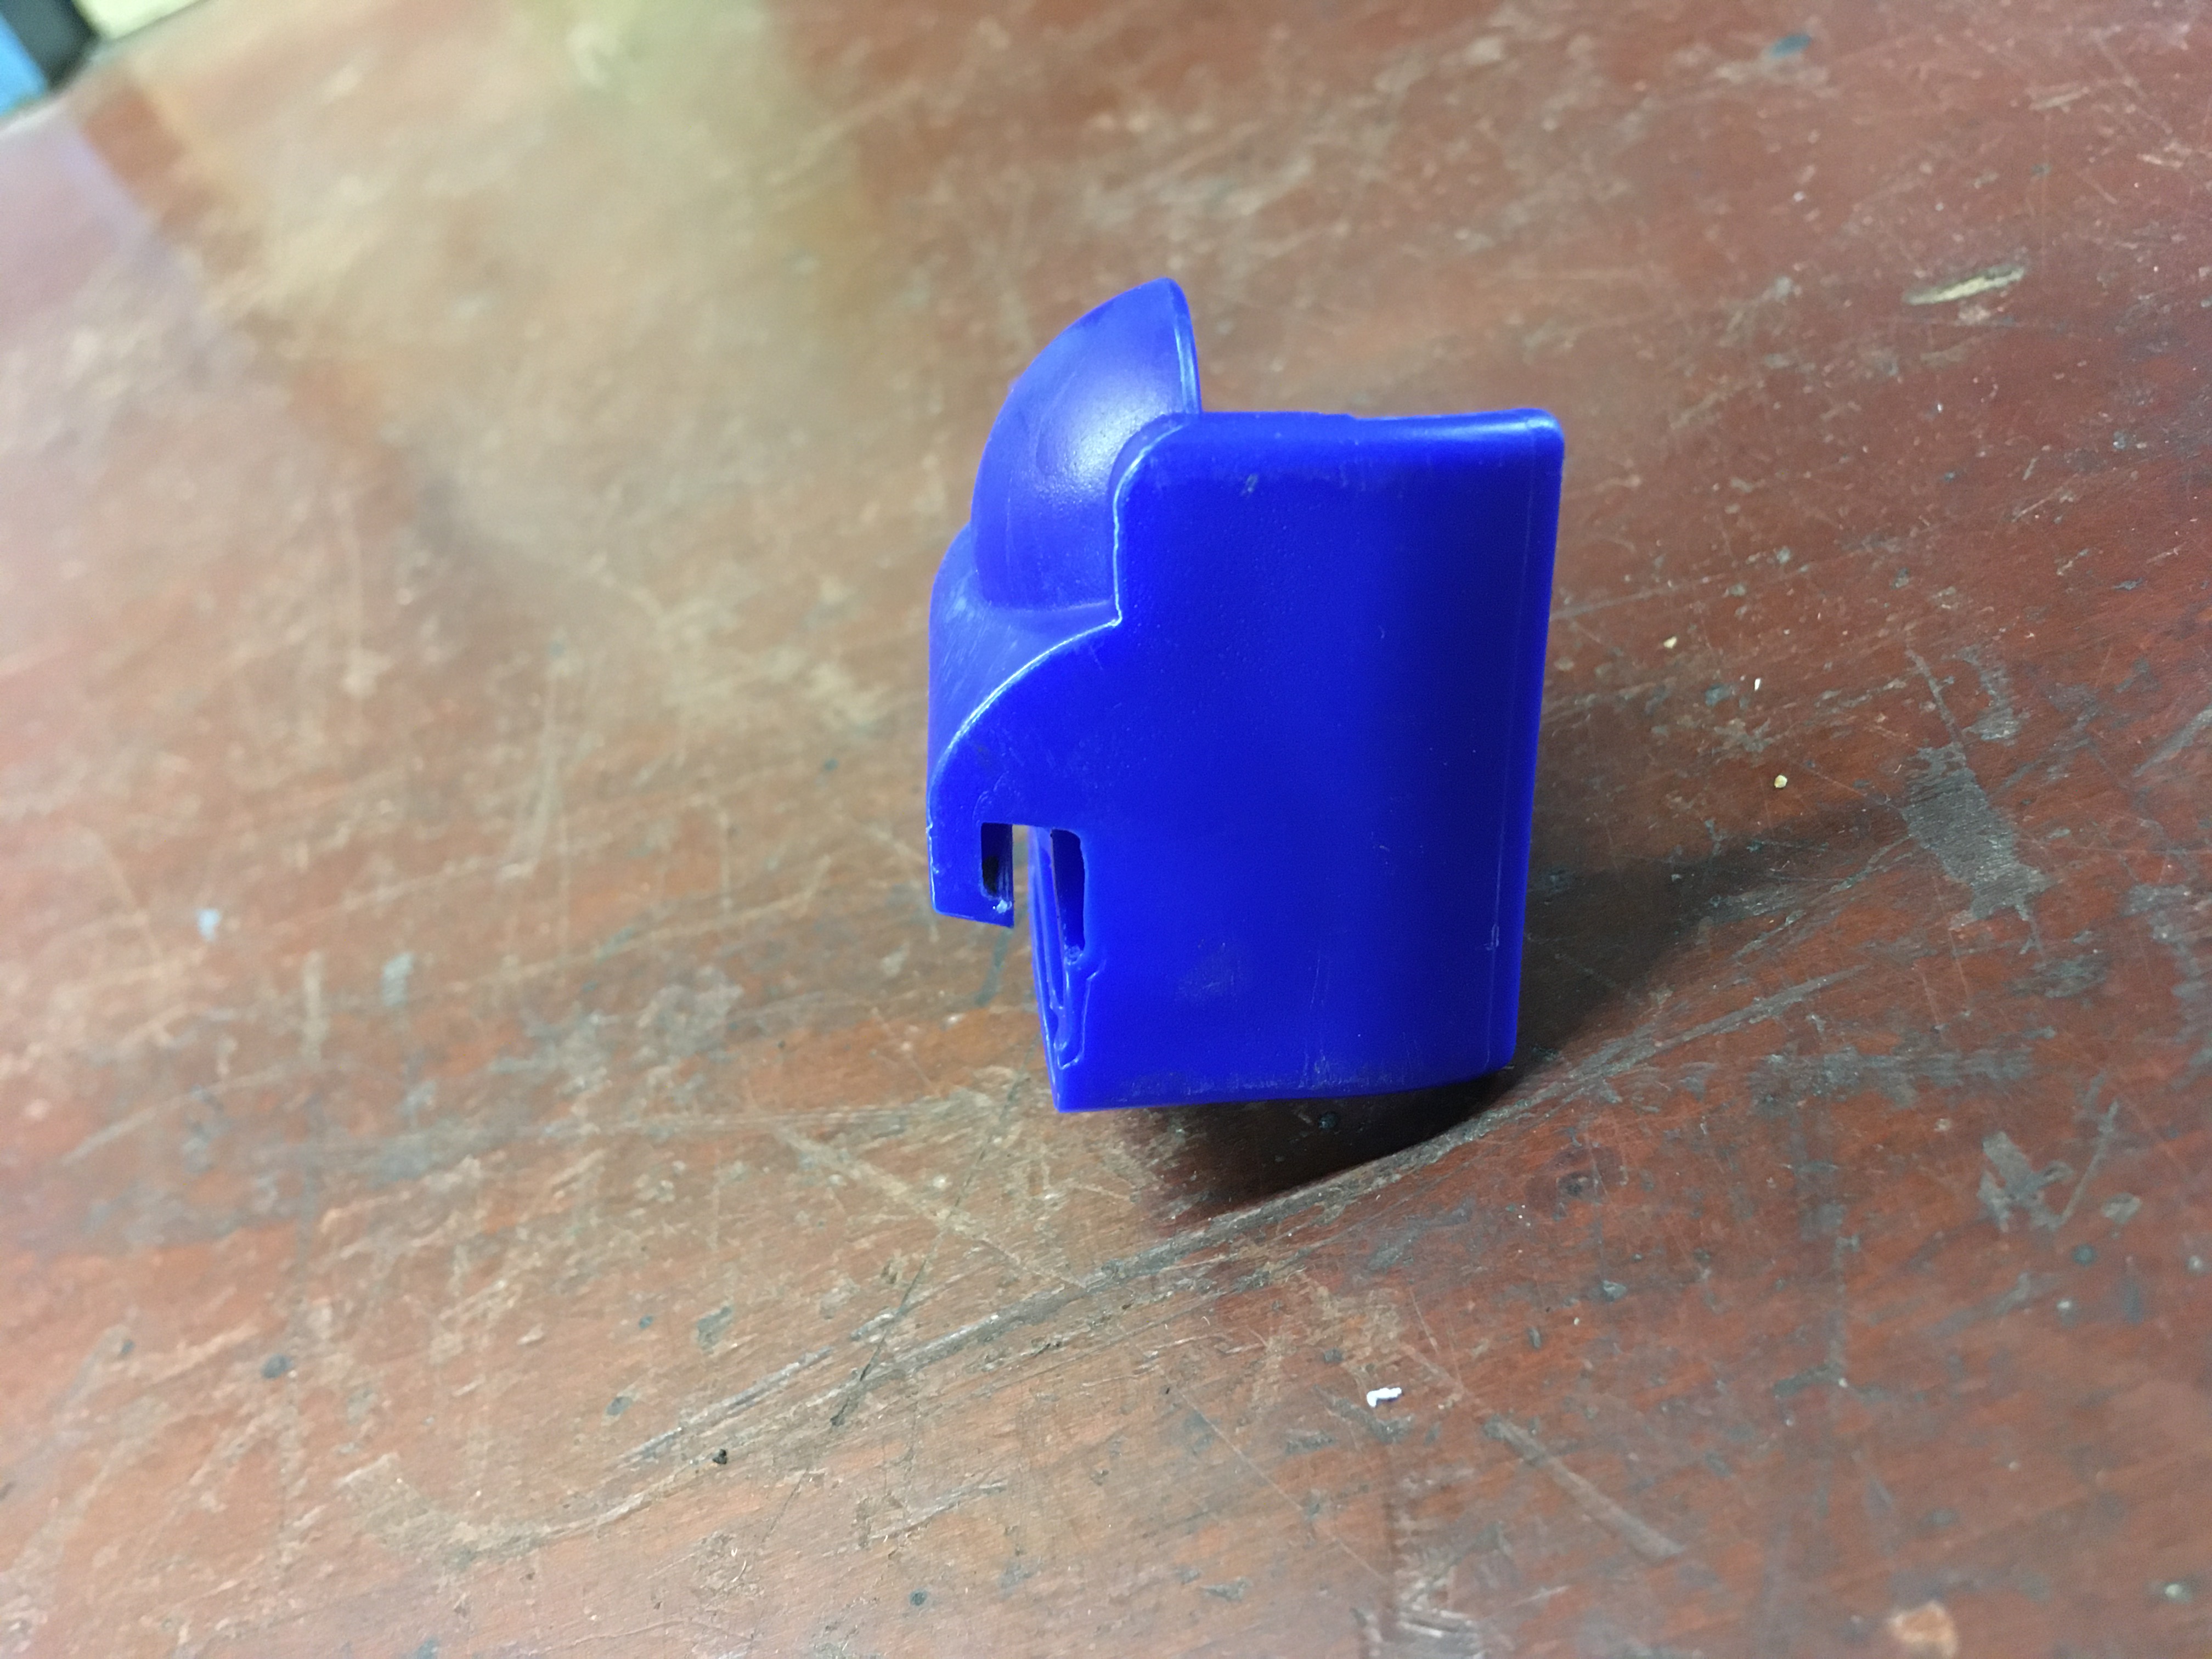
I then moved onto a brace of Bromptons with their smaller wheels. The first Brompton is a recent B75 model with a Schwalbe Marathon tyre and it was very easy to remove and refit the tyre. Next up was a friend's older Brompton which has been a nemesis in the past. It caused me to break two tyre levers a few years ago, so tight are its tyre and wheel combo!
The problem was that I couldn't get the tab under the bead. This tyre tread is a tough and inflexible thing. Due to the Rehook lever being 'L' shaped I couldn't get the tab under the bead as the tyre sidewall pushed against the handle. When I used two conventional levers to create a space, then I was able get the Glider under the bead and it worked fine. Refitting was also easy. If there had been two of us then maybe one could've squeezed the tyre enough to allow the other to get the Glider's tab in.
I also tried it with a 650B tubeless mountain bike wheel which uses a Stan's rim strip and needed its sealant refreshing. I found that because the strip and tyre bead had glued themselves together somewhat, I didn't particularly want to force them apart in case I damaged the rim strip. So I used a conventional tyre lever to ease them apart which felt the right way to do the job. Other than that, the Glider did its work well.
The only other issue that I've found is when removing a tighter tyre fully off a rim. Once you have undone the first bead, removed the inner tube then you push the second bead against the first side of the rim ready to lift over and off. This is where the 'L' of the tool becomes awkward as you can neither go easily under both beads to hook it nor can you go from the rim bed side to get in and under the bead easily. This is simple with a blade type lever...
Rehook Tyre Glider: value and conclusion
One of the considerations safety wise when working with wheels is if a tool slips then your hand can be accelerated and fired into the spokes or cassette. This can really hurt! When working with a conventional tyre lever this can happen particularly when a bit of pressure is needed. If this tool is placed correctly then it seems that it is more secure in its direction of motion. I was able to keep my fingertips closed in around the handle or when gripping the tab should the tool slip. It felt really secure in use to me.
At 21g it is roughly the weight of a single tyre lever and is pretty compact, so that is good, and at $16.99 / £12.99 it is reasonable value for money. It has lasted my testing without any significant marking or any breakage. It certainly works well with a tight tyre. If I was to keep it on my bike as part of that mini tool kit I would try it out on the bike at home first just to check that it 'liked' the tyre & rim pairing.
Will it replace my Pedros levers? No, however it is a great addition to my toolbox as the functions it does well with, it does really well. For me, I found it impressive the way that it dealt with tight tyres and I really liked its stability once located. For the odd job a straight tyre lever is still superior, however.

Thank you for reading 20 articles this month* Join now for unlimited access
Enjoy your first month for just £1 / $1 / €1
*Read 5 free articles per month without a subscription

Join now for unlimited access
Try first month for just £1 / $1 / €1
Get The Leadout Newsletter
The latest race content, interviews, features, reviews and expert buying guides, direct to your inbox!
Over 40 years cycling in a variety of disciplines including road riding, commuting, a self-supported Land's End to John o' Groats trip, XC mountain biking and several Polaris Challenge two-day events. Adventure, escape and fun are the motivations for my riding. I also love bike and kit design and have fillet brazed a couple of framesets using Reynolds 853 steel tubing for myself. A very satisfying experience to ride your own bespoke bike!
Height: 180cm
Weight: 66kg
-
 'This is the marriage venue, no?': how one rider ran the whole gamut of hallucinations in a single race
Kabir Rachure's first RAAM was a crazy experience in more ways than one, he tells Cycling Weekly's Going Long podcast
By James Shrubsall Published
-
 Full Tour of Britain Women route announced, taking place from North Yorkshire to Glasgow
British Cycling's Women's WorldTour four-stage race will take place in northern England and Scotland
By Tom Thewlis Published
-
 Positive signs for UK bike industry as Halfords cycling sales grow
Retailer admits that the impact of Donald Trump's tariffs remains to be seen
By Tom Thewlis Published