Voilamart 48V Rear Wheel e-bike conversion kit review - cheap and powerful; requires waterproofing
A low cost way of getting e-assistance on your current bike. Although the set up is straightforward, it does require additional waterproofing
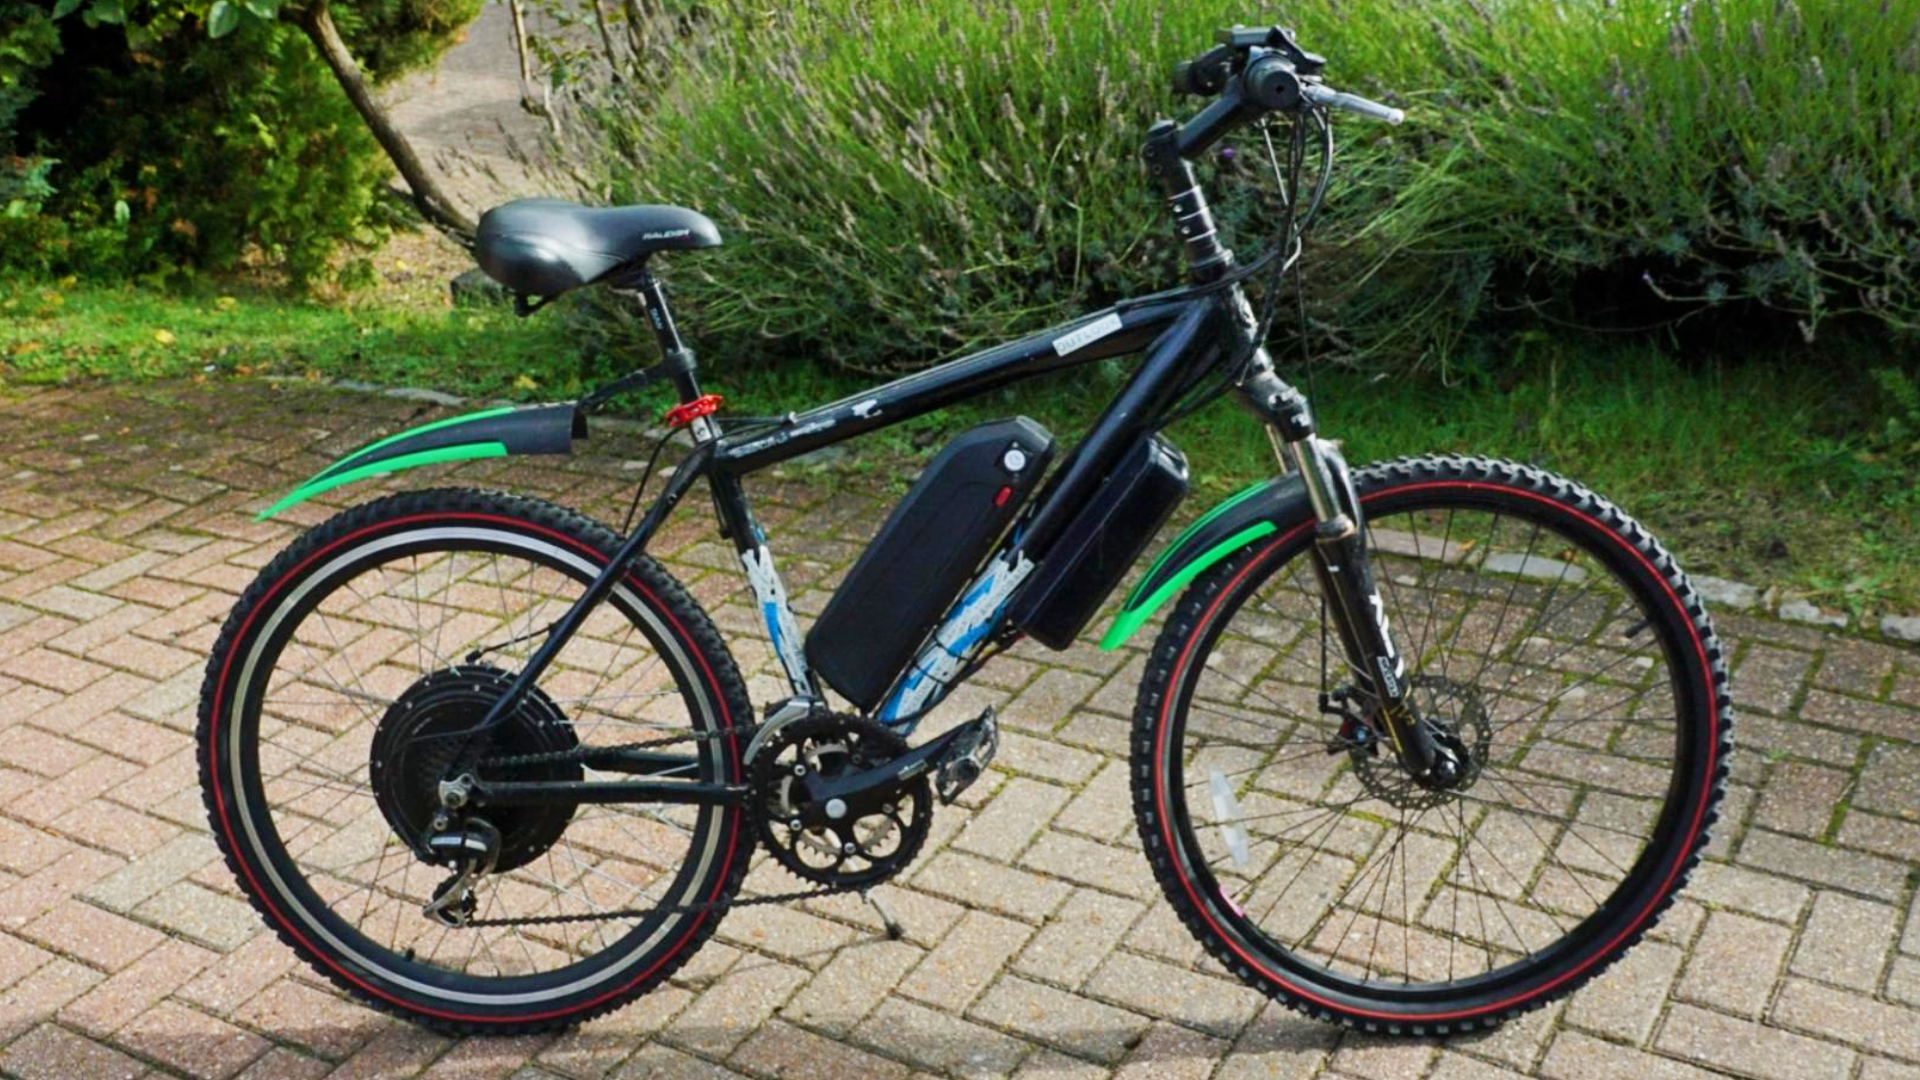
An unrefined kit with lots of welly. Some of the components are a bit cheap and cheerful and it’s not waterproof out of the box – but it's easy enough to fix this (we explain how) and the result is a great low-cost option if you already have a bike to convert.
-
+
Inexpensive
-
+
Lots of power
-
+
Quality replacement metal brake levers
-
+
Clear easy to use screen
-
-
Unrefined power blending
-
-
Some components a bit cheap and plasticky
-
-
Need to remove pedal crank to fit pedal sensor
-
-
Not waterproof out of the box
-
-
Controller box to house on frame
You can trust Cycling Weekly.
The Voilamart e-bike conversion kit is designed to be a low cost way to convert your existing push bike into a powered version. The kit works by replacing your rear wheel with one that contains a motor.
Like the best e-bike conversion kits, this is aimed at cyclists who have some mechanical knowledge and want an e-bike for a bargain price.
The kit comes in six main parts. The replacement rear wheel, the replacement brake levers, the control screen, pedal sensor, throttle and the control box. The kit does not come with a battery so make sure you factor that in when costing out a kit. Also make sure you get the correct sized wheel to replace your existing one.
The Build: Voilamart 48V Rear Wheel e-bike conversion kit
If you’re familiar with basic bike maintenance, fitting the kit can be done in an afternoon. You will need to remove your existing rear wheel, remove the cassette and fit it to the replacement wheel or fit the cassette provided in the kit. The new wheel should just slot in, however, it’s advisable to fit a torque arm to protect your frame from damage when the motor engages. Sadly the kit does not include one to these, but they can be sourced very cheaply online.
To ensure the motor is not running whilst you are braking, the kit includes replacement brake levers. These have microswitches in them that tell the controller when they are activated. The levers are metal and feel good quality - a real bonus if you have cheap ones already on your donor bike.
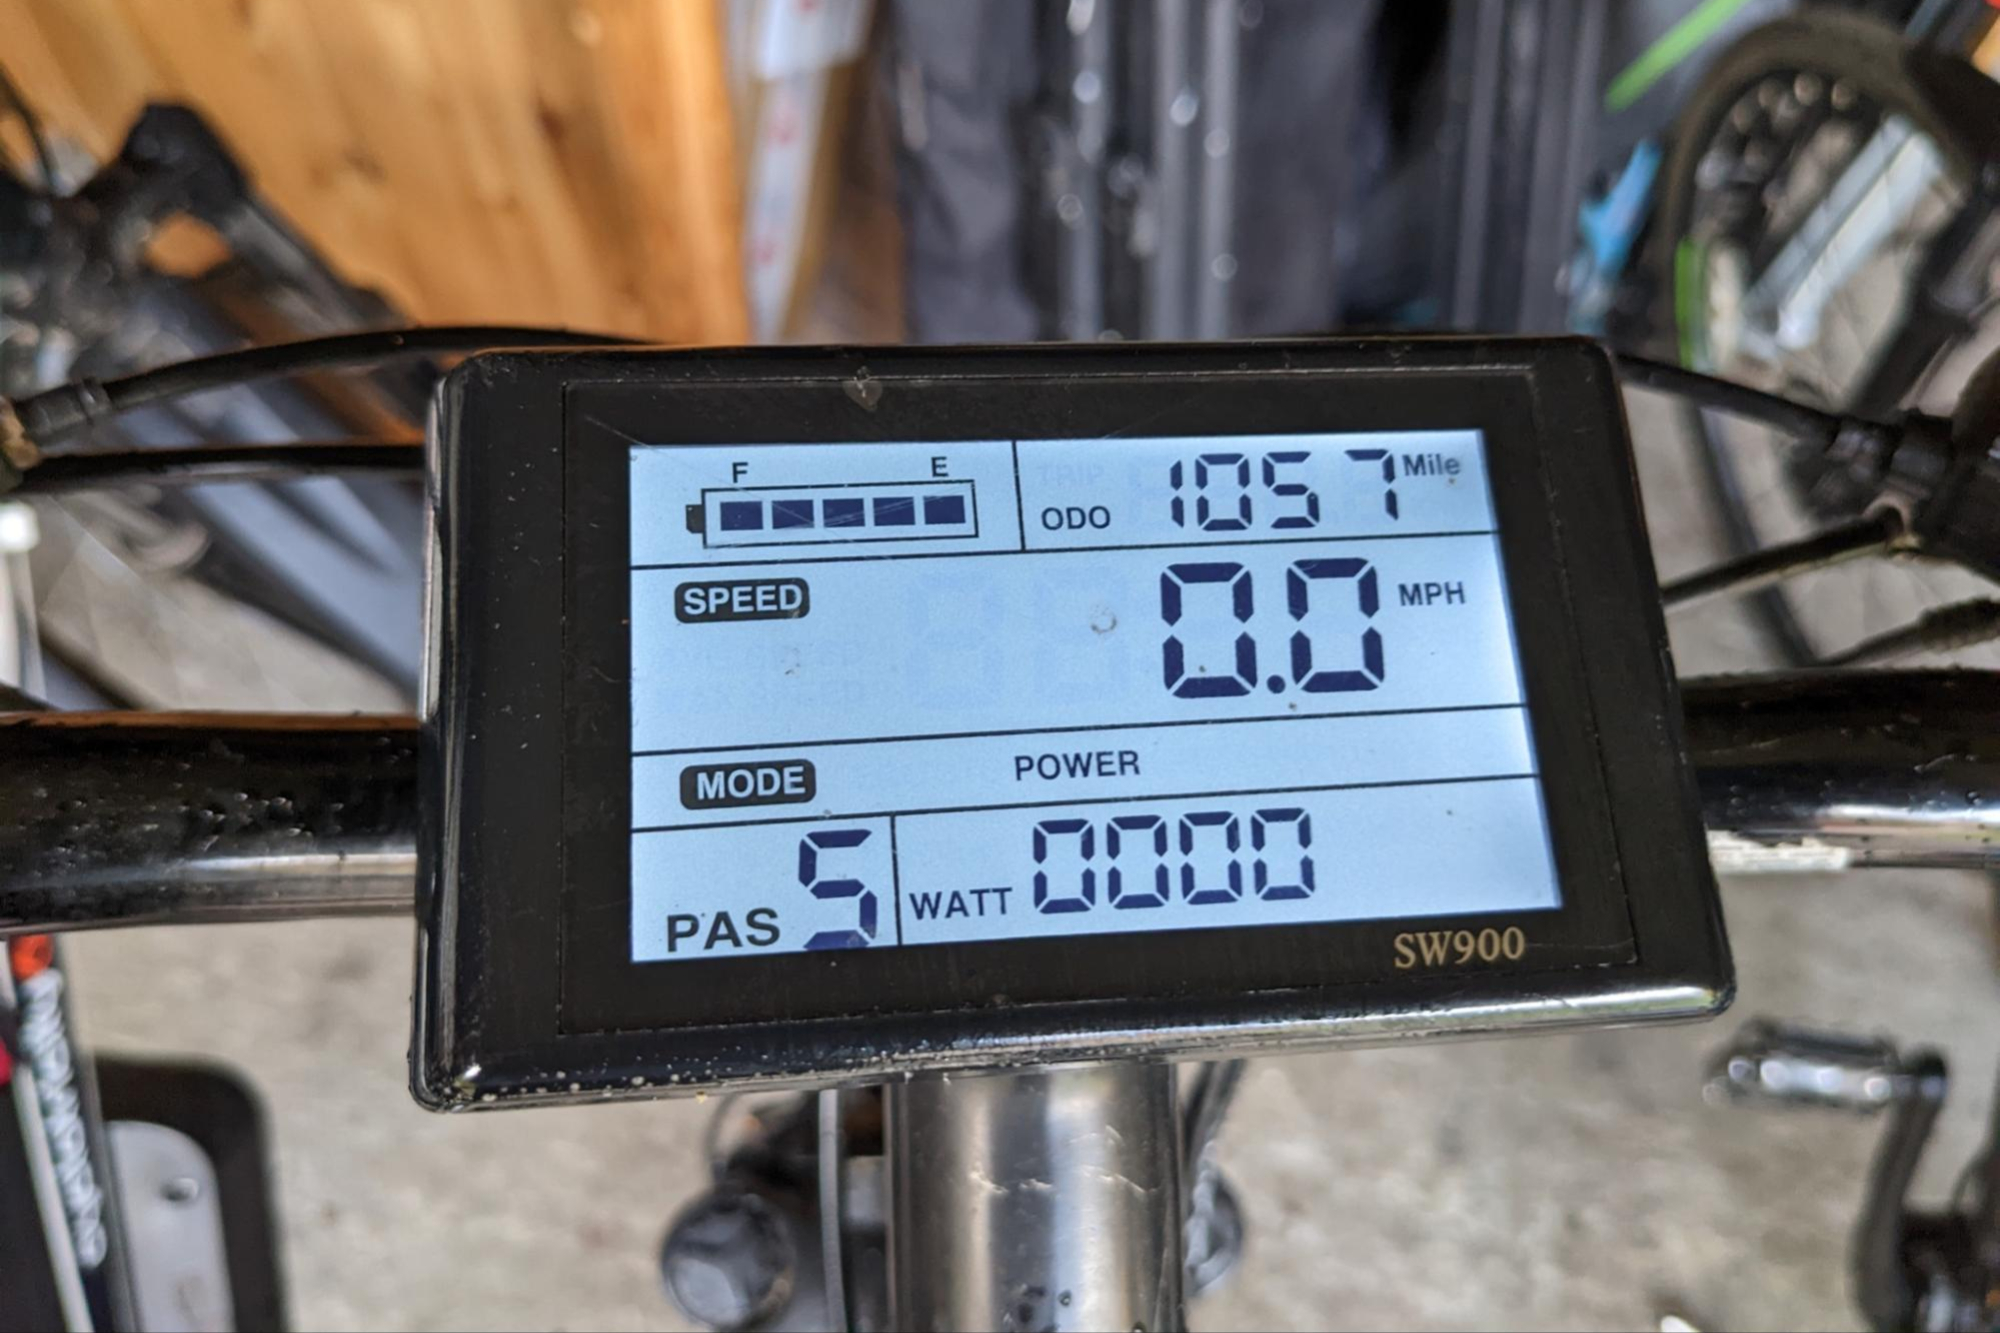
The backlit screen shows you important information such as your speed, battery level and if there are any faults on the system. It attaches to the handlebars and has a separate controller switch.
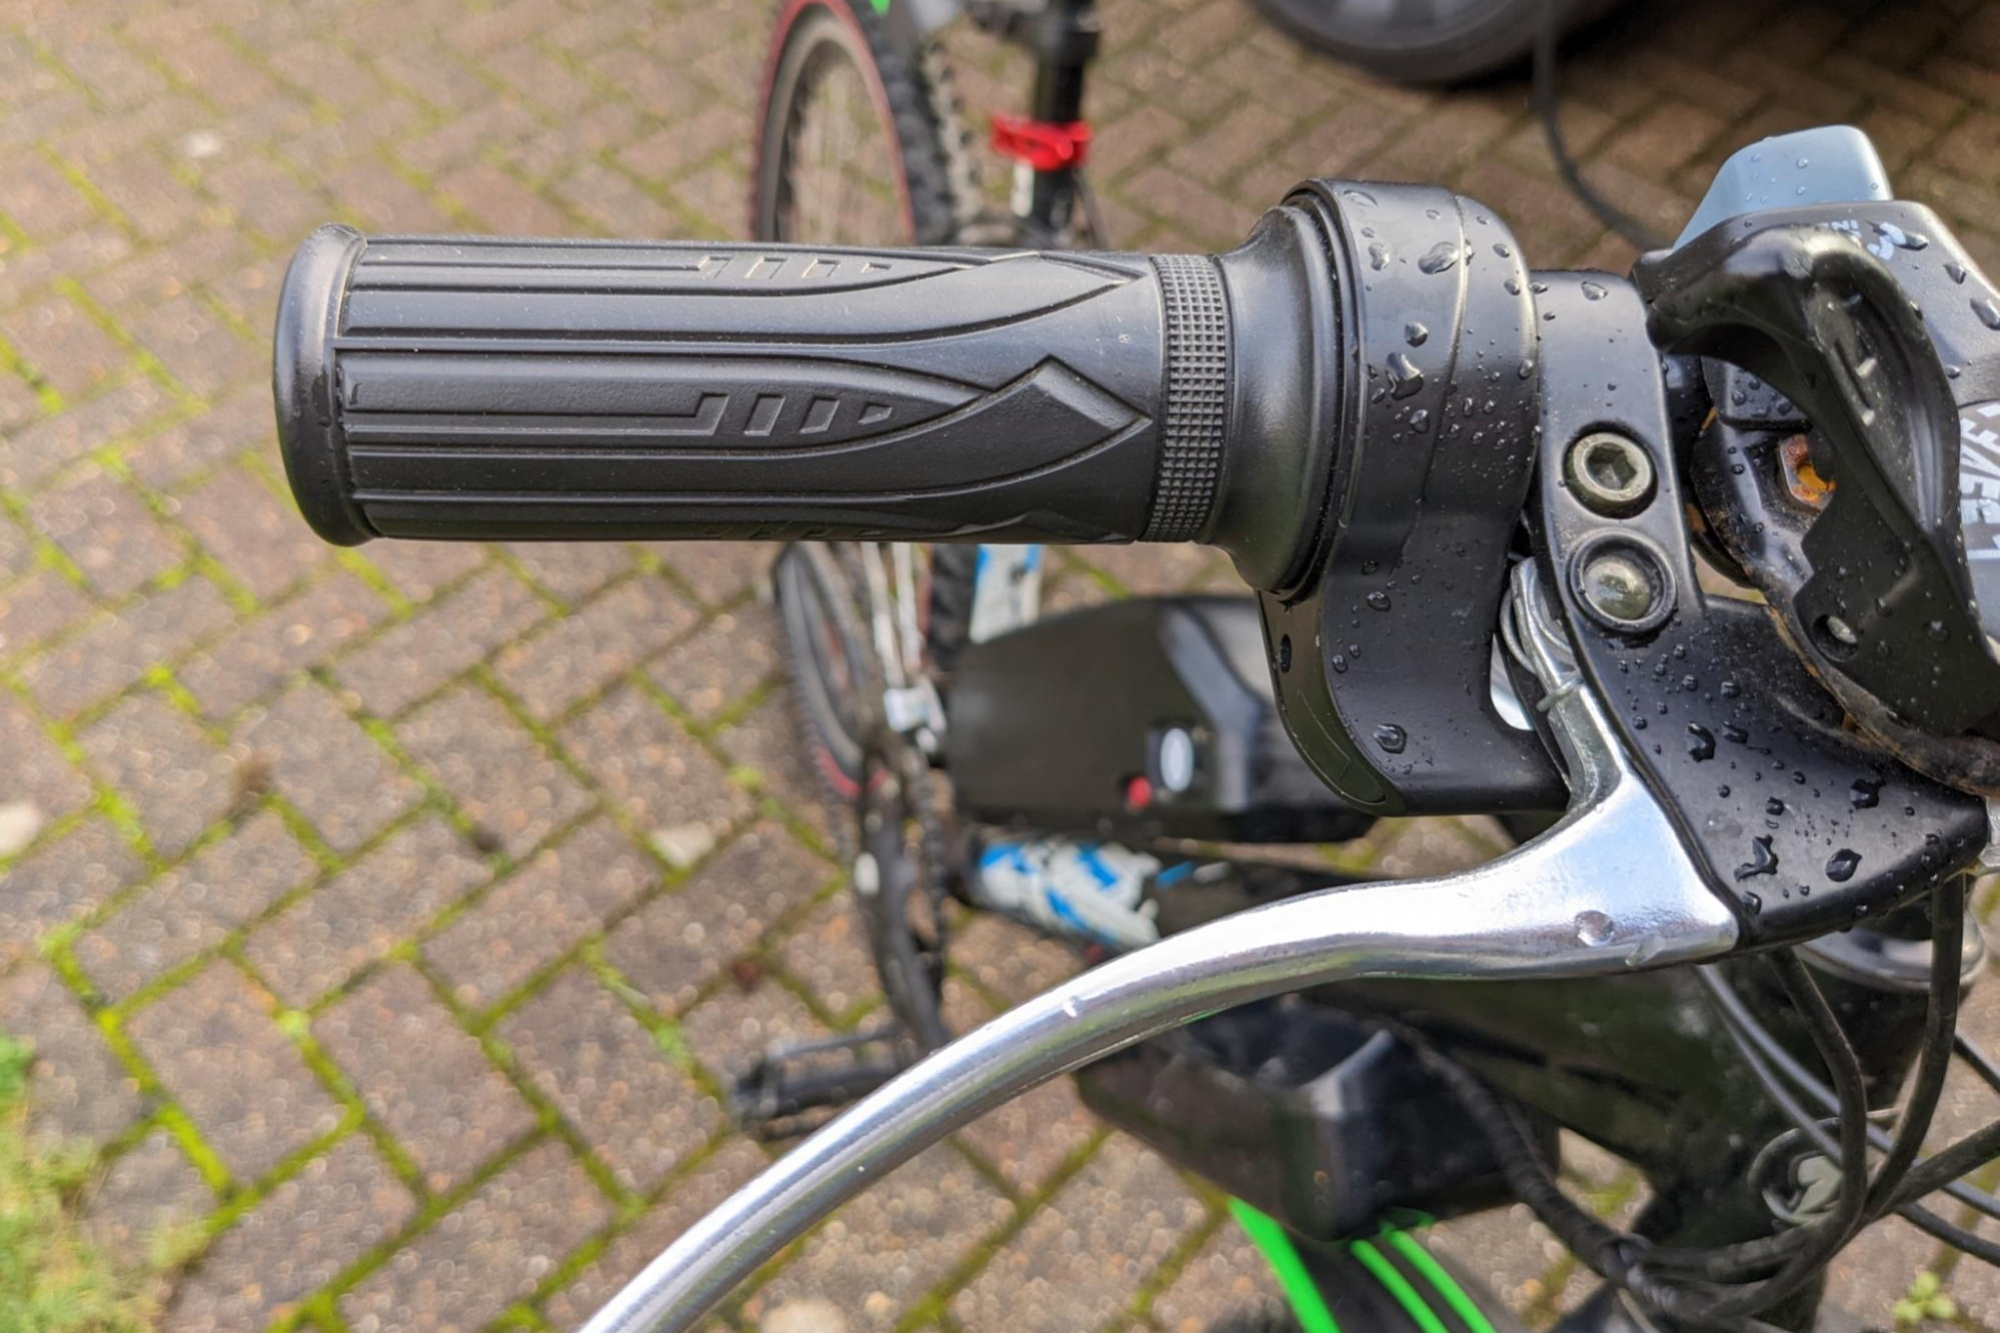
You have an optional twist throttle which replaces your existing hand grip and works in a similar way to a motorbike throttle. The kit includes a grip for the other side so everything matches. These are a bit cheap and I have had to replace mine once as I twisted it with a bit too much enthusiasm. However replacements are cheap and easy to find.
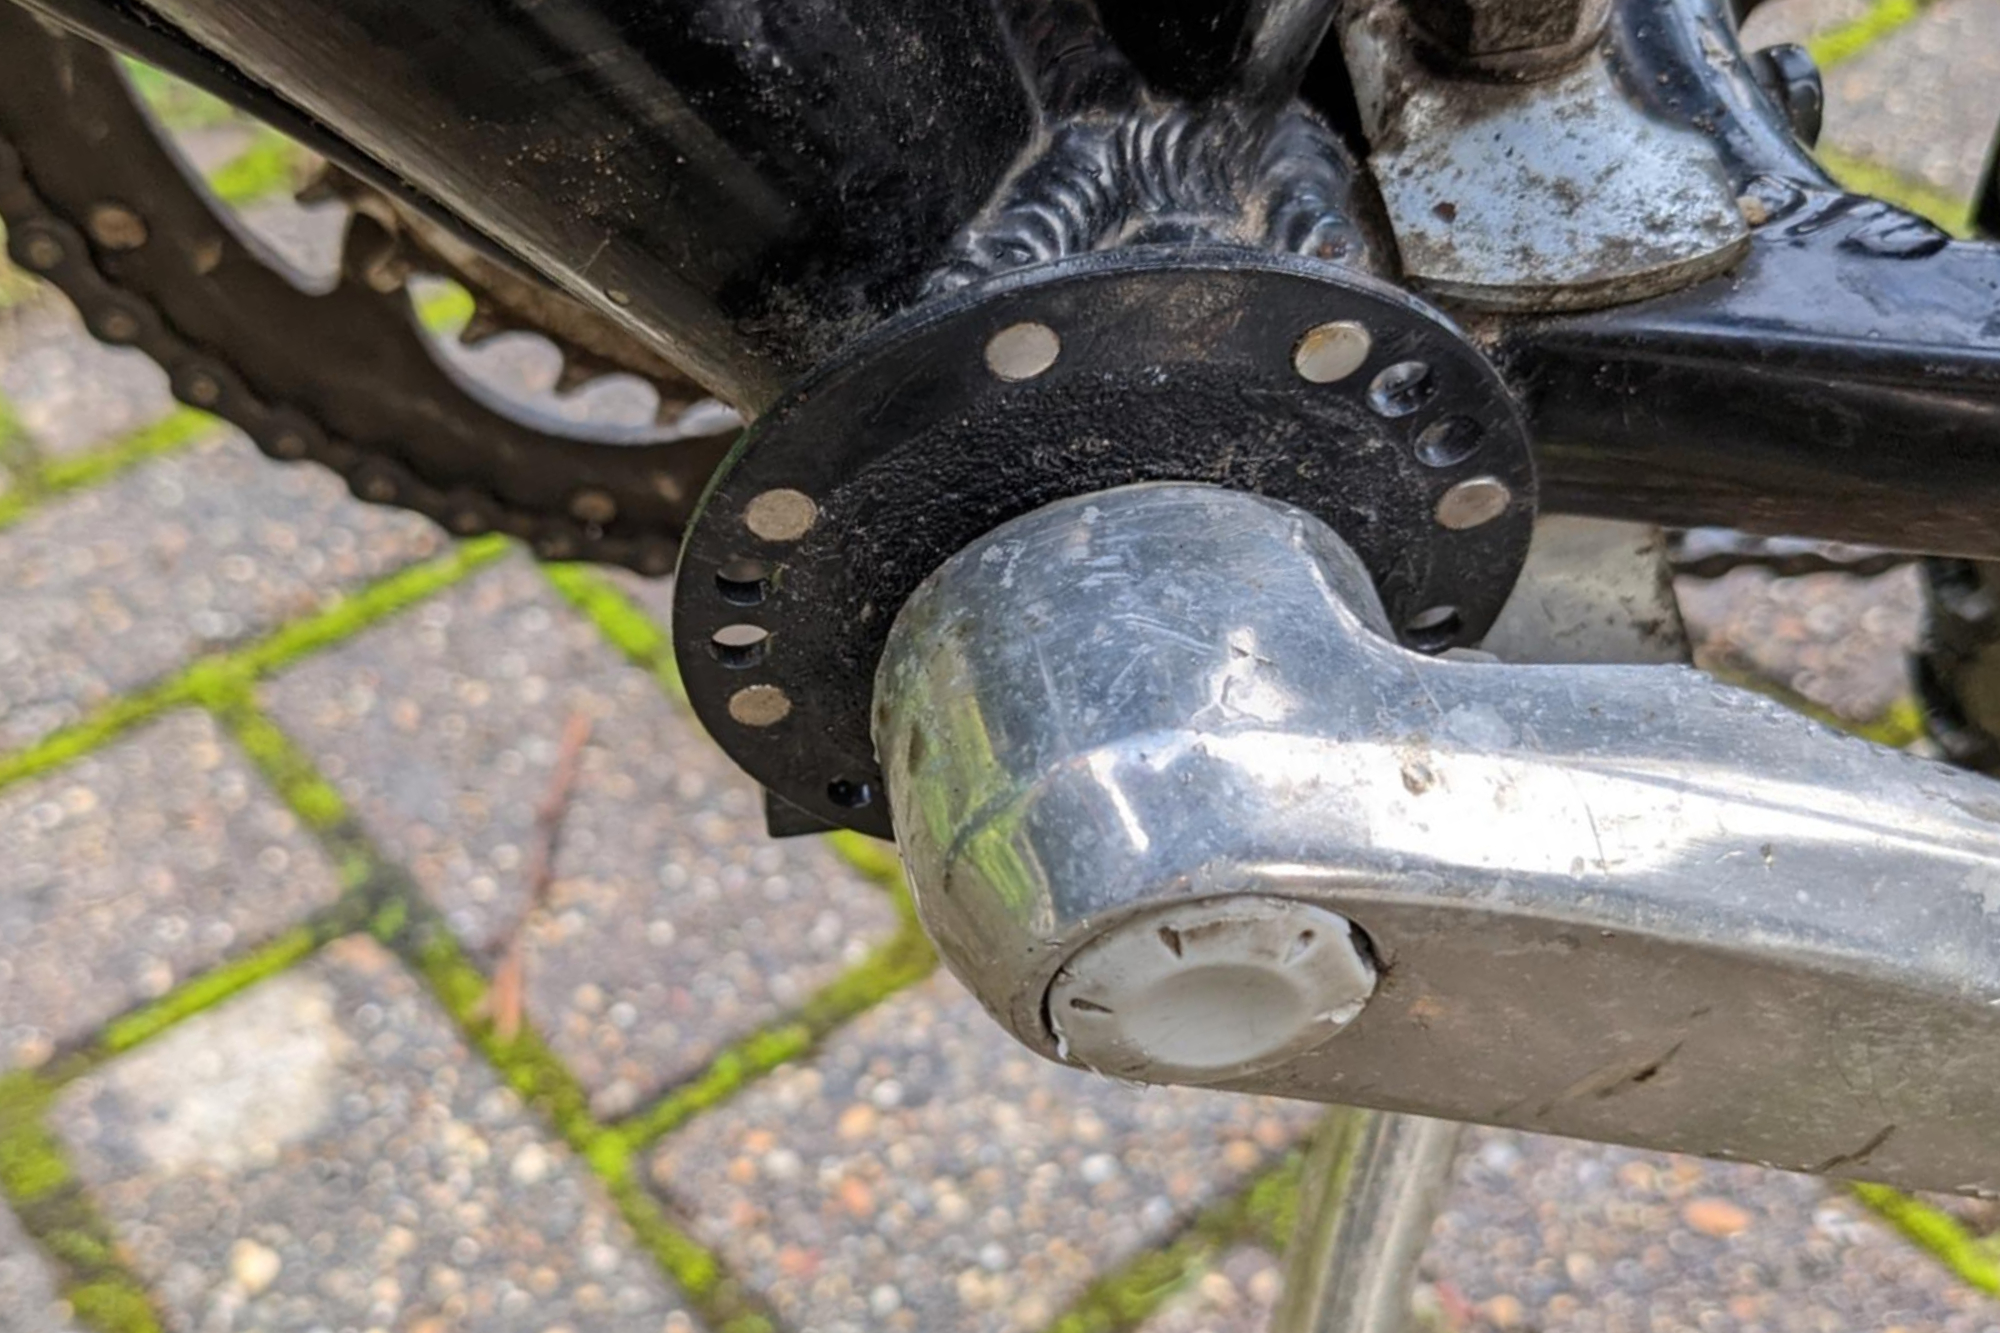
The pedal sensor comprises of a plastic disc you slide on your pedal shaft and an electronic sensor attached to a metal ring that you need to fix to the surround of your bottom bracket. The instructions recommend using superglue. This can be a bit fiddly. I actually ended up glue gunning my sensor to the underside of the frame as I didn’t have enough clearance to accommodate the metal ring.
The fitting process does involve removing the pedal crank which is a bit of a pain, but if you have the correct tool, isn’t too painful. One thing about this design is it is a bit vulnerable to damage and I have had to re-fit mine a few times when going off-road.
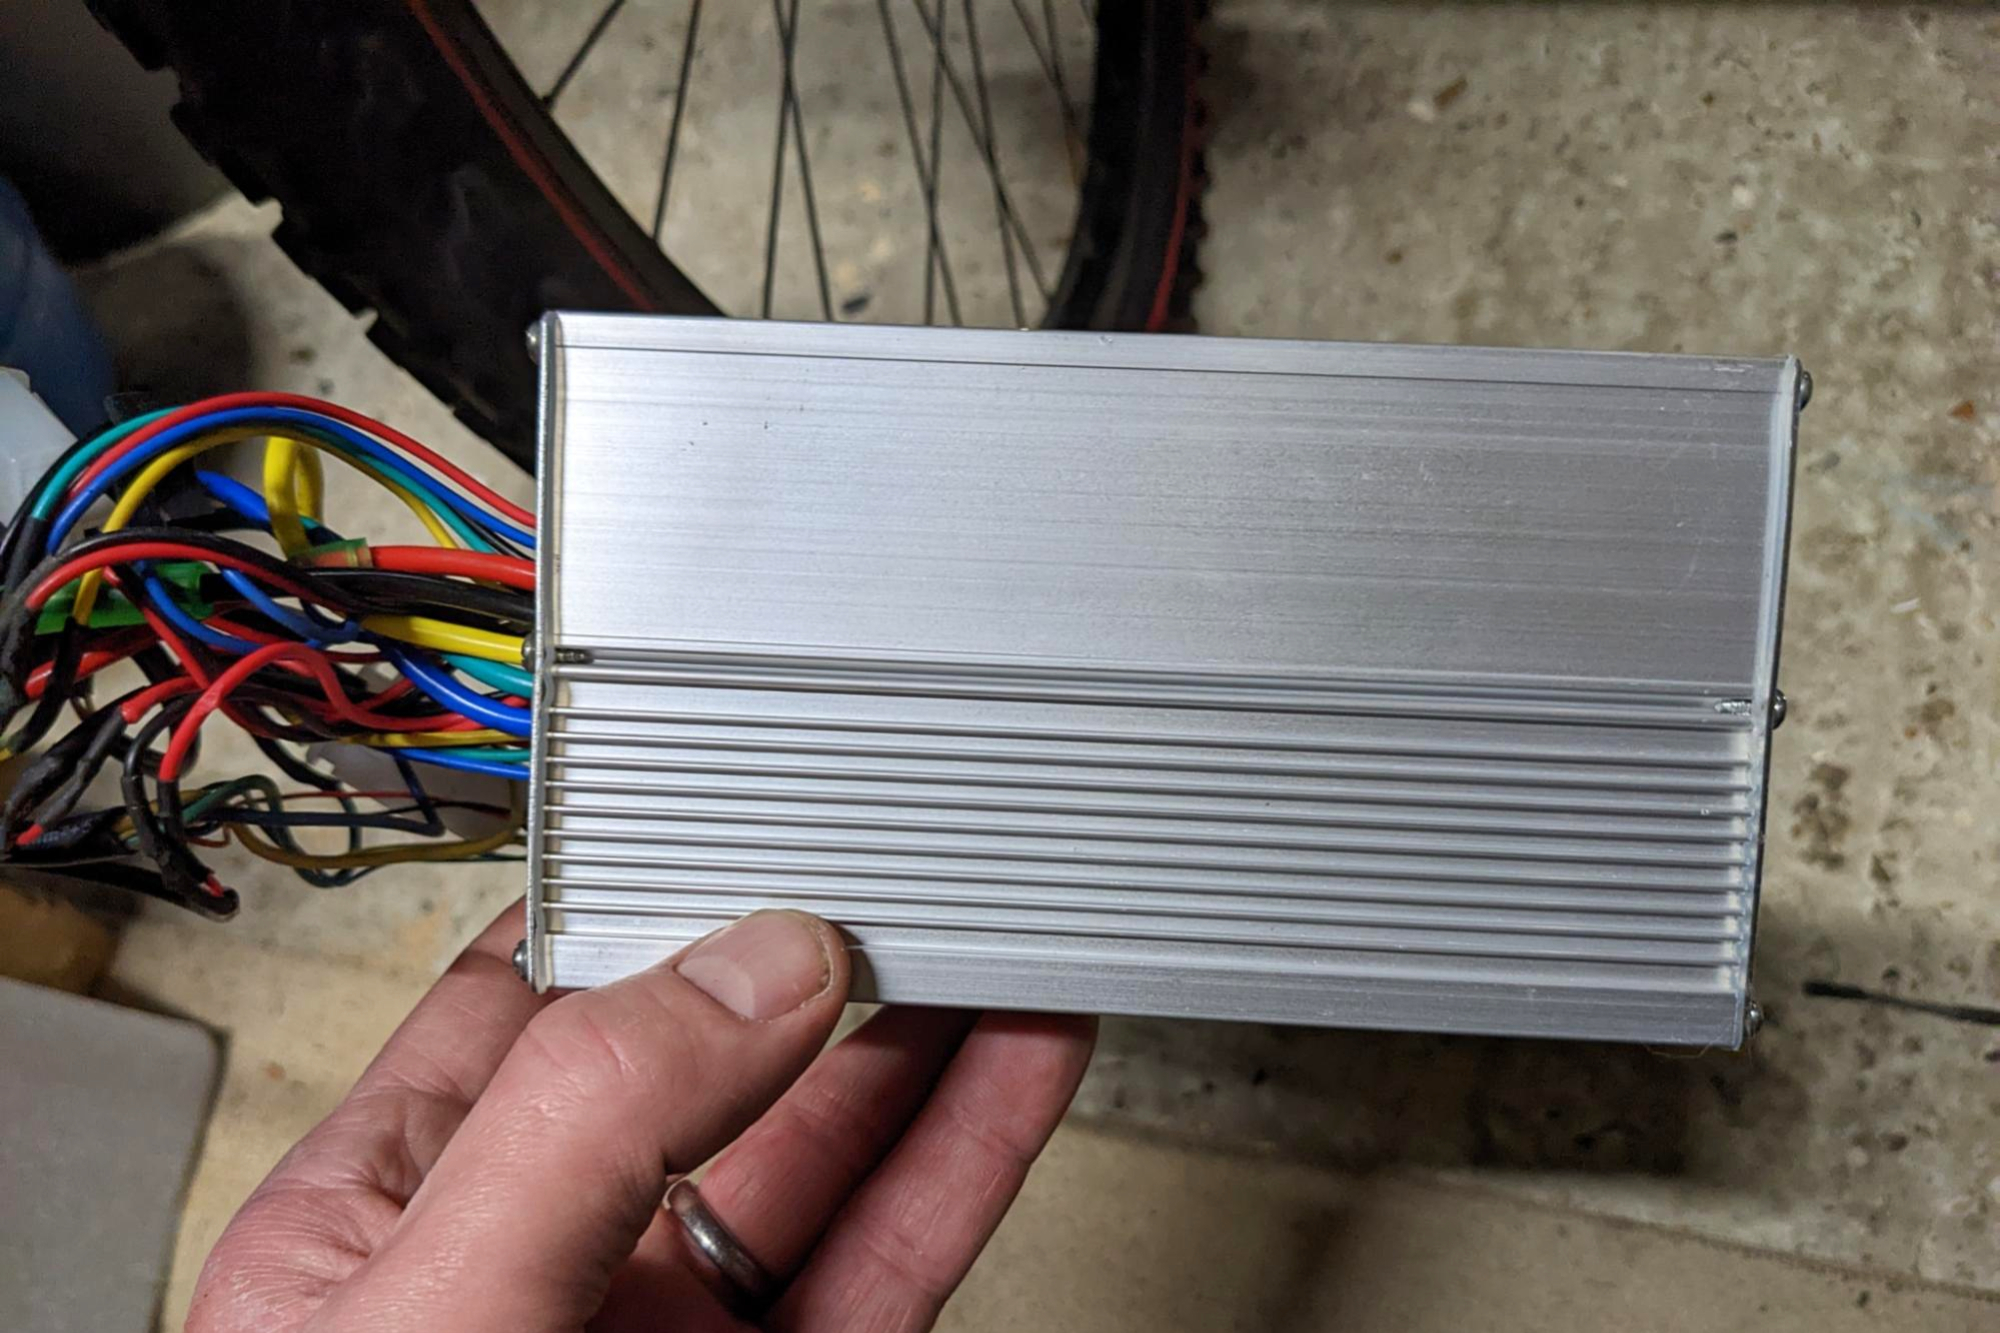
All of these components, along with the battery connect to the control unit. The kit comes with a soft bag to contain this. It allows you to put any excess cabling in there as well, which helps make the kit look neat. However, this brings me on to one of the disadvantages of the kit which is that it isn’t weatherproof. All the connectors are not waterproof and the bag does not seem a great way to protect delicate electronics.
I ended up buying a plastic enclosure, cutting the wires to length and soldering all the connections and then used heat shrink to protect them against the environment.
The Ride
Although the kit is sold with a 1000W motor, this is limited to 250W in the UK to comply with the local regulations on e-bikes and their maximum power outputs.
Even so, you certainly know you’ve got some assistance – I had an absolute ball riding this set up.
One point to note is that, although the pedal sensor is there to detect whether you are pedalling or not – so it knows when to apply the power – there is absolutely no proportionality to the assistance you get: it delivers the power as soon as you turn the pedals and no matter how hard you're pedalling.
You can, however, adjust the level of assistance from the mode control on your screen which allows you to choose from levels 0 to 5. 0 being nothing and 5 being kick up the backside!
One gripe I have is when you use the breaks, the screen displays an 'error code 2' which – if you look it up – just means that the brakes are engaged. This is a bit disconcerting, especially as I would argue that this technically isn't an error, just the system doing what it's supposed to do.
Range obviously depends on many variables including your weight, the bike, how much you use the assistance and your battery. But as a guide, I weigh 100kg (220lbs) and tend to use the maximum assistance a lot.
My battery is a 13Ah and I typically get 12 miles of full power assistance with lots of hills. Obviously, if you drop the assistance level and ride along the flat, that range goes up dramatically.
Value
This is certainly one of the cheapest ways to go electric. The kits are readily available and spares easy to come by. At a little more than $300 and a little less than £300, you can’t complain. A battery is going to set you back about $200 / £200 and if you already have a bike kicking around, you can get a very powerful electric bike for about half a grand.
Verdict
The kit is a little unrefined with its on/off power delivery and the fact it isn't waterproof out of the box. But it is easy enough to do the waterproofing yourself and the kit is quite simple to fit.
The upside of all this is that the kit is very cheap and cheerful – if you want an e-bike conversion on a budget, this is a great option and will have you zipping around with ease.

Thank you for reading 20 articles this month* Join now for unlimited access
Enjoy your first month for just £1 / $1 / €1
*Read 5 free articles per month without a subscription

Join now for unlimited access
Try first month for just £1 / $1 / €1
Get The Leadout Newsletter
The latest race content, interviews, features, reviews and expert buying guides, direct to your inbox!
Leigh Emmerson is an engineering graduate and self-confessed gadget addict. His love of technology and cycling intersected in 2015 when he bought his first e-bike. After a lot of miles and a lot of fun, he decided it was time to upgrade to a higher spec model.
It was then he came to the realization that the best way to get a better spec e-bike – without spending a fortune – was to build it himself!
This has since become a bit of an obsession, as he continues converting bikes to electric with various kits. Much to his partner’s annoyance, he rarely gets round to selling them afterwards – which is why his double garage has no space for a car. It’s full of bikes.
-
 'This is the marriage venue, no?': how one rider ran the whole gamut of hallucinations in a single race
Kabir Rachure's first RAAM was a crazy experience in more ways than one, he tells Cycling Weekly's Going Long podcast
By James Shrubsall Published
-
 Full Tour of Britain Women route announced, taking place from North Yorkshire to Glasgow
British Cycling's Women's WorldTour four-stage race will take place in northern England and Scotland
By Tom Thewlis Published
-
 Positive signs for UK bike industry as Halfords cycling sales grow
Retailer admits that the impact of Donald Trump's tariffs remains to be seen
By Tom Thewlis Published