Suffering with clunky bike gears? Follow our simple guide to diagnose problems and fix your shifting
Smooth and efficient bike gears can make all the difference to the enjoyment and ease of a ride. Although they seem complicated, getting your gears running properly is actually quite simple
Cat Glowinski
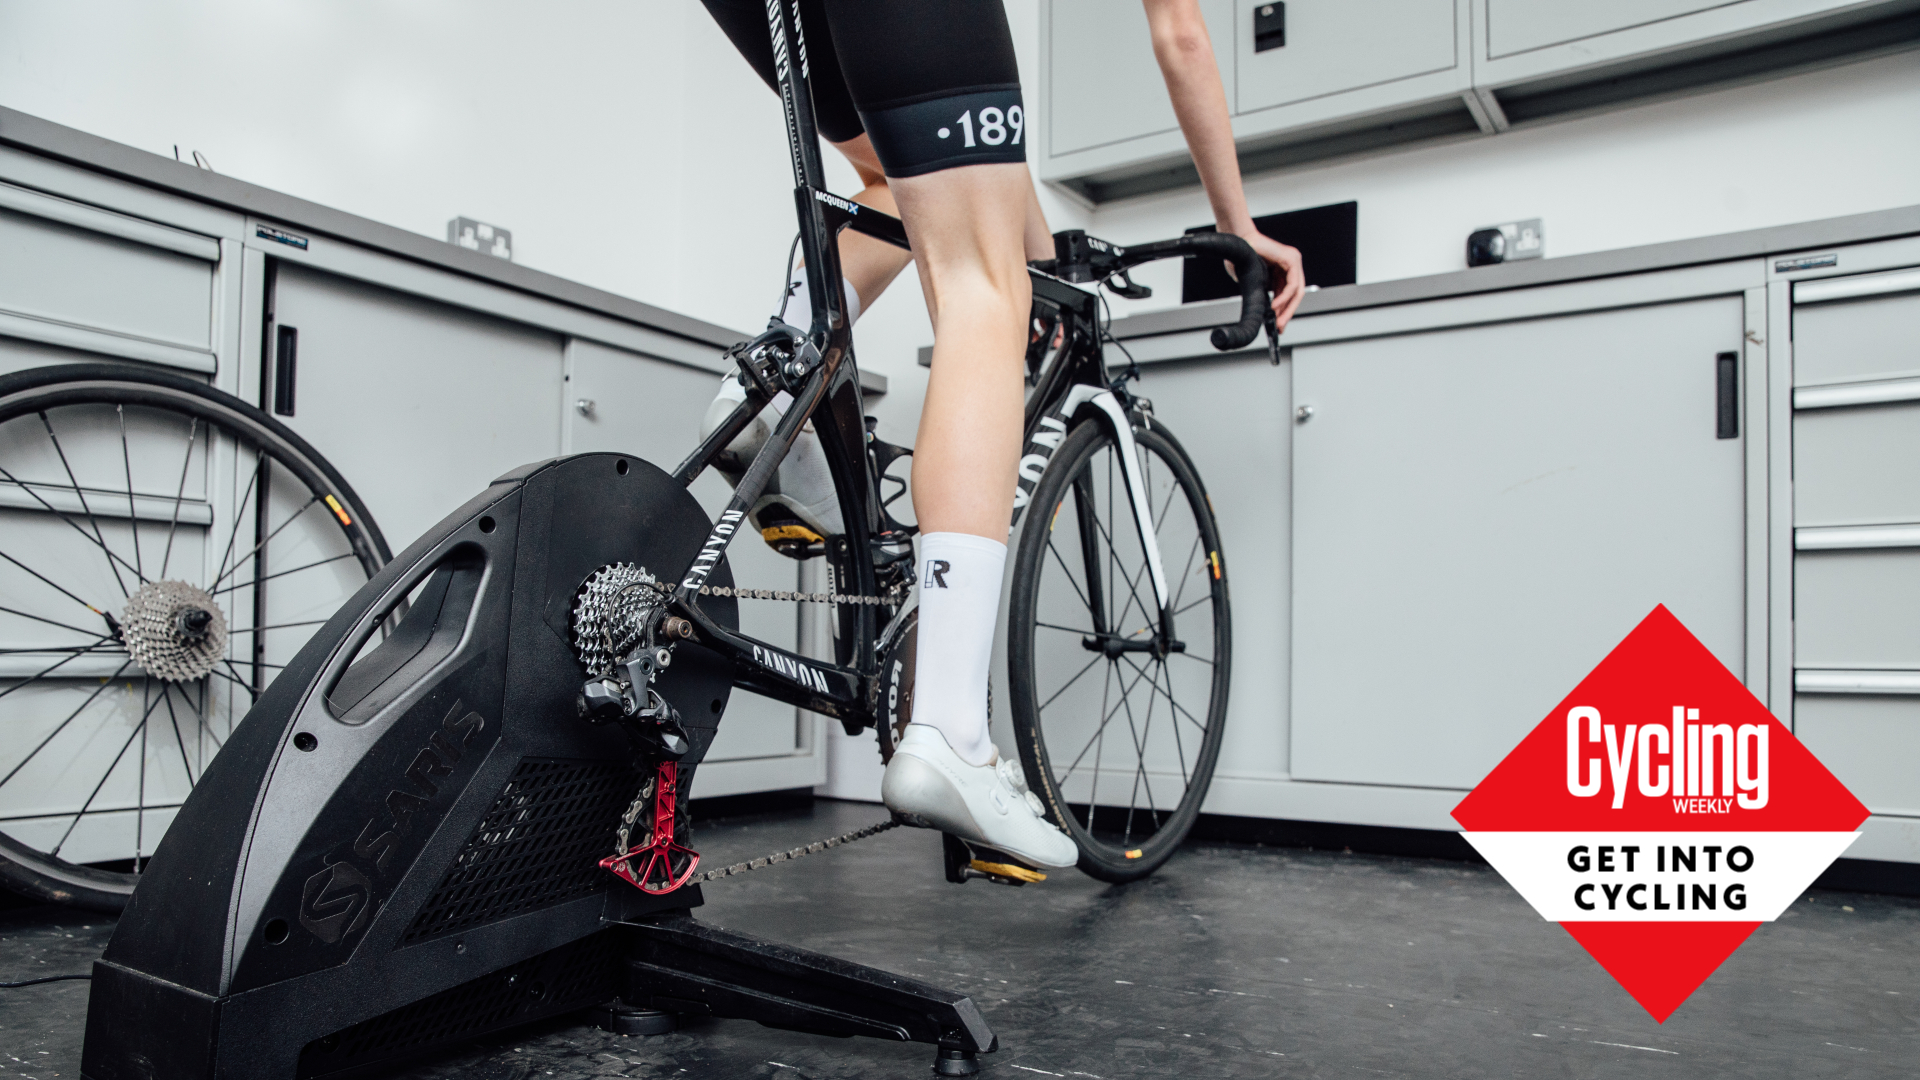
Poorly indexed gears, and the jumping or sluggish shifting that occurs alongside them, can really dampen the ride experience, but our step-by-step guide will show you how to adjust your bike gears to get them running smoothly.
Like your brakes, gears on your road bike groupset rely on correct adjustment and the smooth operation of cables to work well.
Whether your bike is just in need of some TLC after a heavy winter, you're dusting off your old steed from the back of the garage, or you're buying a second hand bike as your first road bike, clunky gears are a common but fairly simple to fix issue despite how complicated it can appear.
Continue reading to find out how to make these adjustments and get your gears working properly.
How do bike gears work?
Modern gears are indexed — that is to say, as you single-click the left or right shift lever, the front or rear derailleur moves the chain up or down onto the corresponding sprocket or chainring. It should do this effortlessly and without any fuss.
Once pedalling, the chain should not slip onto another sprocket or struggle to remain in the chosen gear. And when the gears are working smoothly, the chain should not be able to shift past the largest or smallest sprocket on the cassette, or off the chainrings (known as dropping your chain).
Incorrect derailleur (or 'mech') adjustment may not sound as dangerous as ineffective brakes, but having a derailleur slip into your spokes, a chain come off the front chainring as you're putting power through the pedals, or even your gears slip, can potentially result in an accident.
The latest race content, interviews, features, reviews and expert buying guides, direct to your inbox!
You don't need complicated tools to set up or adjust your gears, just a small Philips screwdriver and an Allen key set - the best multi-tools should have you covered if you don't have a dedicated set of Allen keys.
Why are my bike gears not shifting properly?
There are a number of reasons for poorly shifting gears and a few common issues you may encounter.
If your bike's drivetrain is noisy or feels slightly rough, it's possible that a good clean of the drivetrain could do the trick. If this doesn't fix things, the shifting is slow or sticky, or the chain is jumping around, then there's something else going on.
Before you start working on your gears it's a good idea to check your gear cables are running smoothly. If the cables are old or dirty they may not move freely and this will impact your ability to adjust your gears effectively. It can also lead to confusion, as you may think that you need to adjust the tension on your cable, when in fact movement is impaired by grime.
If you're in doubt about the state of the cables, or know it's been a long time since they were last replaced, it's worth replacing both the inner gear cable and outer housing before you start.
Another consideration is the condition of your bike's components. The cassette, chain and chainrings all wear together, although a chain should be replaced more frequently. It's far cheaper to replace a chain at regular intervals than let it become so worn that it accelerates wear on other, more expensive, components.
Chain wear indicators are handy and inexpensive tools that measure stretch and indicate the percentage of wear, alerting you to when it's time to fit a new one. Bike chain manufacturers normally recommend replacing a bike chain when it reaches 0.5% to 0.75% wear.
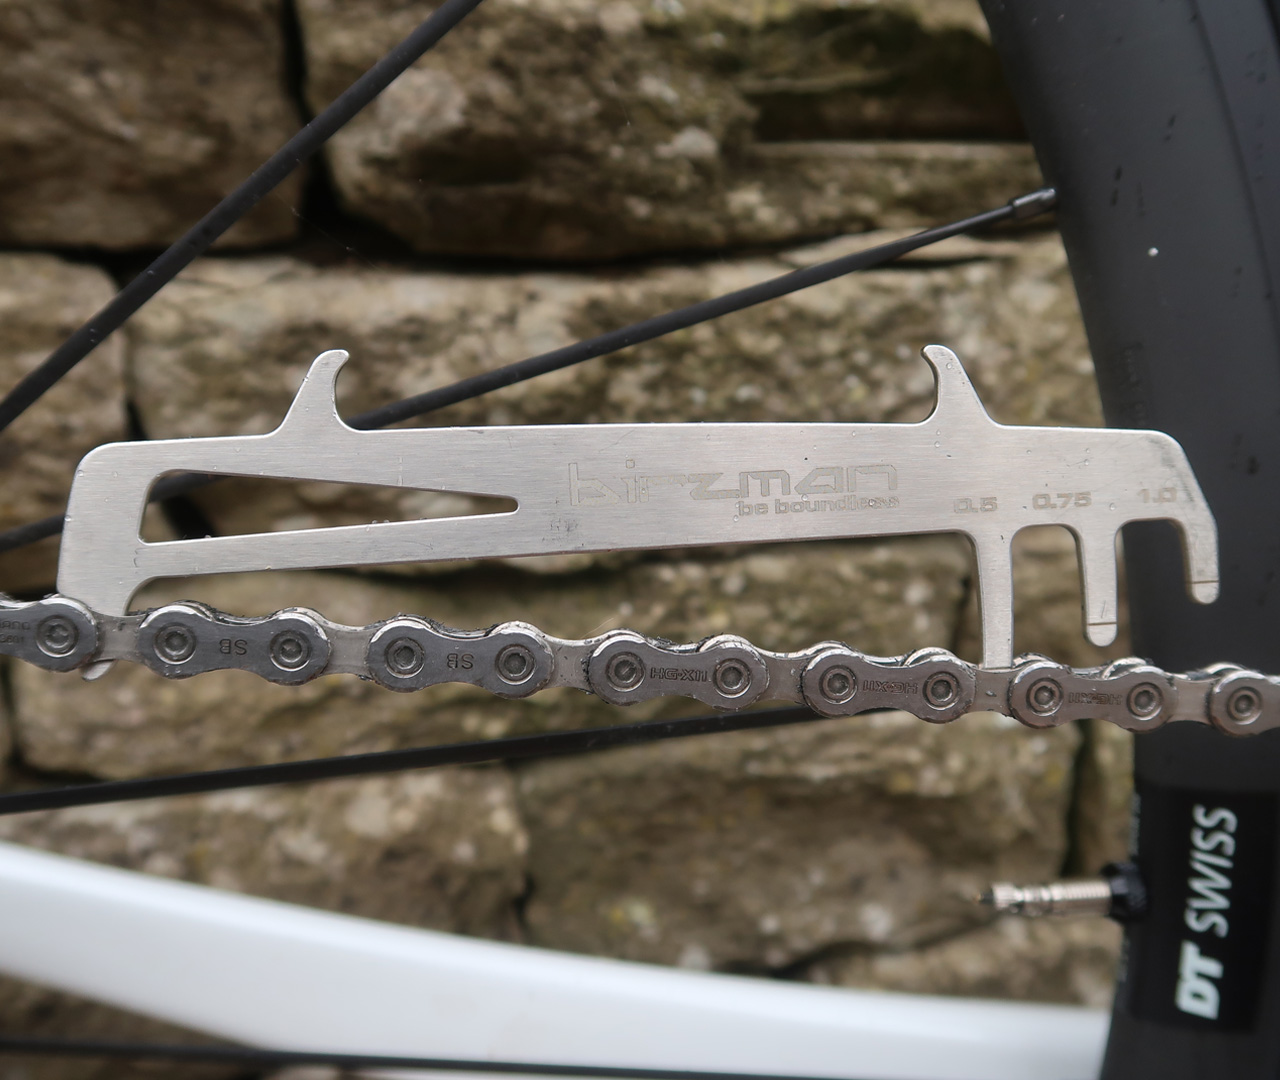
Use a chain wear indicator tool to see if it's time to replace your chain
The easiest way to see if the cassette is worn is by fitting a new chain. If the gears are still skipping, you probably need a new cassette. Chainring wear can be spotted by eye; look at the profile of the teeth, and if they're looking less rounded and more like shark's teeth, then it's time to swap it out for a fresh one.
If you're dropping your chain you may need to adjust the limit screws, which prevent the chain from going too far in either direction. Alternatively, this issue could be caused by a bent or misaligned rear derailleur hanger. There are tools available to straighten a hanger, or if you don't have one you can take your bike to the local bike shop. Less common but also a possibility is that the derailleur or shifter is in poor condition.
Read on to find out how to index your bike gears. When running a single ring (1x) up front — which is more common on a gravel or mountain bike than a road bike setup — then you can bypass the steps to set up your front derailleur and focus on the rear.
Adjusting the rear derailleur
Before you start this process you'll want to check that your derailleur hanger is straight. The hanger connects the frame to the rear derailleur and a bent or misaligned hanger will make it almost impossible to correctly index your gears no matter how hard you try.
A hanger can get damaged (or even ripped off) during a crash, if the bike is dropped on the driveside, or even when gravel riding or racing cyclocross in heavy mud, when extra pressure is placed on the rear derailleur and surrounding components. The rear hanger is constructed from softer metal than other parts and actually works as a protective mechanism — it will bend or break before any damage is done to the bike frame itself.
If you don't have a derailleur alignment tool at home you'll need to visit a bike shop to get this checked out — the worst-case scenario will require a replacement hanger, which is relatively inexpensive. However many hangers can be carefully bent back into alignment using the aforementioned tool.
Step 1
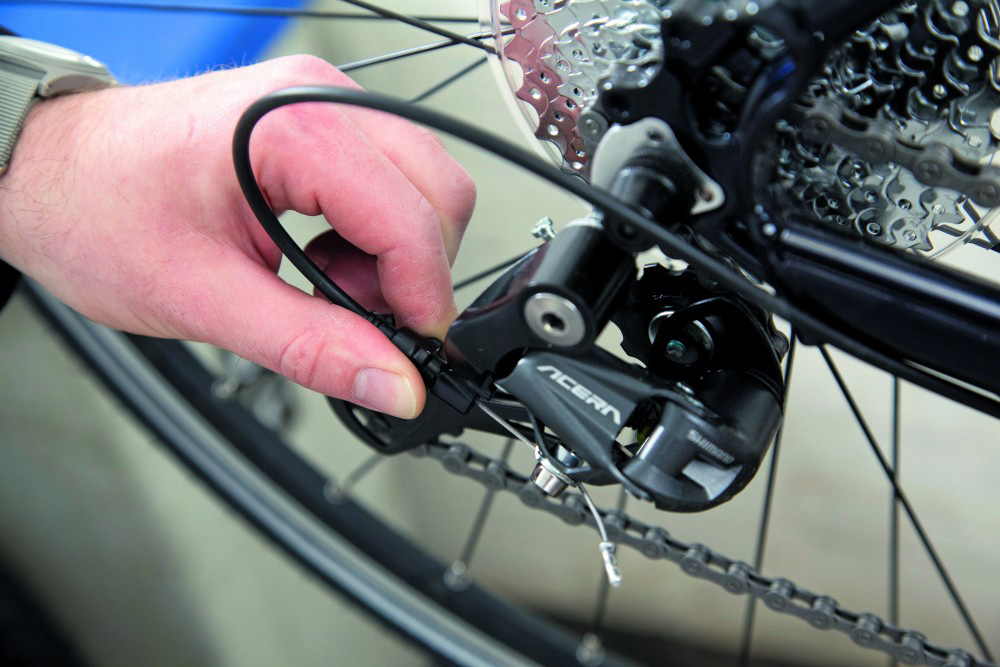
Shift the rear derailleur into the smallest sprocket (biggest gear) on the cassette. If there is a barrel adjuster on the gear lever body, or the derailleur body, screw it all the way in (clockwise), and then out by a single turn.
Step 2
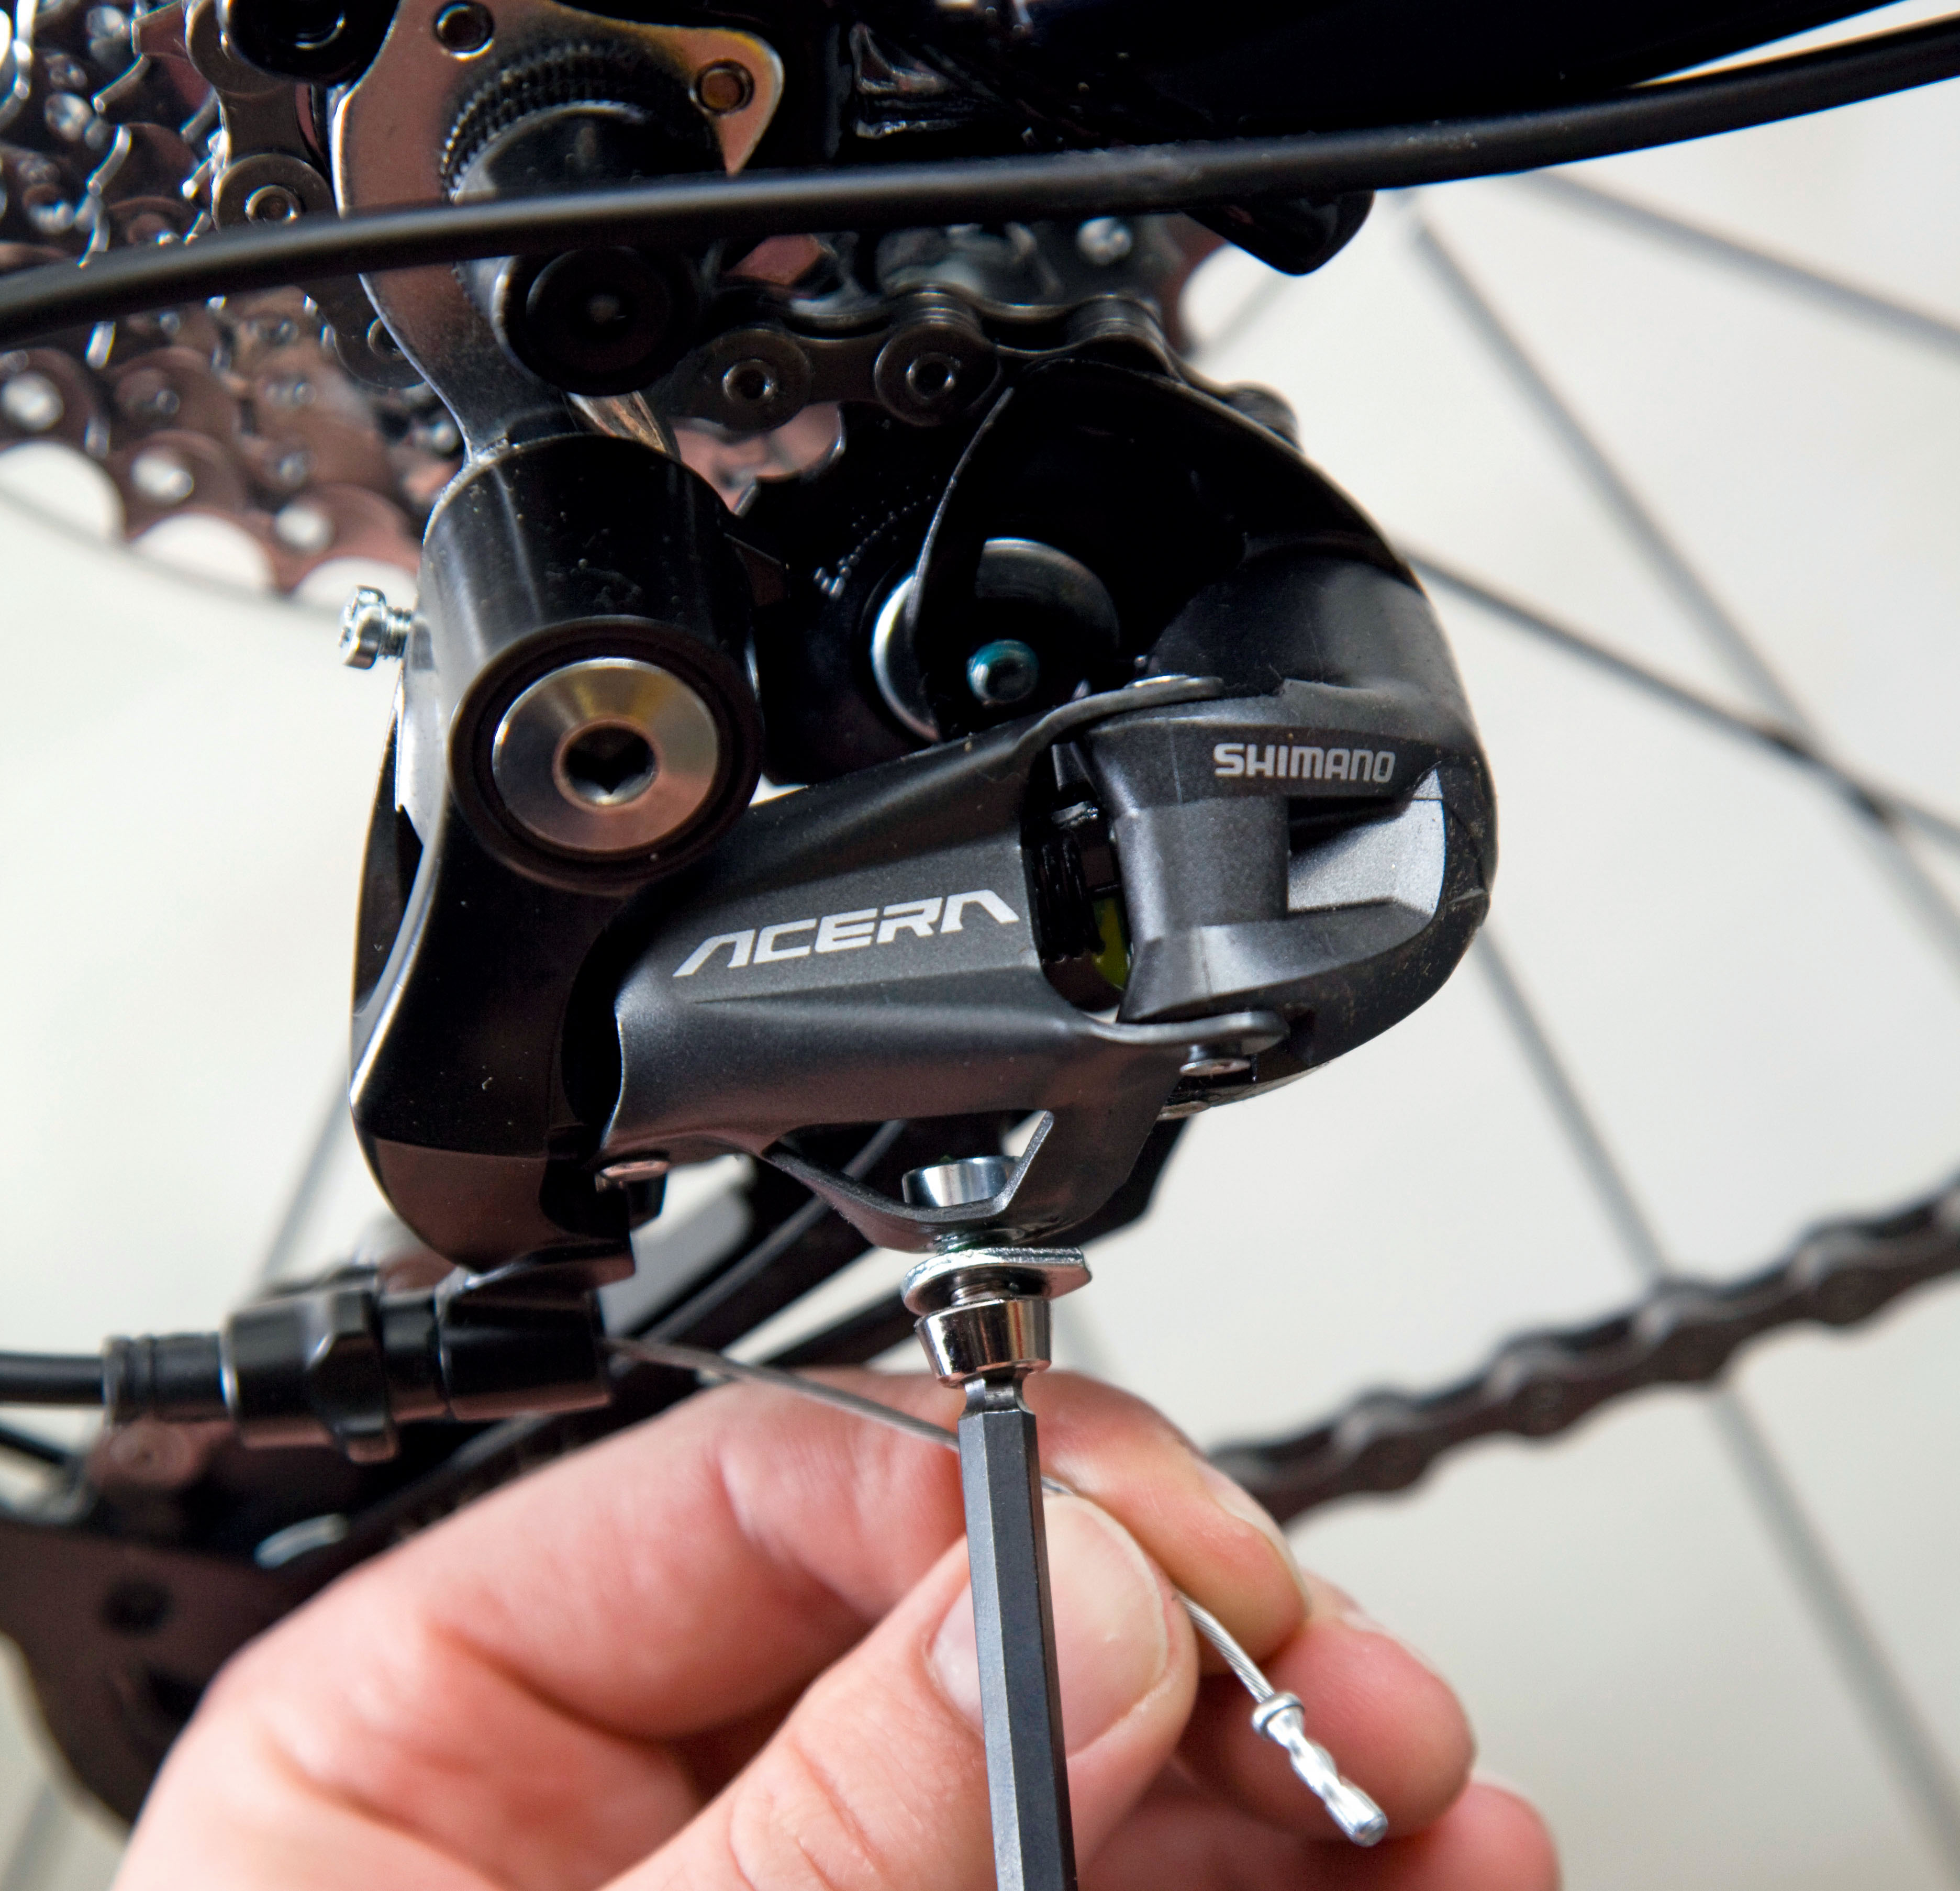
Undo the cable-securing bolt or clamp on the derailleur and move the cable out of the way.
Step 3
Turn the pedals while using your other hand to manually push the rear derailleur in towards the rear wheel. Be careful not to catch your fingers in the spokes as you do this.
If the derailleur’s low limit screw is correctly adjusted, the chain will only travel onto the largest sprocket and go no further. The low limit screw impacts the derailleur's range of motion and will sometimes be marked with a 'L' on the derailleur body. It does not however make it move, this is the job of the cable and the spring located in the mech itself.
Step 4
If it goes beyond that sprocket and falls into the spokes, turn the derailleur's low limit screw in (clockwise) and repeat step three. If the chain does not sit comfortably on the biggest sprocket, unscrew the adjusting screw a little and try again.
Working in quarter turns of the limit screws will allow you to fine tune the position so it allows the chain to shift onto the sprocket but no further. You can use the pulley wheel of the derailleur as a visual reference, making sure that it lines up with the largest sprocket.
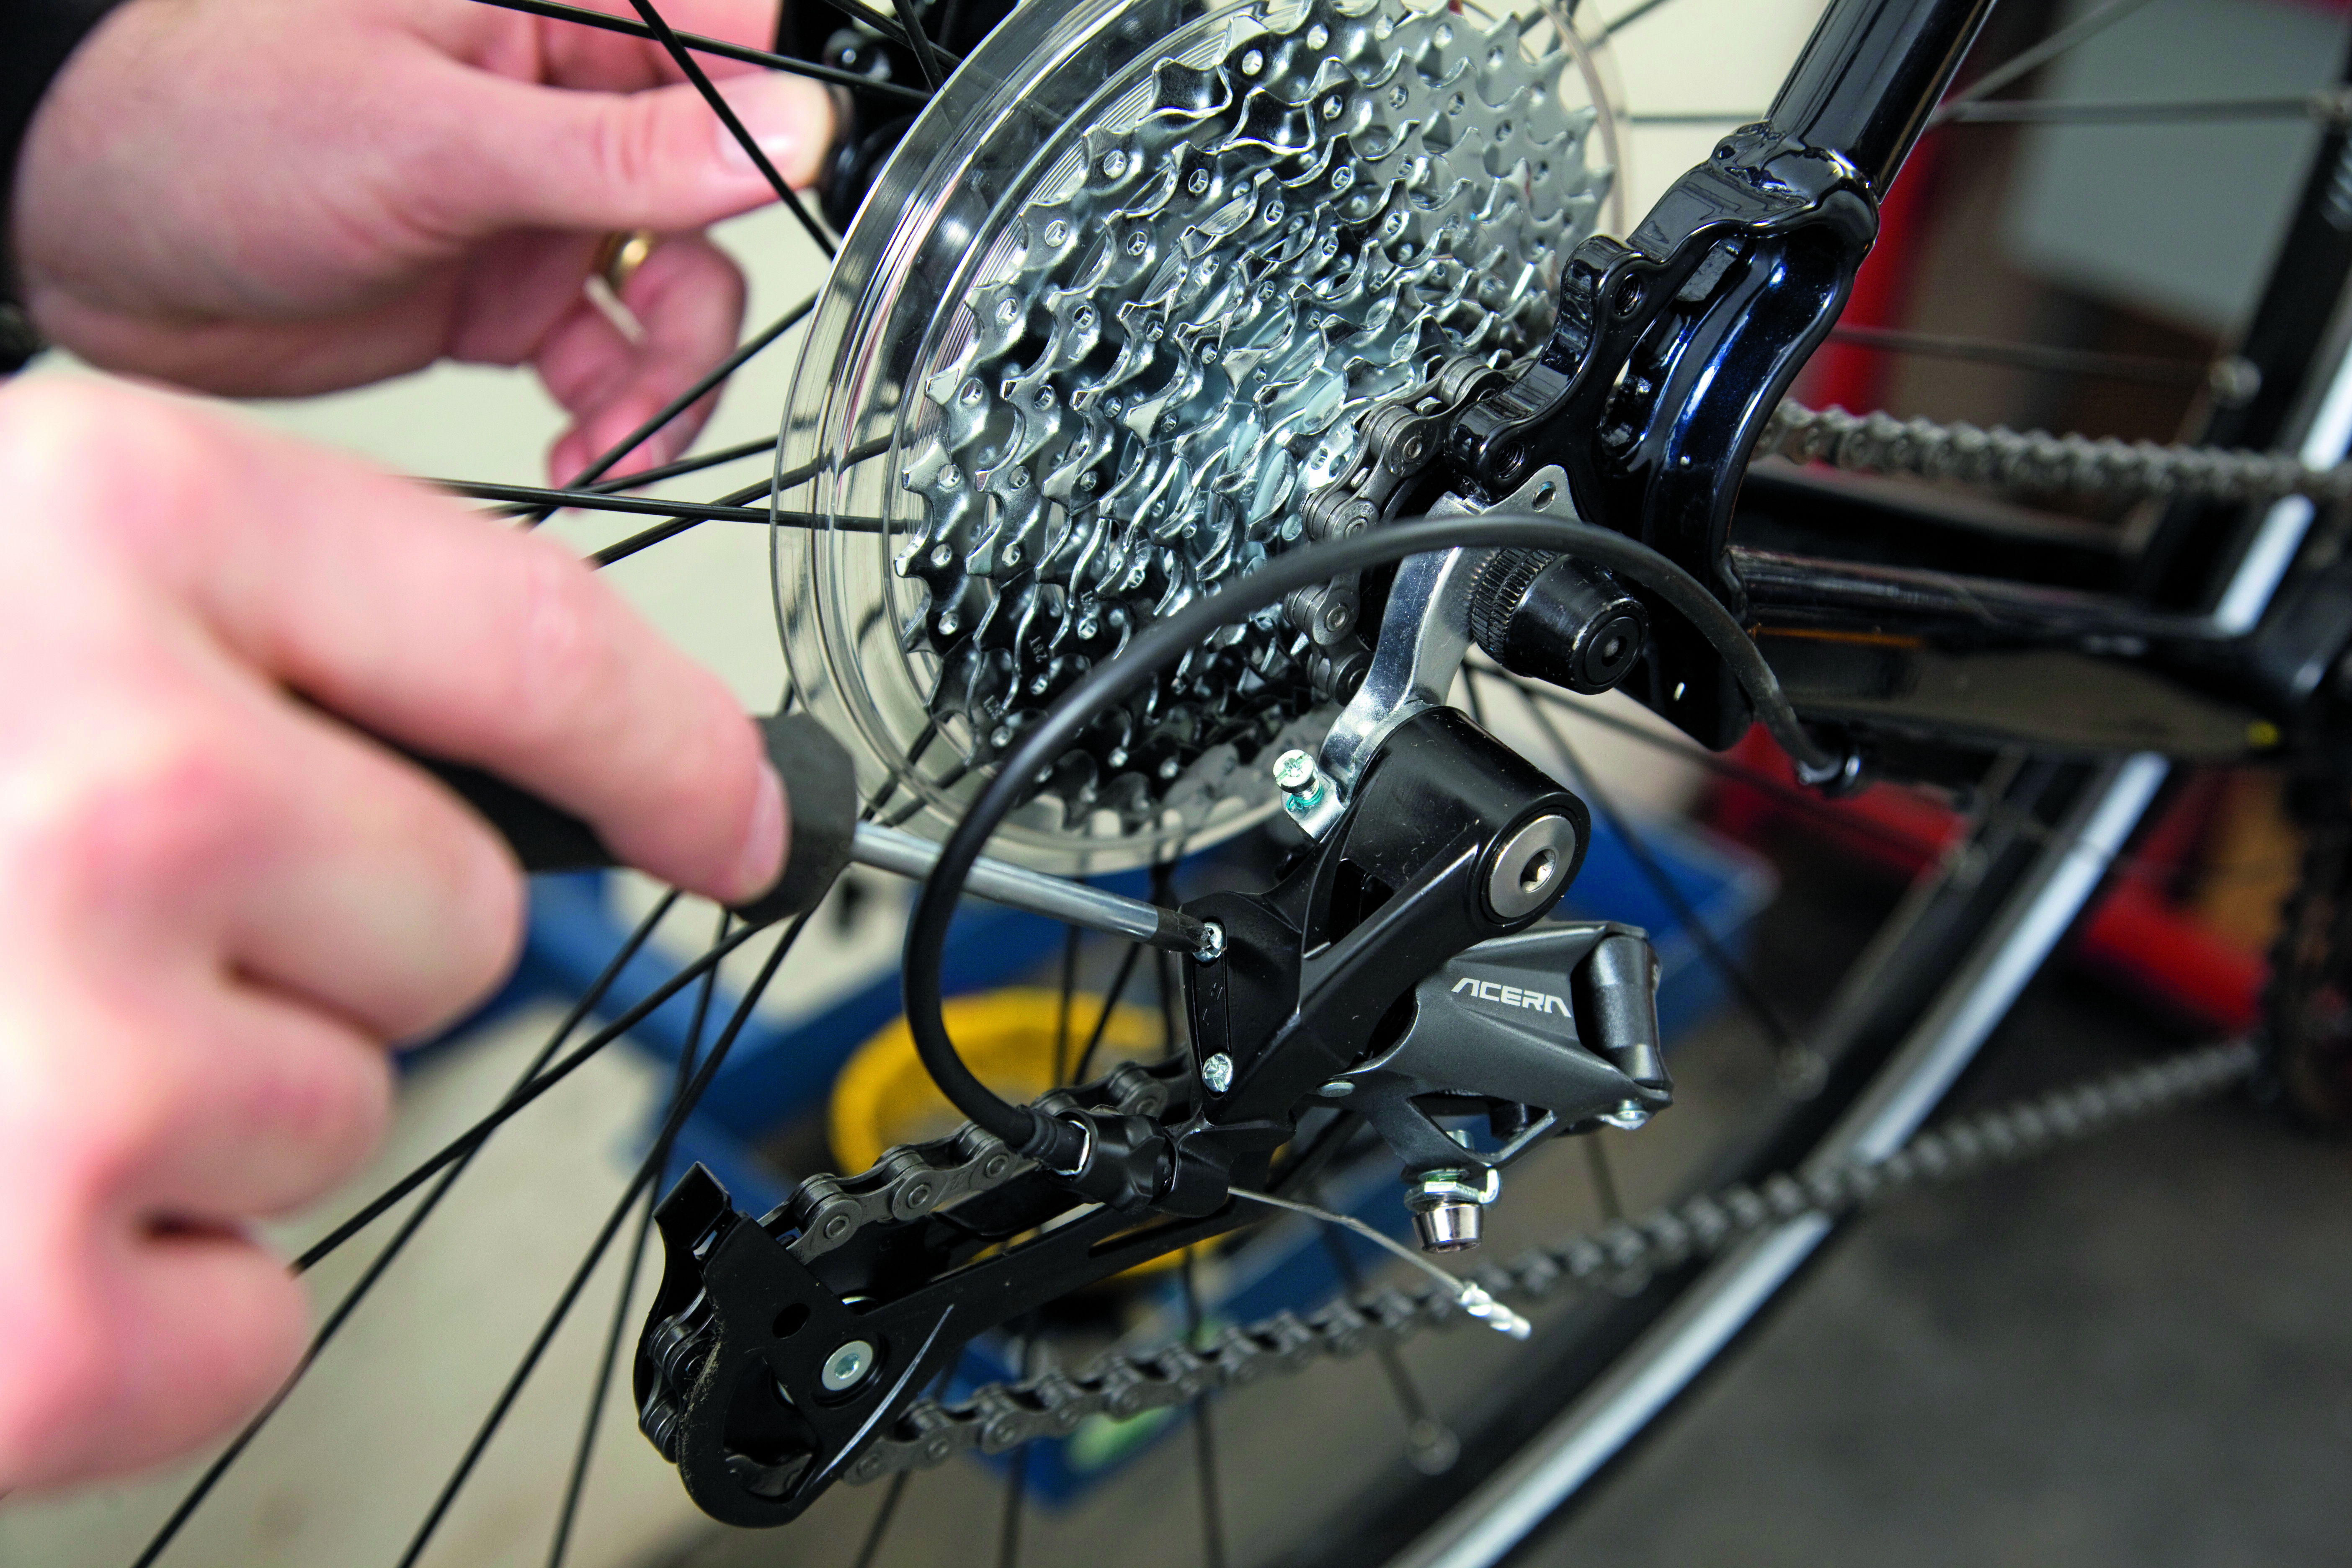
Step 5
Once you’re happy with that, allow the derailleur’s spring to push the derailleur outwards onto the smallest sprocket.
Again if the chain comes off, or does not sit properly on the smallest sprocket, turn the other adjusting screw - the high limit screw (sometimes marked with a 'H') - to move the derailleur’s position.
Ideally you'll want the top pulley wheel of the derailleur to line up with the outer edge of the smallest sprocket.
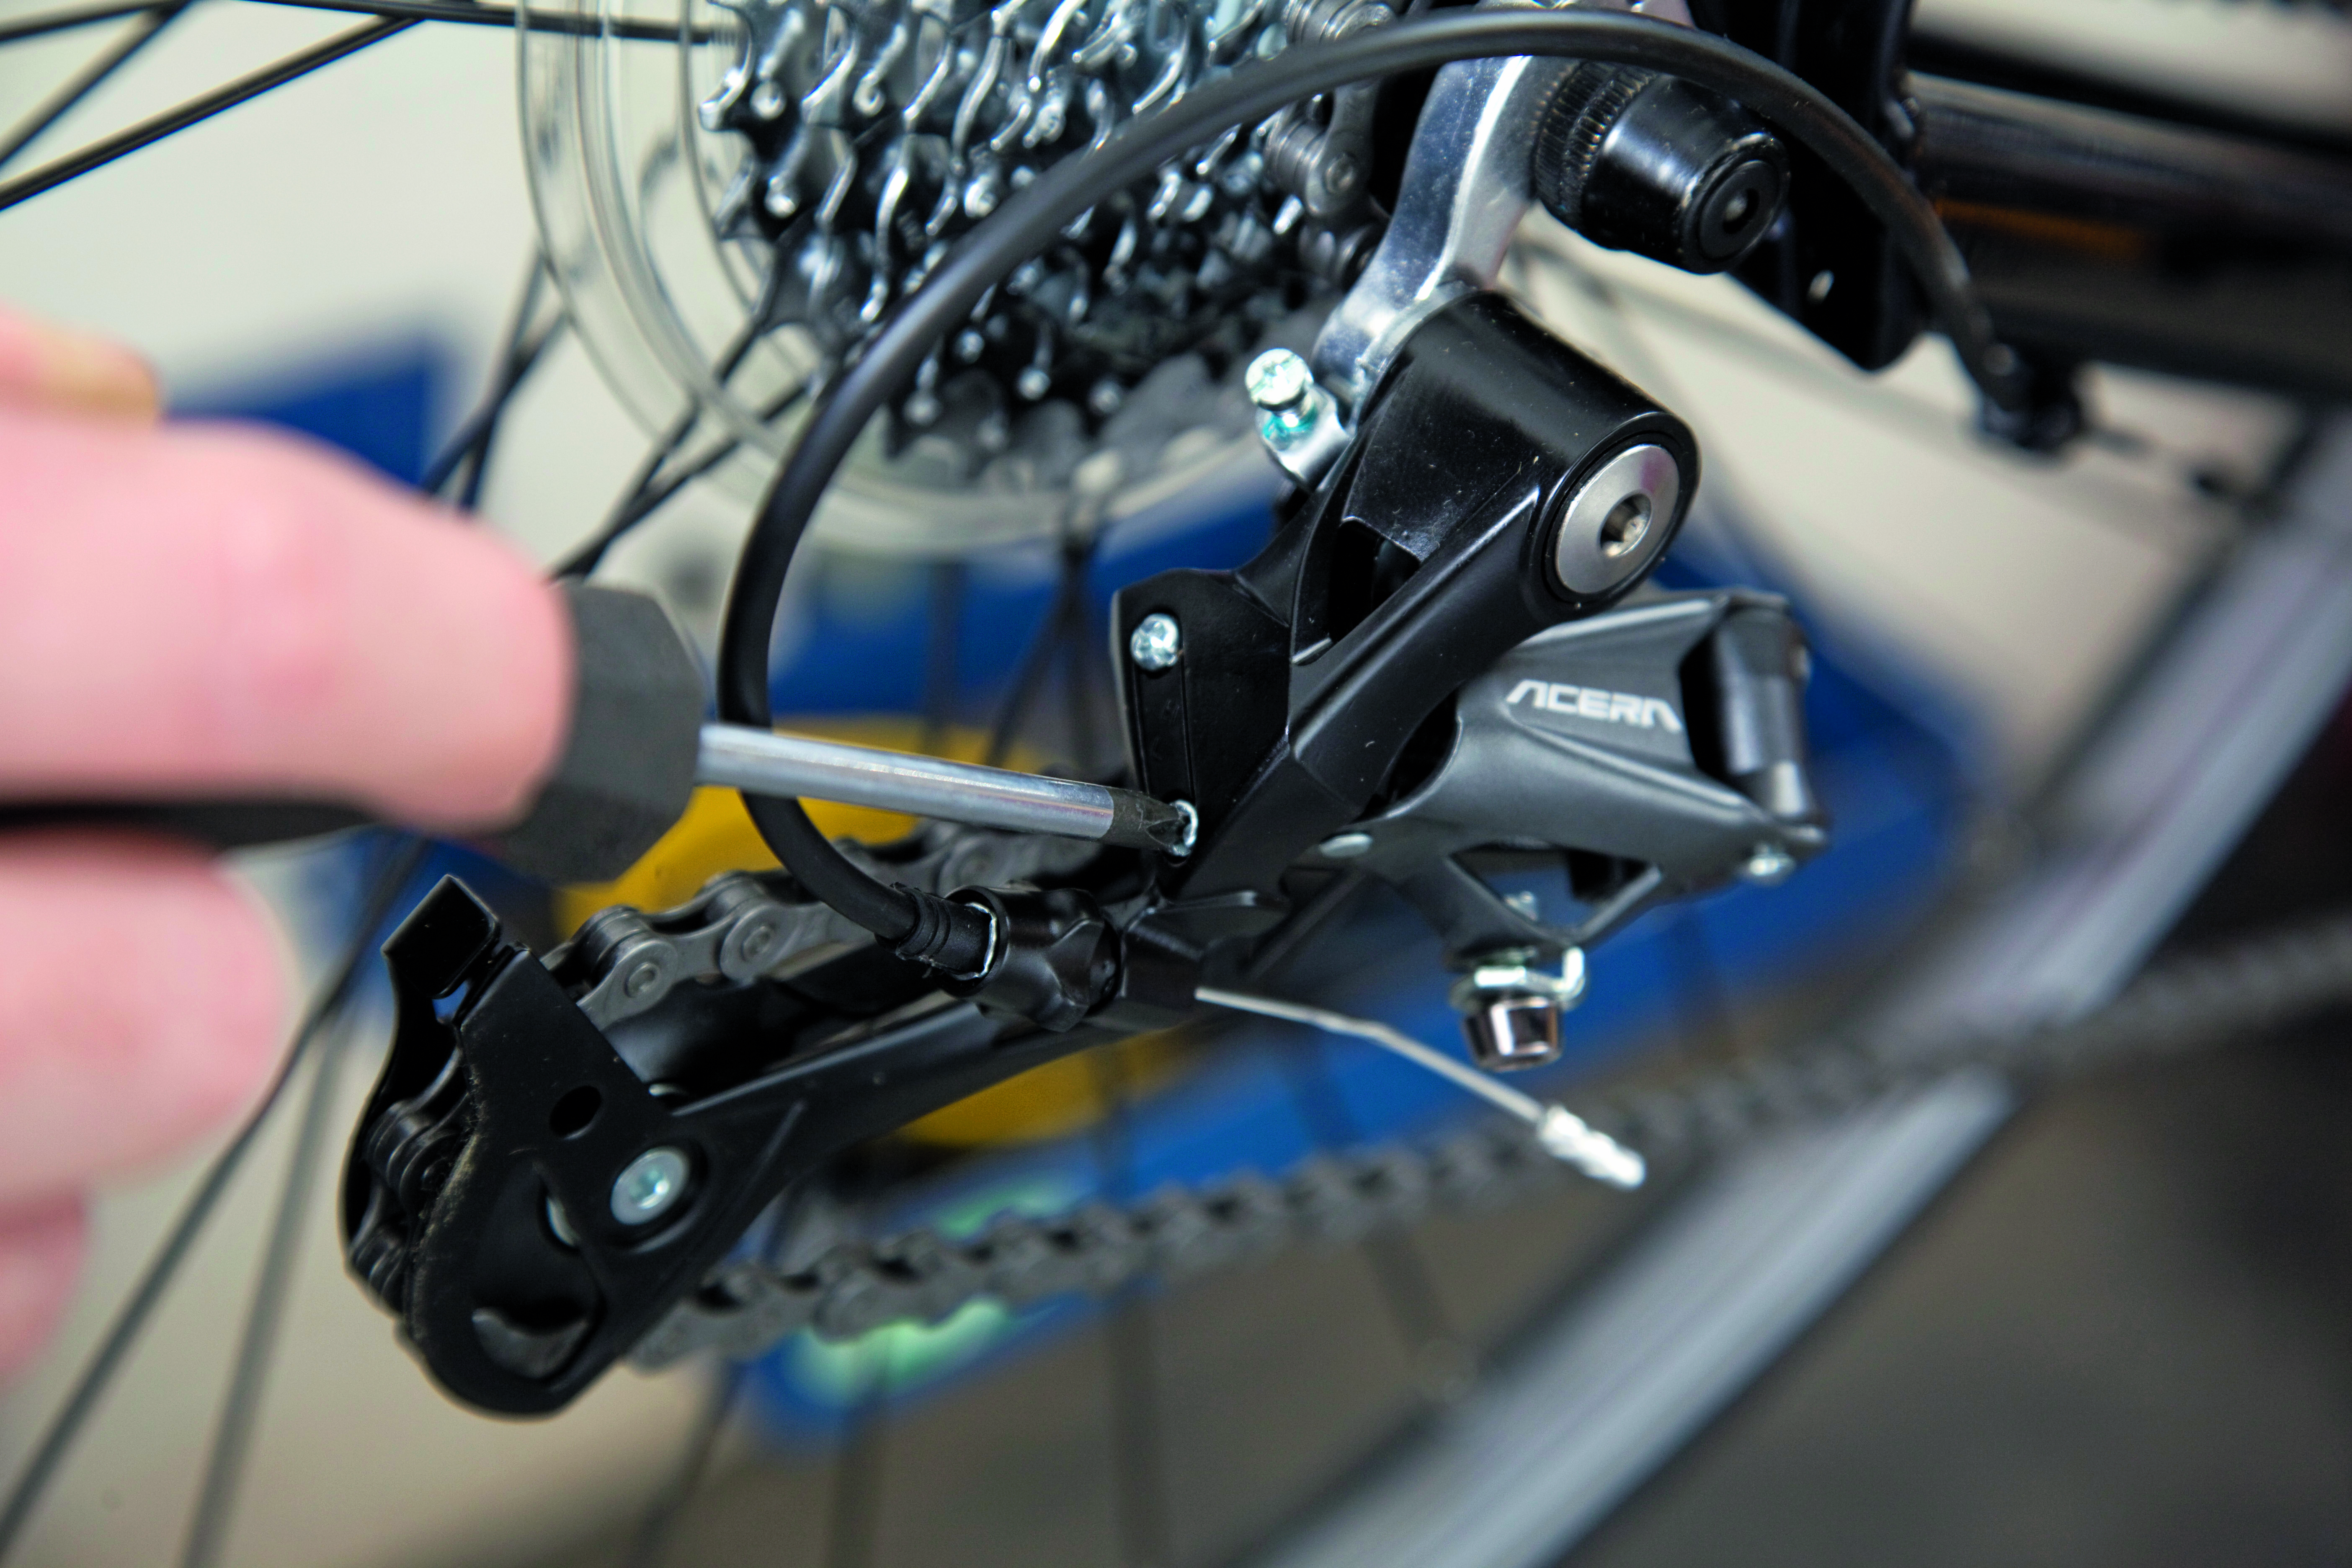
Step 6
When the derailleur’s travel goes comfortably between the high and low sprockets on the cassette, refit the gear cable, pull through any slack and then do up the clamp to secure the cable.
Step 7
Check and adjust the B-tension screw if necessary. This screw is unmarked and normally found towards the top of the derailleur, where it attaches to the mech hanger, so you can identify it through a process of elimination.
Shift into the largest sprocket. Turn the screw clockwise to move the jockey wheel away from the cassette and anticlockwise to bring it closer. Adjust until the upper jockey wheel sits as close to the biggest sprocket as possible without touching it (a gap of about 3-5mm). If it's too close, shifting will be impossible, and if it's too far away, changing gear will become sloppy and inefficient. How much impact a poorly adjusted B-srew will have on your shifting will depend on the groupset. With modern, wider ratio cassettes, this step becomes even more important.
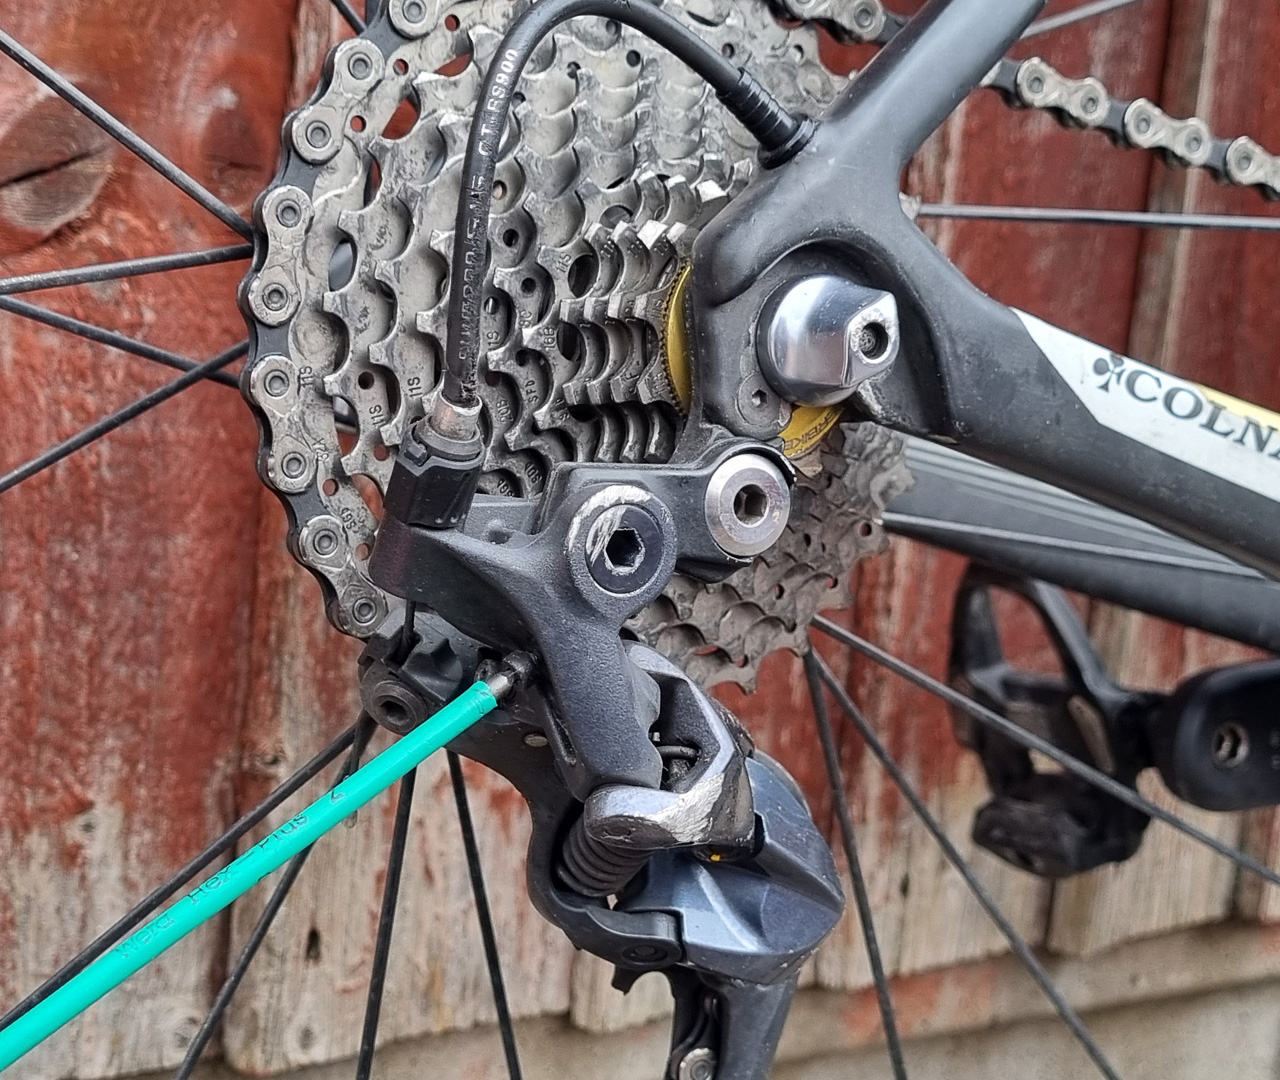
A correctly adjusted B-tension screw makes shifting fast and efficient
Step 8
Using the gear lever, go through all the gears several times. If the derailleur is slow to go into the lower gears (the larger sprockets on the cassette) unscrew the barrel adjuster on the derailleur body. This adds tension to the cable.
Once it's shifting into the lower gears you can make micro adjustments on the barrel adjuster to fine tune. Your ears are your best guide here - if the chain sounds like its rubbing on the next sprocket adjust accordingly until the noise is reduced and the chain runs smoothly.
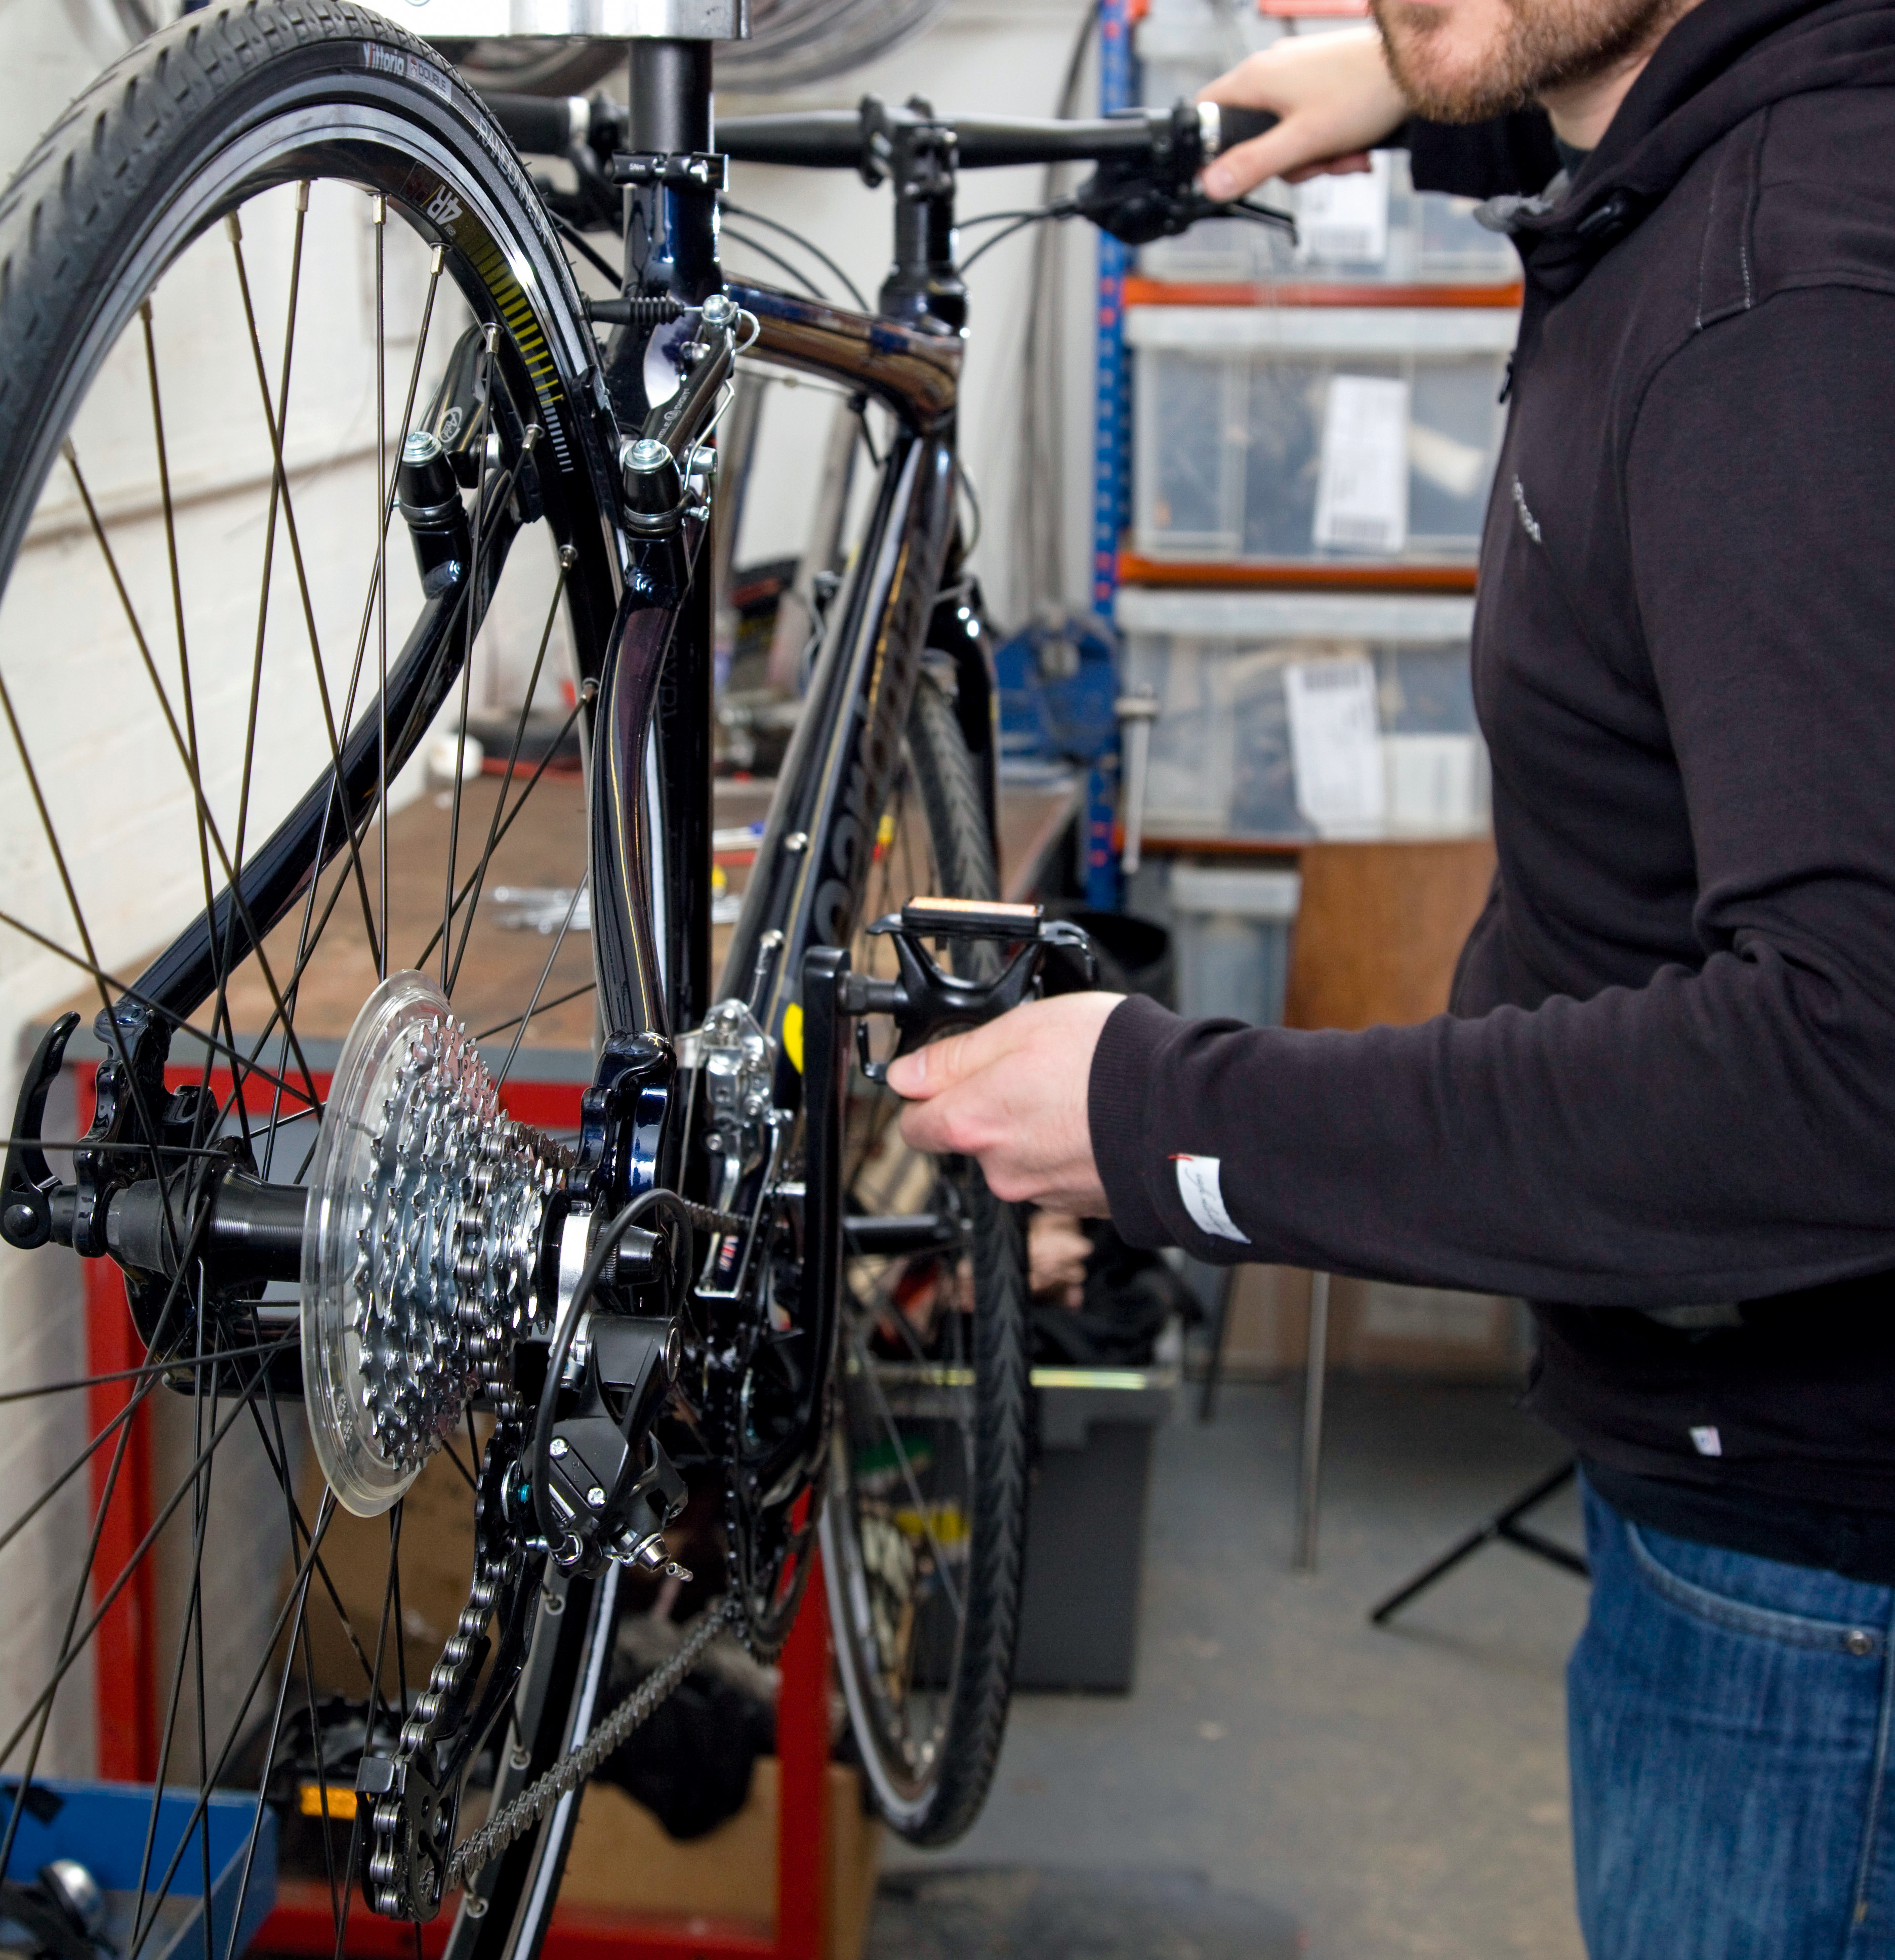
If it is slow to go into the higher gears, screw in the barrel adjuster to reduce tension on the cable - this should have the effect of allowing the derailleur and thus the chain to move down on to the smaller sprockets.
As with before, listen to hear if the chain is rubbing against another sprocket and turn the barrel adjuster in small increments until the sound is reduced.
Re-check that all the securing bolts are tight and go for a gentle test ride. You may find that you'll need to make some minor adjustments again to fine tune the shifting.
Adjusting the front derailleur
Step 1
Shift the front derailleur into the smallest ring, and if there is a barrel adjuster on the gear shifter body (or sometimes on the gear cable itself, known as an inline barrel adjuster), screw it almost all the way in (clockwise). Undo the cable-securing bolt or clamp on the operating lever of the derailleur and move the cable out of the way.
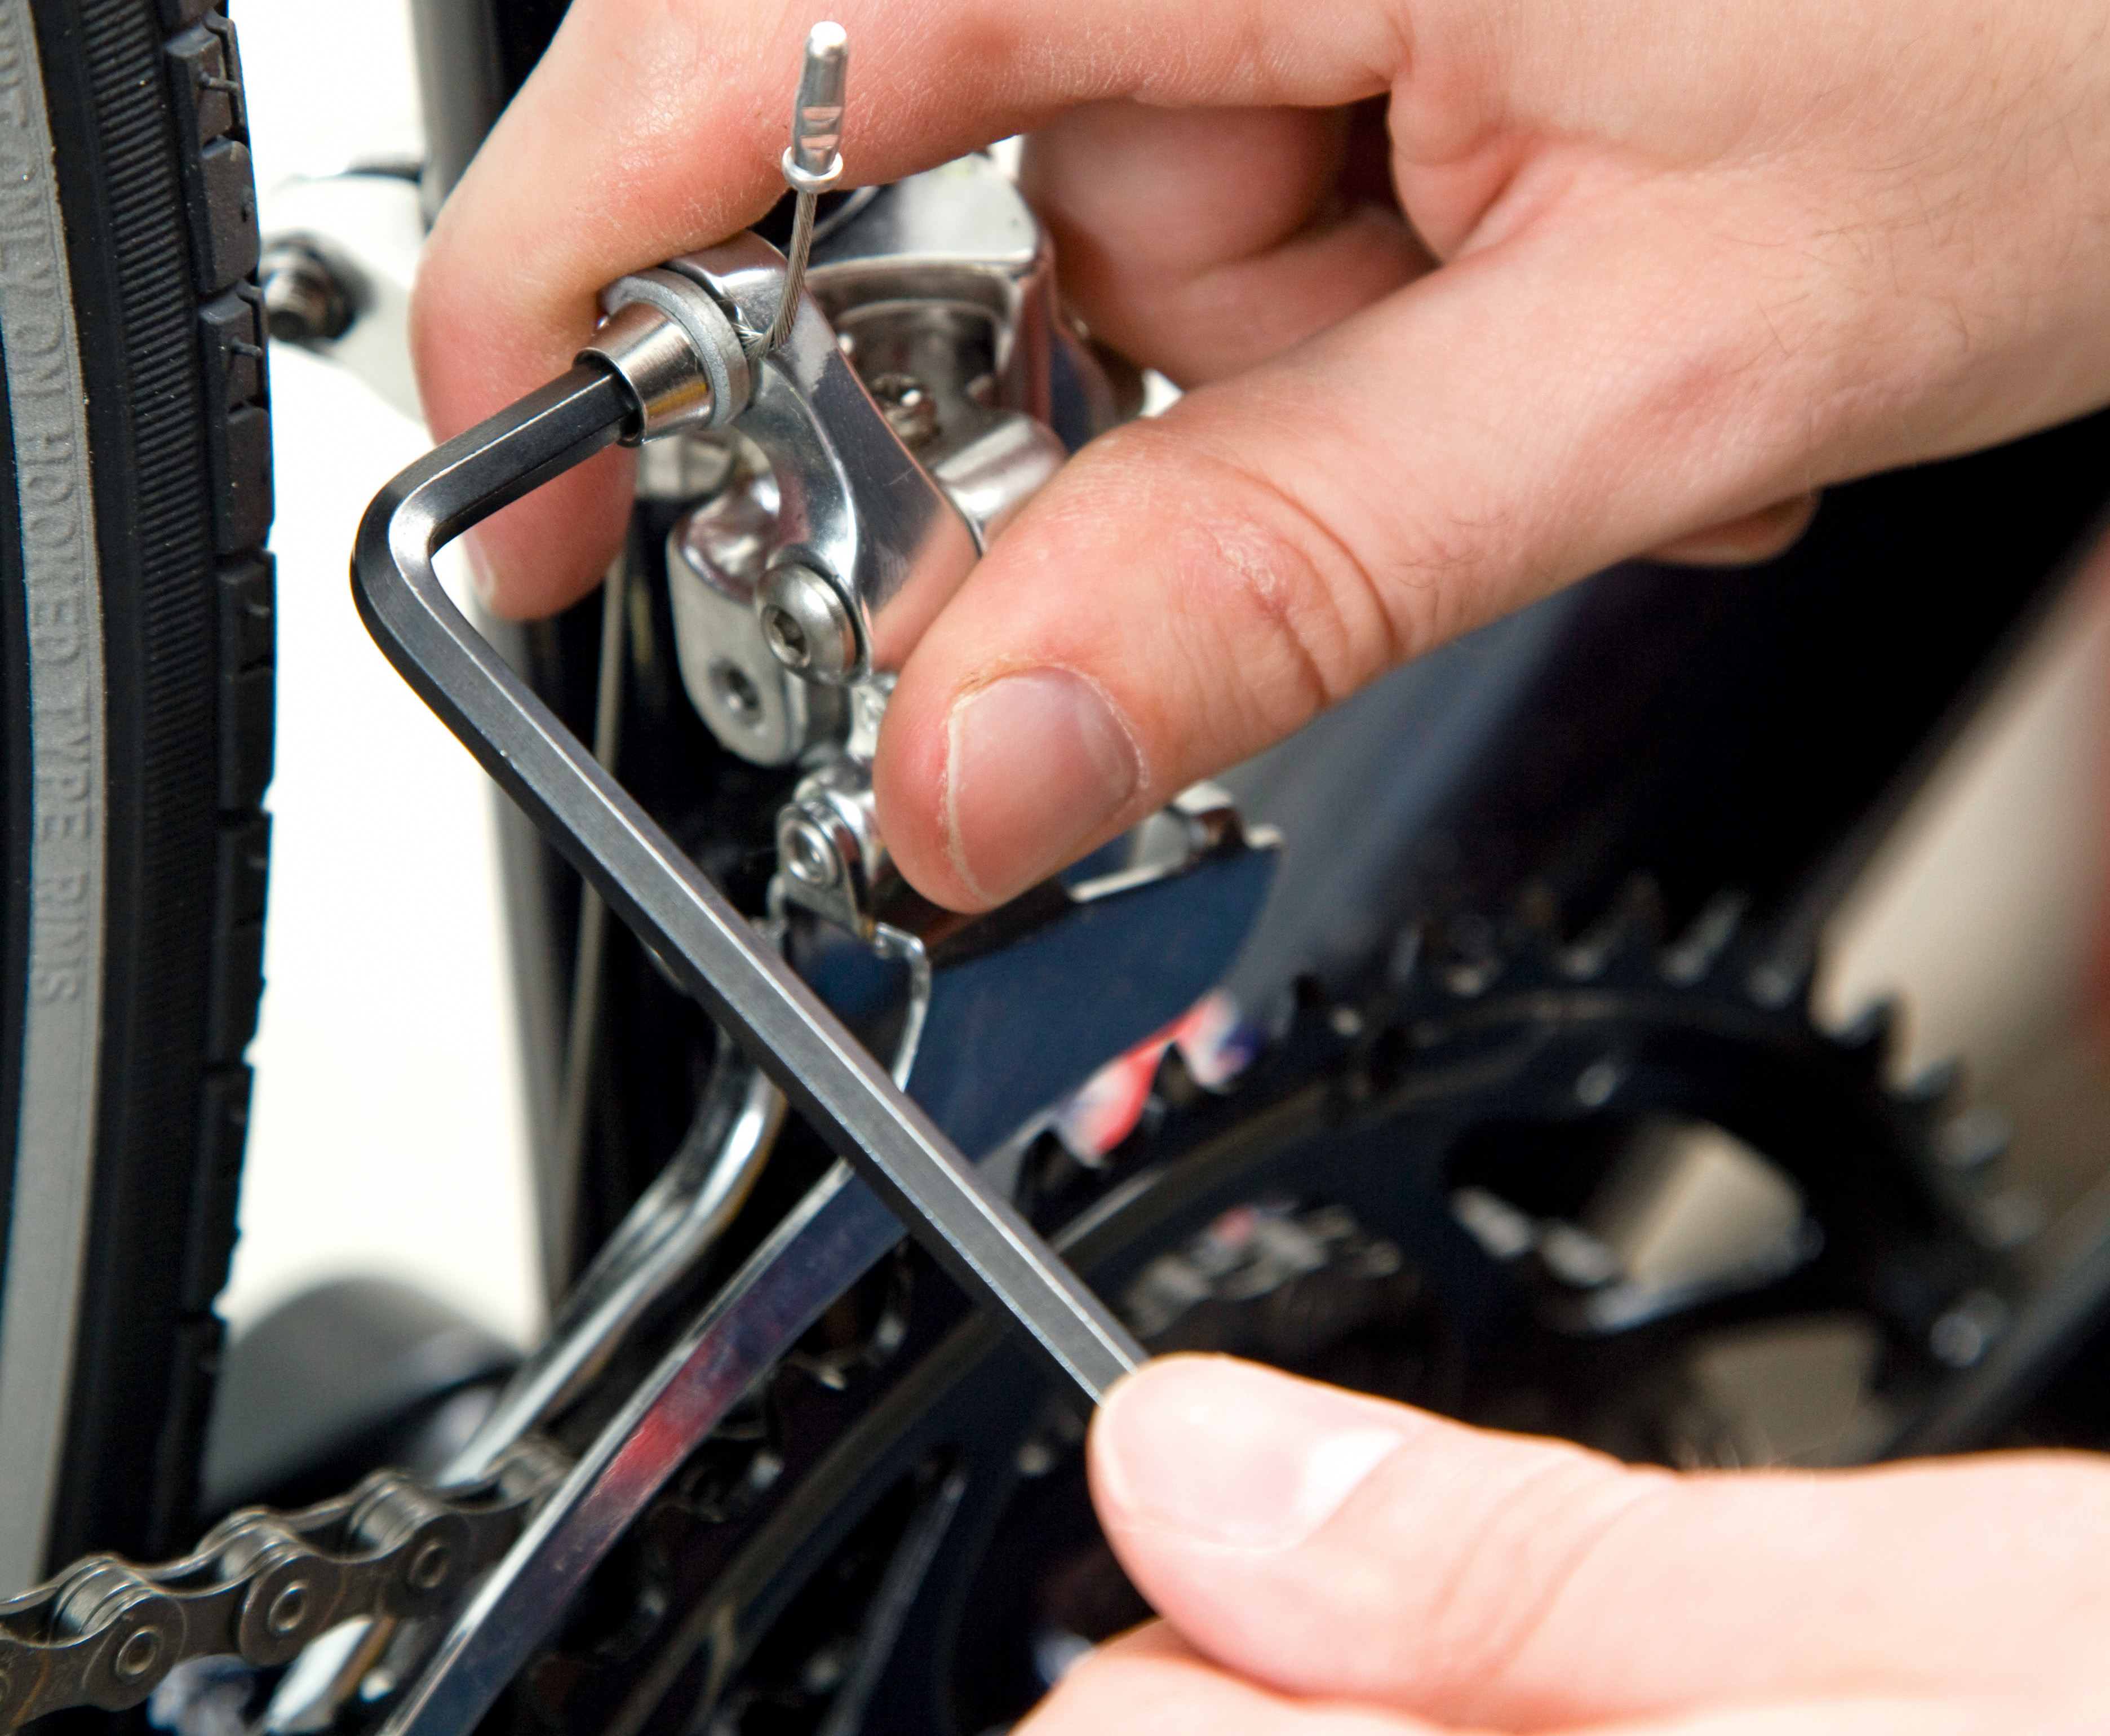
Step 2
Check that the front derailleur is parallel to the chainring, and that there is a gap of 1-2mm between the top of the largest chainring and the bottom of the outer plate of the front derailleur.
If not, loosen the fixing clamp and realign the derailleur.
If you're using a SRAM Yaw front derailleur, where the front of the cage moves in and out further than the tail does, it will require a different set-up and you should consult SRAM's instructions on how to do this correctly.
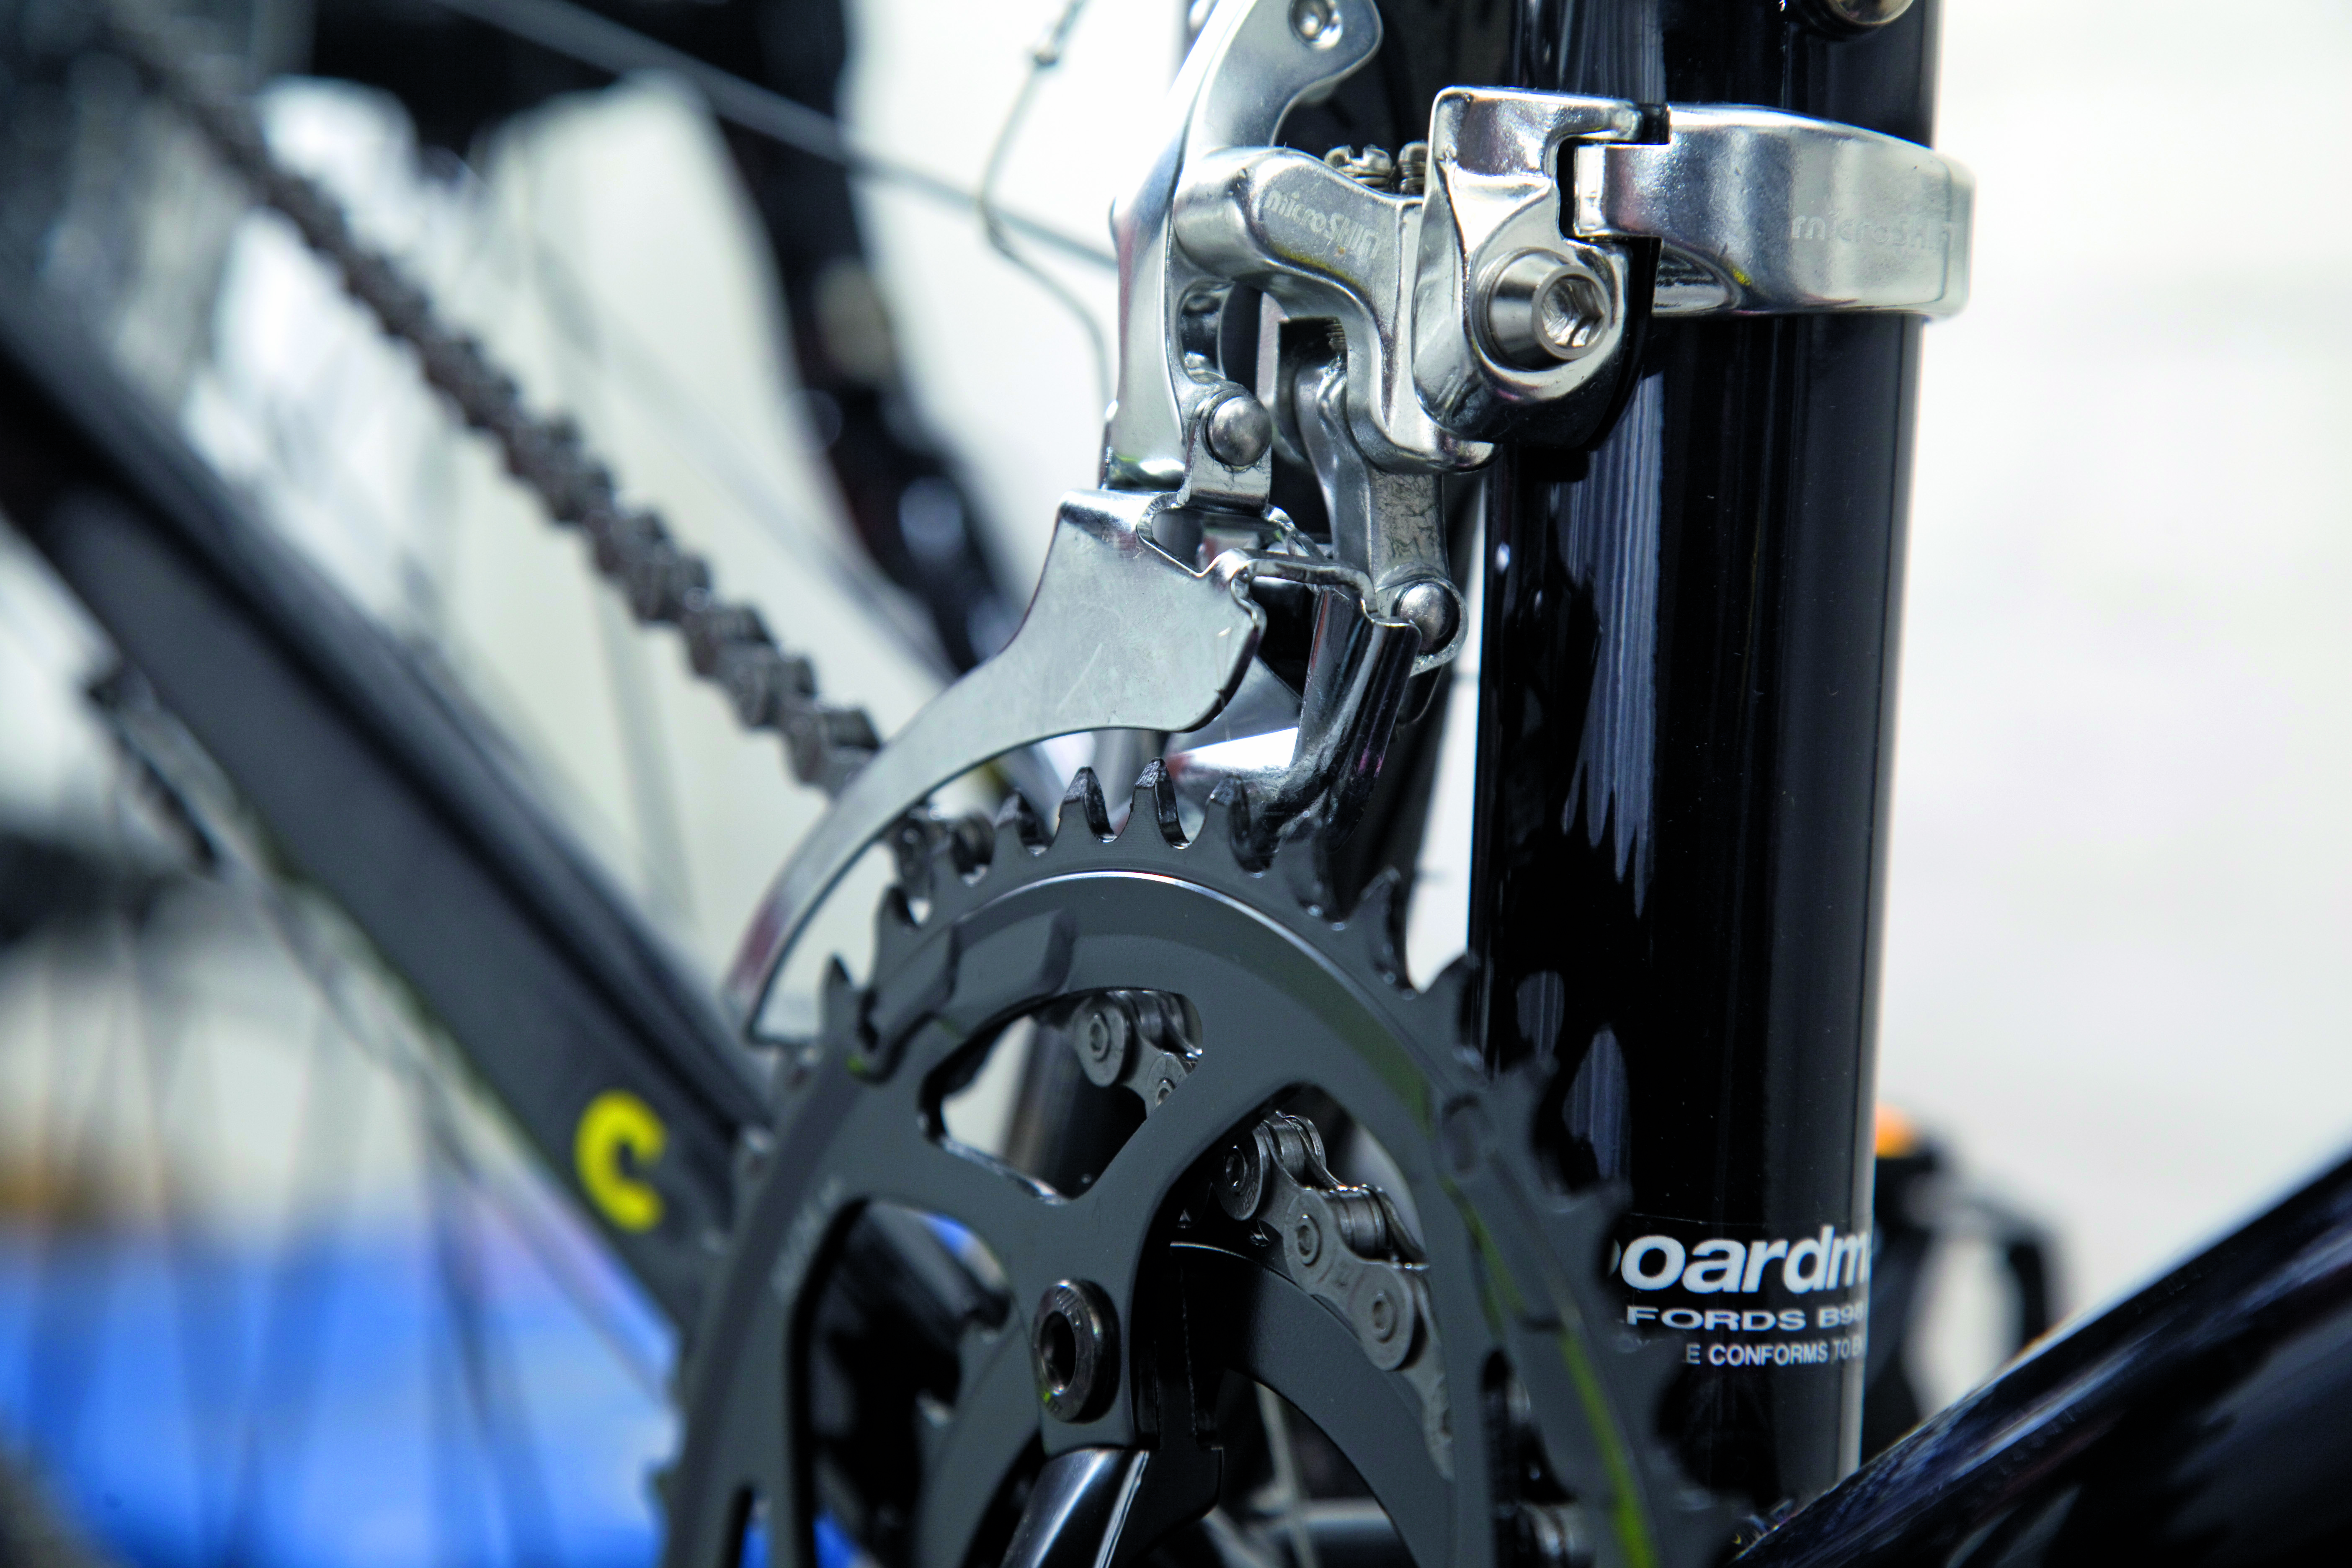
Step 3
With the chain on the biggest sprocket at the rear, adjust the 'inner' or low limit screw so that when the chain is on the smallest chainring there's about a small gap, around 1mm, between the chain and the inner cage plate. If the chain is rubbing on the plate, adjust the screw until the rubbing stops and there is a visible gap of 1mm.
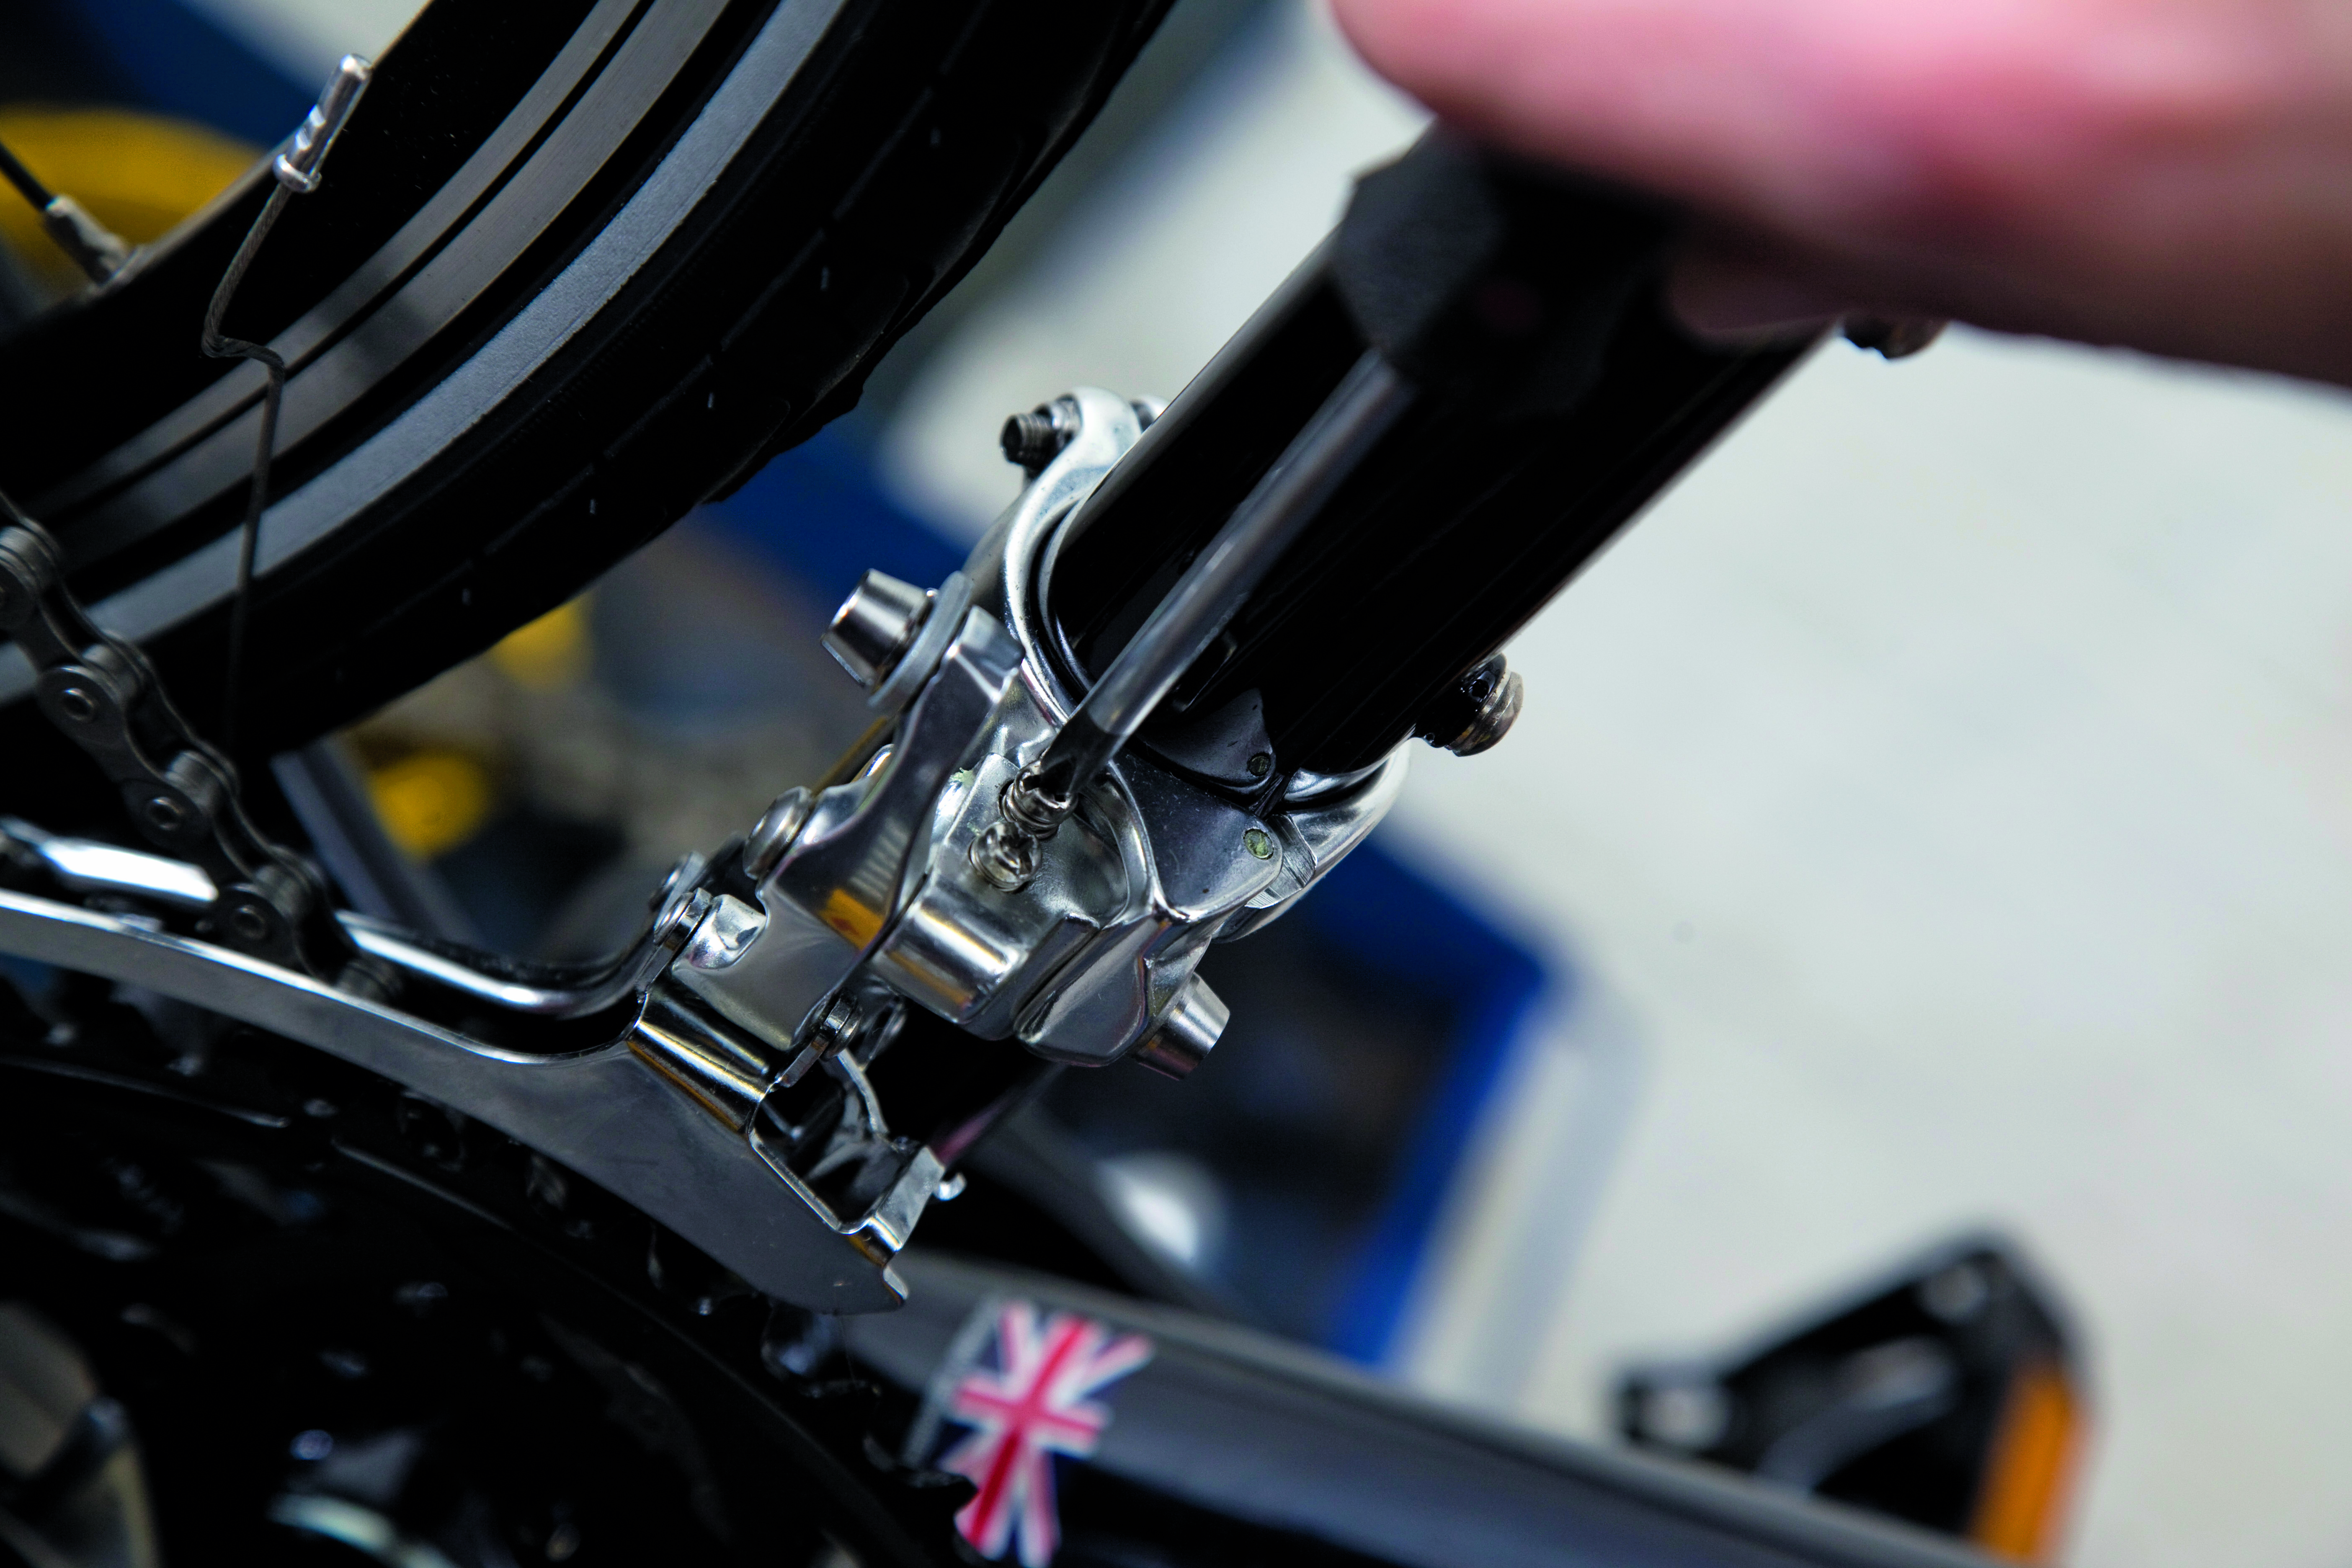
Step 4
Now with the chain on the smallest sprocket on the rear cassette, pedal the bike with one hand and pull the front derailleur so that the chain goes onto the largest chainring at the front.
You achieve this by screwing or unscrewing the ‘outer’ or high limit adjusting screw on the derailleur body. Again, you'll want only a small gap - about 1mm - between the chain and the outer cage plate. If the chain is rubbing on the plate, adjust the high screw until there is a visible 1mm gap.
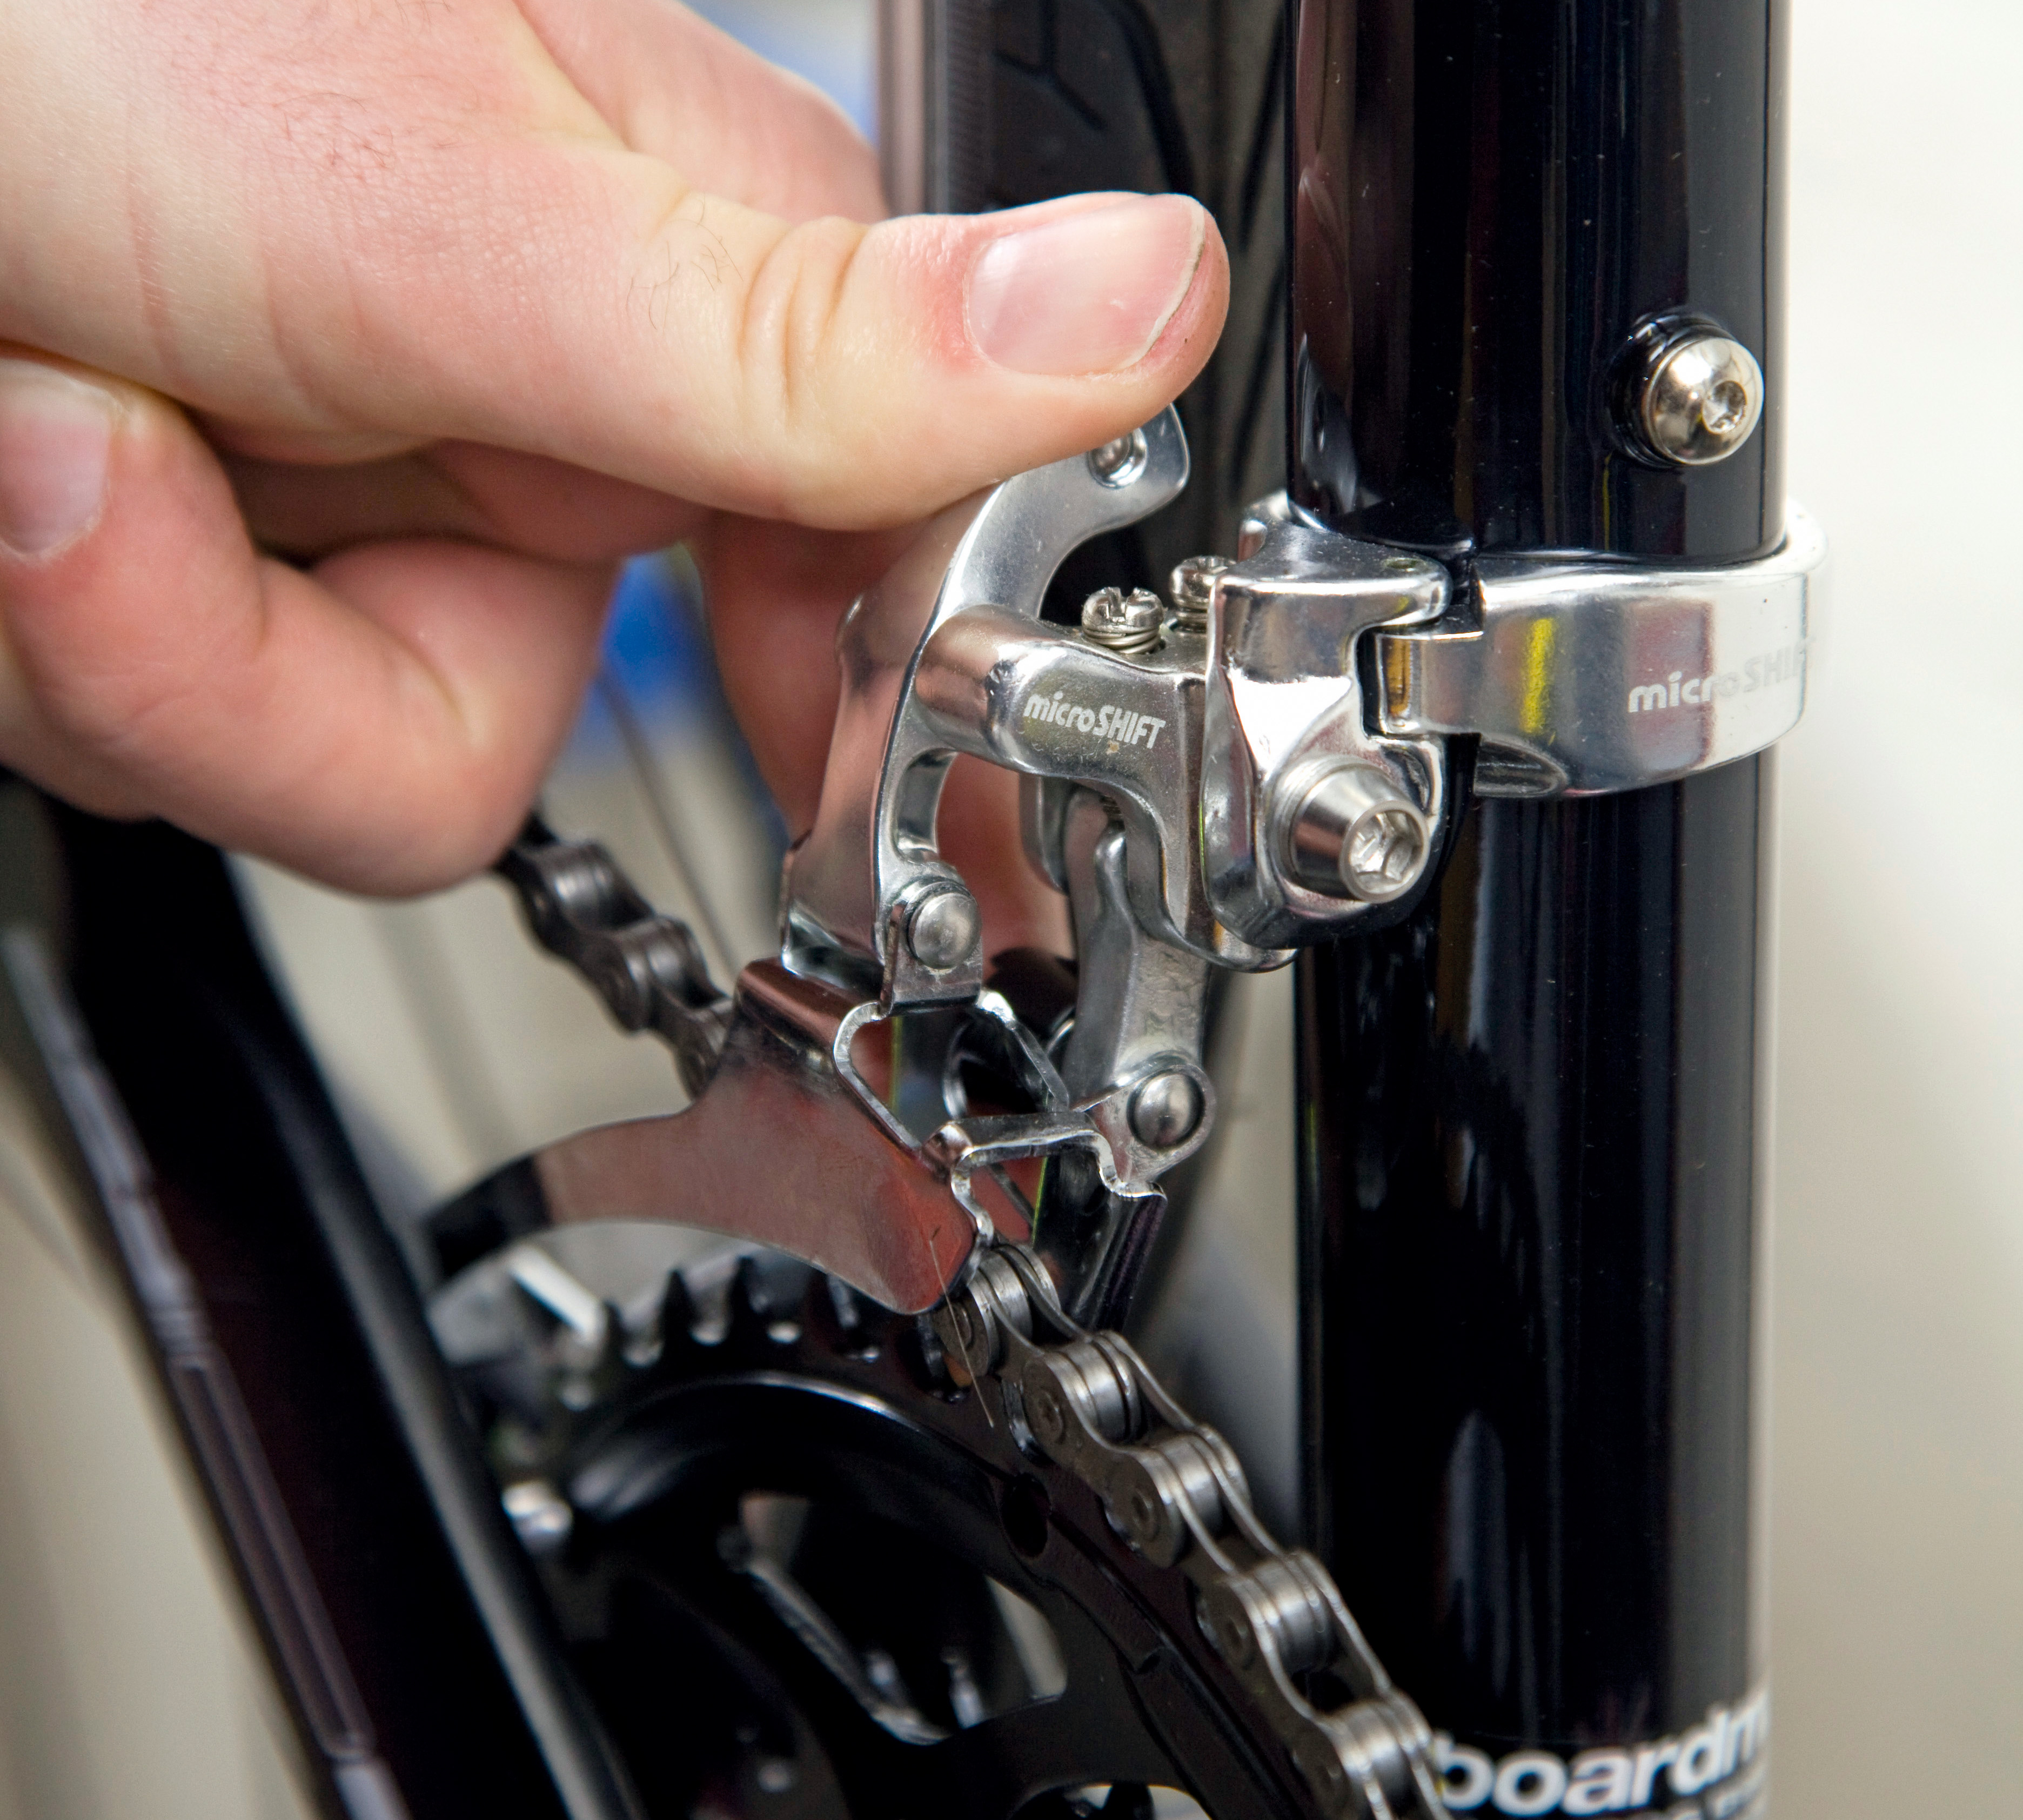
Step 5
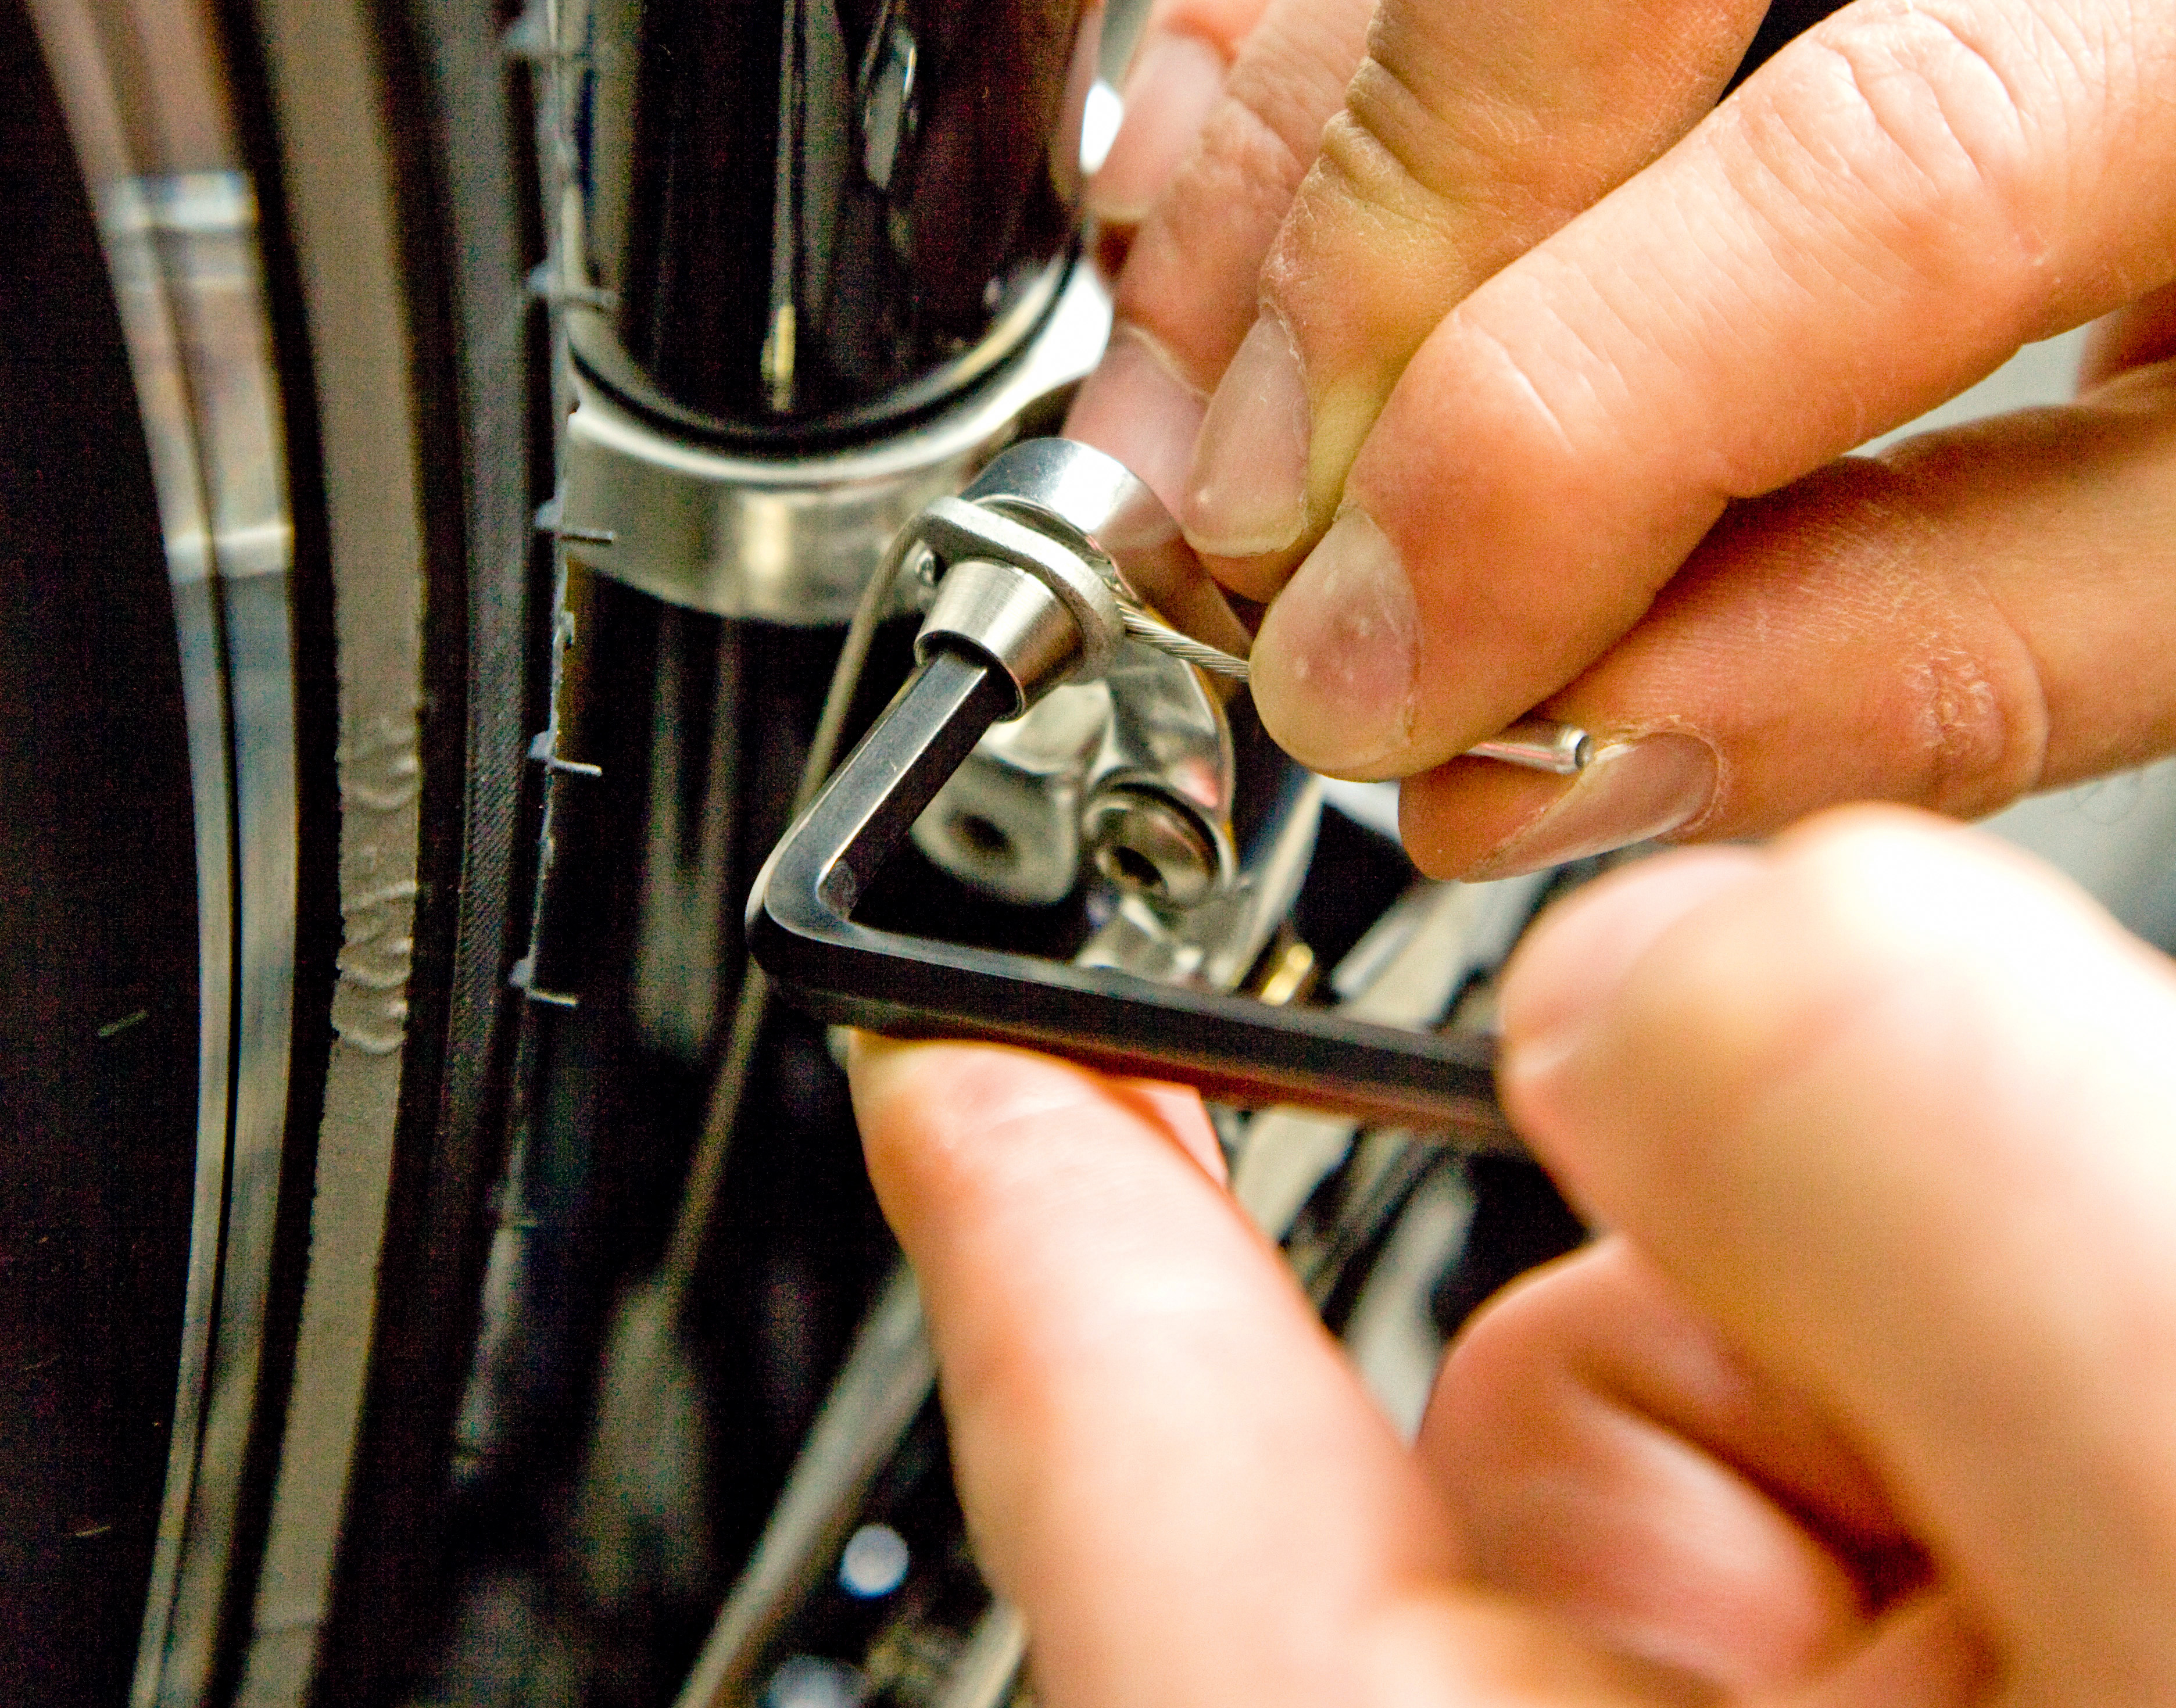
Let the derailleur return to its position over the smallest chain ring. Refit the cable, and tighten the securing bolt. When reattaching the cable it's important that it's routed and clamped correctly. If not, this can restrict the movement of the derailleur. As the cable routing and clamping position varies from one derailleur to the next it's worth checking the brand's instructions.
Step 6
With the bike off the ground, and the chain now on the largest sprocket at the back, test the front derailleur by moving the chain between the smallest and next chainring using the gear lever.
Do this with the crank arm at 12 o’clock, 3 o’clock, 6 o’clock and 9 o’clock, so that any slight bend in the chainring becomes apparent. If the chain falls off the smaller chainring, adjust the ‘inner’ low limit screw so that the derailleur cannot move as far inboard.
When you’ve done this successfully, and with the gear lever back in ‘1’ or ‘low’ and the chain on the small chainring, loosen the cable securing bolt and take up the slack on the cable.
Step 7
Put the chain onto the smallest cog on the rear cassette. If you have a three-ring crankset, repeat the procedure above, this time going from the middle chainring to the biggest chainring.
If the chain falls off the front of the chainring, adjust the high limit derailleur screw, so the derailleur does not move quite so far out.
Step 8
If you find that the derailleur is slow changing up from small to big chainring, unscrew the cable adjuster on the gear lever body a little to add some tension to the cable.
At this point you'll also want to check that the chain is still able to move smoothly back down on to the smaller chainring. If not, you've probably added too much tension to the cable via the barrel adjuster. Simply make a few quarter turns on the adjuster until the chain shifts quickly onto the small chainring.
Recheck that all the securing bolts are tight and go for a gentle test ride. As with the rear derailleur it's likely that you may need to make some further, smaller, adjustments based on the feedback from your ride.
Electronic gears
If you're using electonic gears, setup and indexing are quite different, relying on a motor to shift between gears, which is triggered by a signal from the shifters, be that in a completely wireless system or one with electric wires. Setup is easier and electronic gearing requires very little adjustment, which most of the time can be done while pedalling via, for example, a junction box (Shimano) or the MicroAdjust (SRAM). Cables won't wear out like on a mechanical drivetrain and the biggest of your worries will be remembering to charge the system when low, and, of course, replacing worn components. Chains, cassettes and chainrings will need to be replaced as regularly as with a mechanical drivetrain.
Luke Friend has worked as a writer, editor and copywriter for over twenty five years. Across books, magazines and websites, he's covered a broad range of topics for a range of clients including Major League Baseball, Golf Digest, the National Trust and the NHS. He has an MA in Professional Writing from Falmouth University and is a qualified bicycle mechanic. He has been a cycling enthusiast from an early age, partly due to watching the Tour de France on TV. He's a keen follower of bike racing to this day as well as a regular road and gravel rider.
- Cat GlowinskiFreelance Writer