How to change a pressfit bottom bracket (video)
Our mechanic Al Vines shows you step by step how to change a pressfit bottom bracket, as well as what tools you'll need for job.

Tools used:
- Bottom bracket pre-load collar
- Allen keys
- New pressfit bottom bracket
- Isopropyl alcohol
- Rags
- Punch/BB removal tool
- Grease
- Torque wrench
- Soft faced hammer
- Bearing press
Sadly, no bottom bracket will last forever. Rough and graunchy sounding bearings or play in the cranks are a telltale sign that your bottom bracket is passed its best. Happily, we've put together this video to show you how to properly change your pressfit bottom bracket.
>>> Road bike bottom bracket standards
First of all, you'll need to remove the chainset from your bike. Remove the pinch bolts bit-by-bit, then flip up the security tab and remove the pre-load collar. Now the left hand side crank arm should come free.
>>> Are 48/30t sub-compact chainsets the next big thing
Next, using a soft faced mallet, you can tap the axle through, pulling the drive side chainset off.
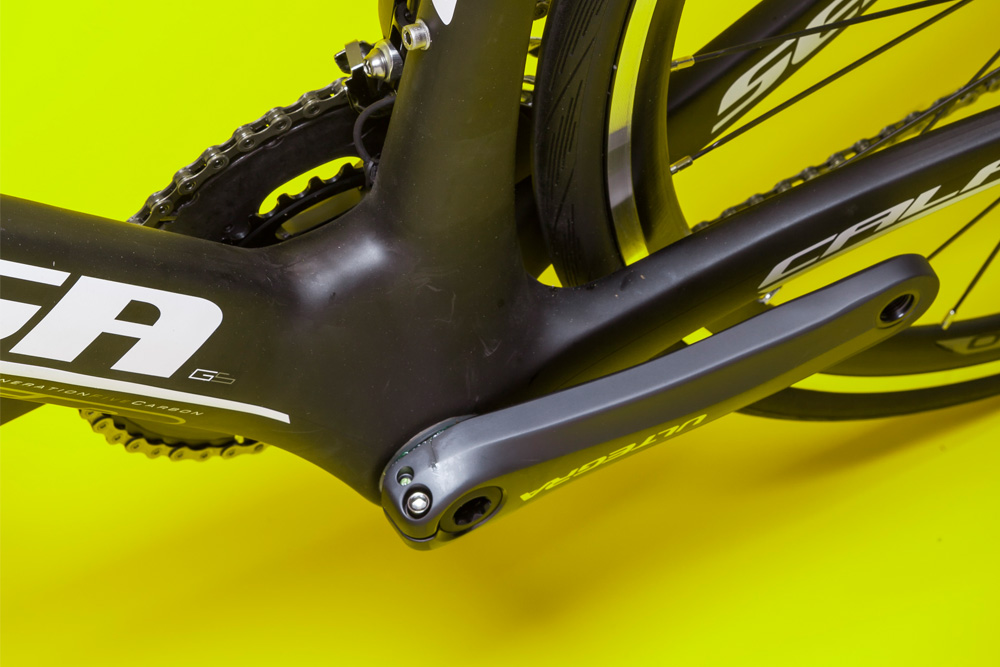
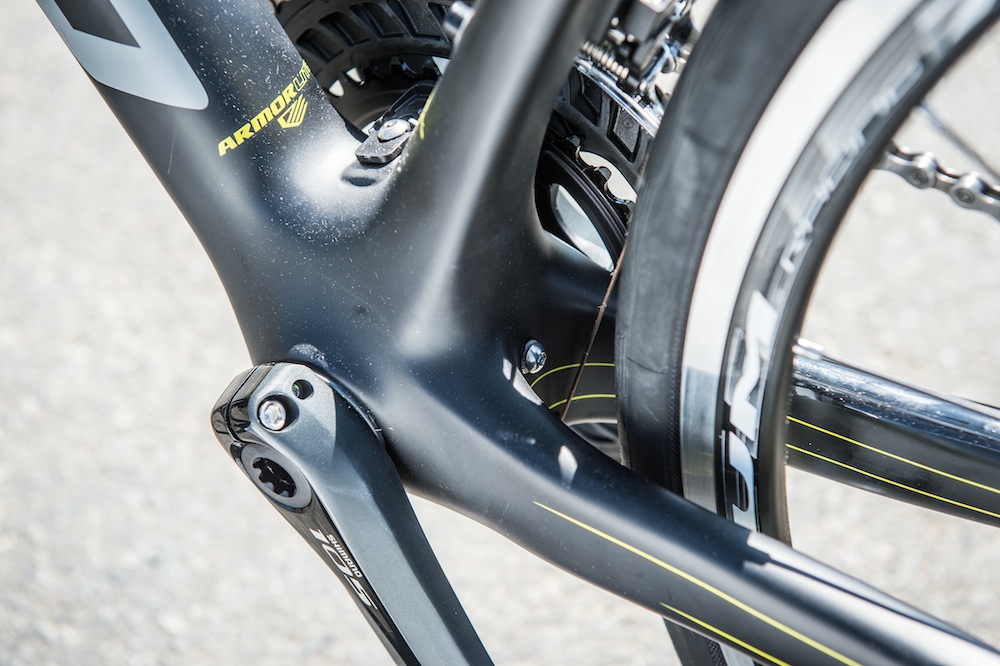
In this video we're replacing a pressfit 30 bottom bracket, which has a 46mm diameter bottom bracket shell.
Get The Leadout Newsletter
The latest race content, interviews, features, reviews and expert buying guides, direct to your inbox!
The next step is to remove the reducers that allow the bottom bracket to fit Shimano axles. Here you can use a punch and a hammer to tap them out the shell.
Watch: Are tubeless tyres indestructible?
If you want to remove the bearings only, you can use your punch again to tap it out of the bottom bracket assembly. Sadly, it isn't possible to replace the bearings in all bottom brackets.
However, if you can on yours the next job is to press the new bearings into place. Using the bearing press, push the bearing into place until it bottoms out.
Unfortunately, you may have to replace the whole bottom bracket. The technique is similar – using your punch, tap the plastic shell out.
>>> Pro bike: Wout van Aert's Felt F1x

If the bottom bracket was hard to remove from the frame then you might want to fit the new one with some grease. Don't do this if you have a carbon frame, though.
Alternatively, if it came out very easily you might want to fit the new one with some Loctite just to keep it a bit more secure.
Regardless, you'll want to give the bottom bracket shell a good clean with some IPA before carrying on.
If you have an alloy frame you can smear a small bit of grease on the bb shell before installation.
The next job, after making sure everything is properly aligned is to press the bottom bracket into the frame. Try not to use excessive force – all this will do is cause damage to the bearings and even your frame.
Finally, you'll want to fit the chainset back to the bike. Be sure to give it a good clean first, though.

Thank you for reading 20 articles this month* Join now for unlimited access
Enjoy your first month for just £1 / $1 / €1
*Read 5 free articles per month without a subscription

Join now for unlimited access
Try first month for just £1 / $1 / €1
-
 Save £42 on the same tyres that Mathieu Van de Poel won Paris-Roubaix on, this Easter weekend
Deals Its rare that Pirelli P-Zero Race TLR RS can be found on sale, and certainly not with a whopping 25% discount, grab a pair this weekend before they go...
By Matt Ischt-Barnard
-
 "Like a second skin” - the WYN Republic CdA triathlon suit reviewed
$700 is a substantial investment in a Tri Suit, and it is, but you’ll definitely feel fast in it
By Kristin Jenny